Fall In Love With This Paper Pumpkin Tutorial
I must admit that I always see projects and never get to them so I decided that it is NOT too early to start fall crafts! So here it is, my very first FALL project of the year, a beautiful fall paper pumpkin!

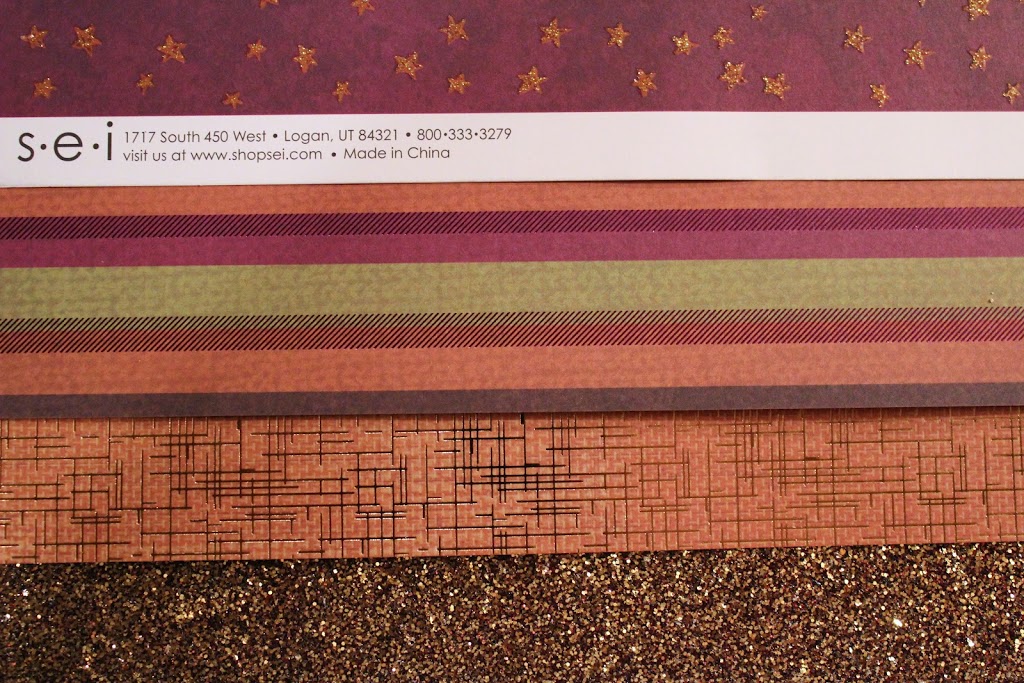
I used Halloween themed paper for this project. I also added in a sheet of American Crafts Duotone Glitter Paper! The purples, bronzes, oranges and sparkly browns worked beautifully together!

First step was to create multiple different width strips from each sheet of paper. For the glitter paper, I only did very thin strips to add just a hint of glitz without over doing it.

I then chose a large brad and put each strip on one by one. Make sure when you are adding each piece it is in the correct spot you want it. After all the strips were on there was just a bit of wiggle room to move the paper but not much. If you move the paper, it can easily rip. It was a tight squeeze, but I got all the papers on the brad with room to close it!

Rather than use another brad, I took my PLUS adhesive runner and one by one taped the other ends together. This adhesive works wonders and has a permanent hold after just a few minutes!
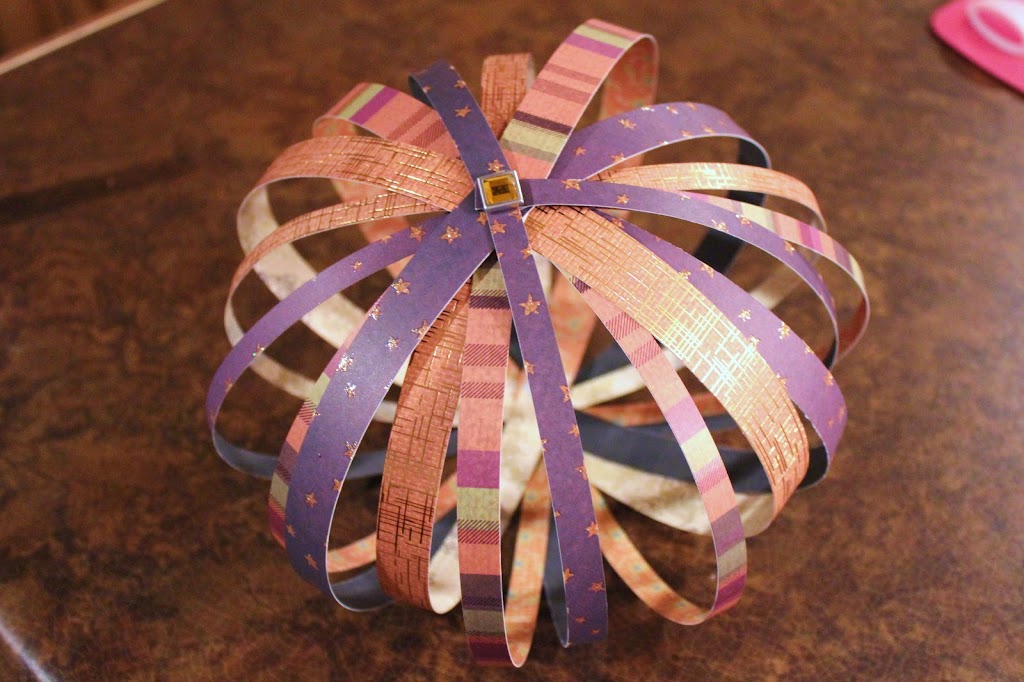
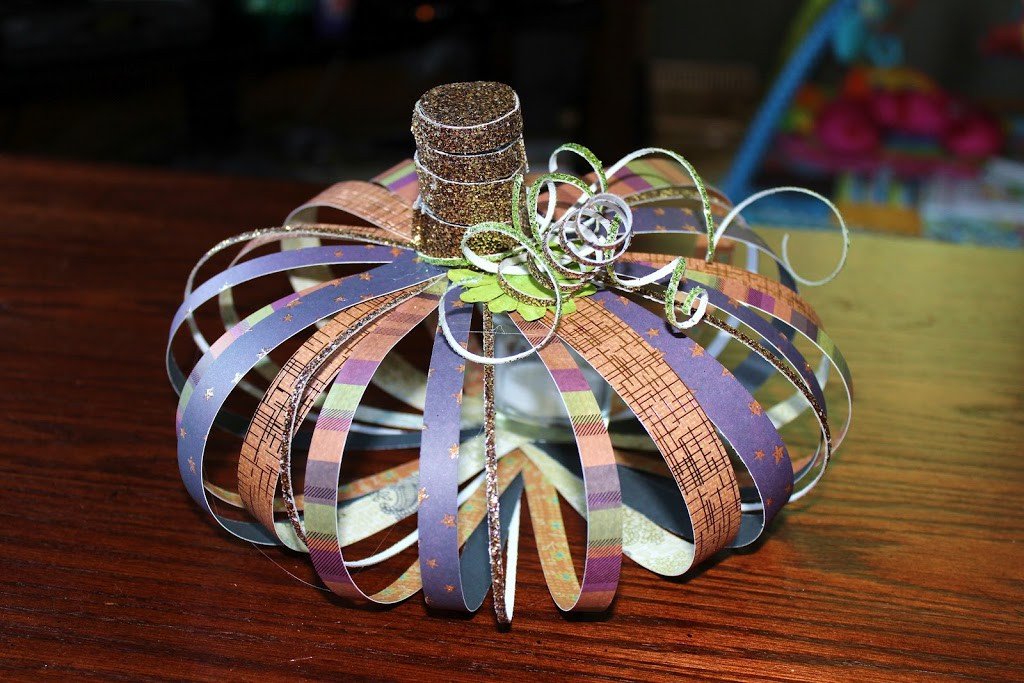
Here is the finished “pumpkin” shape. It’s more like a ball at this point but will transform into a pumpkin soon! I didn’t take a picture but i added the thin glitter strips last for a bit of bling!

I took a few of the extra glitter strips that were left over and curled them around a paint brush to make some curly pumpkin vines. I loved how these turned out! The paper kept the curl every time!

I loved these SO much I had to add a few green curls by doing the same process but with the Lime Green American Crafts Duotone Paper.
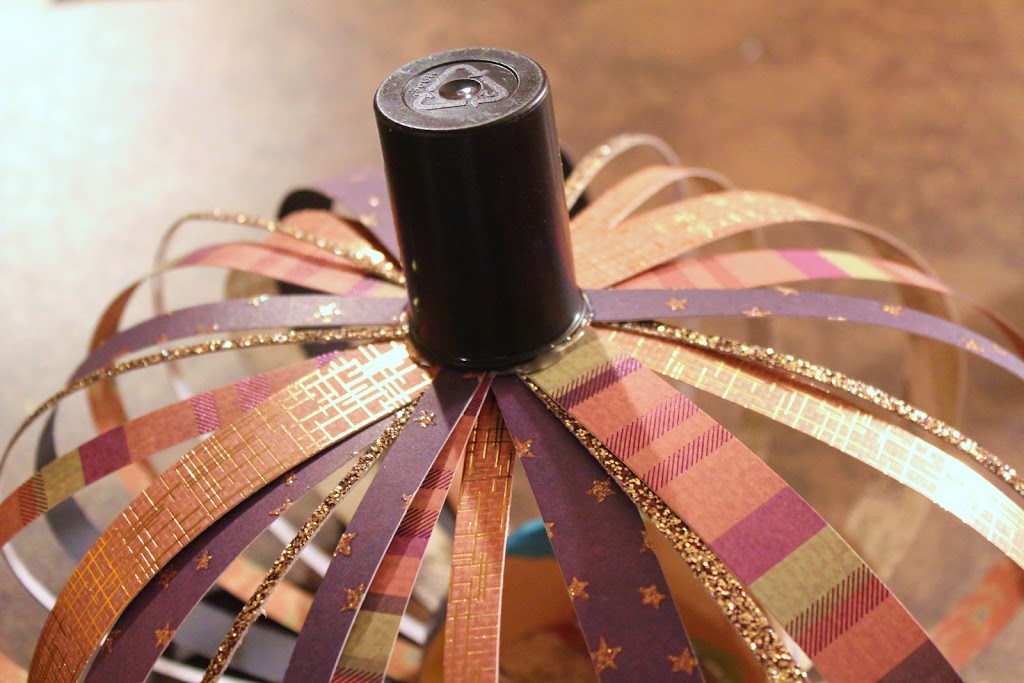
For the stem, an old recycled film canister I had laying around in the junk drawer. To add a bit of weight so the ball would get a more “pumpkin” shape, I added a small stone from my yard in the film canister and then hot glued it on.

As you can see, I am totally in love with the glitter paper by American crafts so I used it again for my stem. This time just hot gluing strips to cover the film canister. Then I cut out a circle and glued it to the top.

Last, but not least, I added a green flower embellishment to look like a leaf and my glitter curly vines!

The whole project took about 45 minutes and that’s partly because I putz and did not have this planned out before hand. I LOVE it though! It is perfect for fall and I love that it still has a Halloween feel to it, but can stay out all season long!
What do you think!?
I hope you all love it as much as I do!
FEATURED SALES