
No-Sew Red, Green & Chevron Chic Holiday Wreath
Red, Green & Chevron Chic
Check out this chic Christmas chevron wreath I made! Of all my holiday projects this year, this one has to be one of my favorites! Over the summer I got on a chevron kick and it has yet to wear of.
My favorite part of this project – there is NO SEWING!

So, let’s start by stating that I by NO MEANS am a fabric girl and I may own a sewing machine, but in most cases I try and avoid sewing. That’s right! There is not one single stick in this wreath, just a ton of hot glue!
For the outside of the wreath I used a large 12″ wooden embroidery hoop and some fun red and green chevron stripe fabric from my local fabric store. Cut out a strip of fabric about 8-10 inches wide and about 24″ long.

Fold the fabric in half over the embroidery hoop (the open end facing the outside) You will be folding the fabric the long way so you will have a strip about 4-5 inches wide and 24″ long. Using your hot glue gun, start on one side of the strip and put a blog of glue on the inside of the folded fabric just above where the hoop is and pinch it shut. (It’s HOT, be CAREFUL)
You want to glue the fabric together as close to the hoop as you can without the glue getting on the hoop. This is so that later, once you continue gluing the strip together along the hoop, it can slide and bunch along the hoop.
Tip: The ends of the fabric do not always match up exactly but no worries, you can do some light trimming later with a scissors! You do not need to glue along the entire strip, just every little bit to keep the fabric together. As you add each section of fabric and the fabric bunches you can determine if you need to add a little more glue or not.

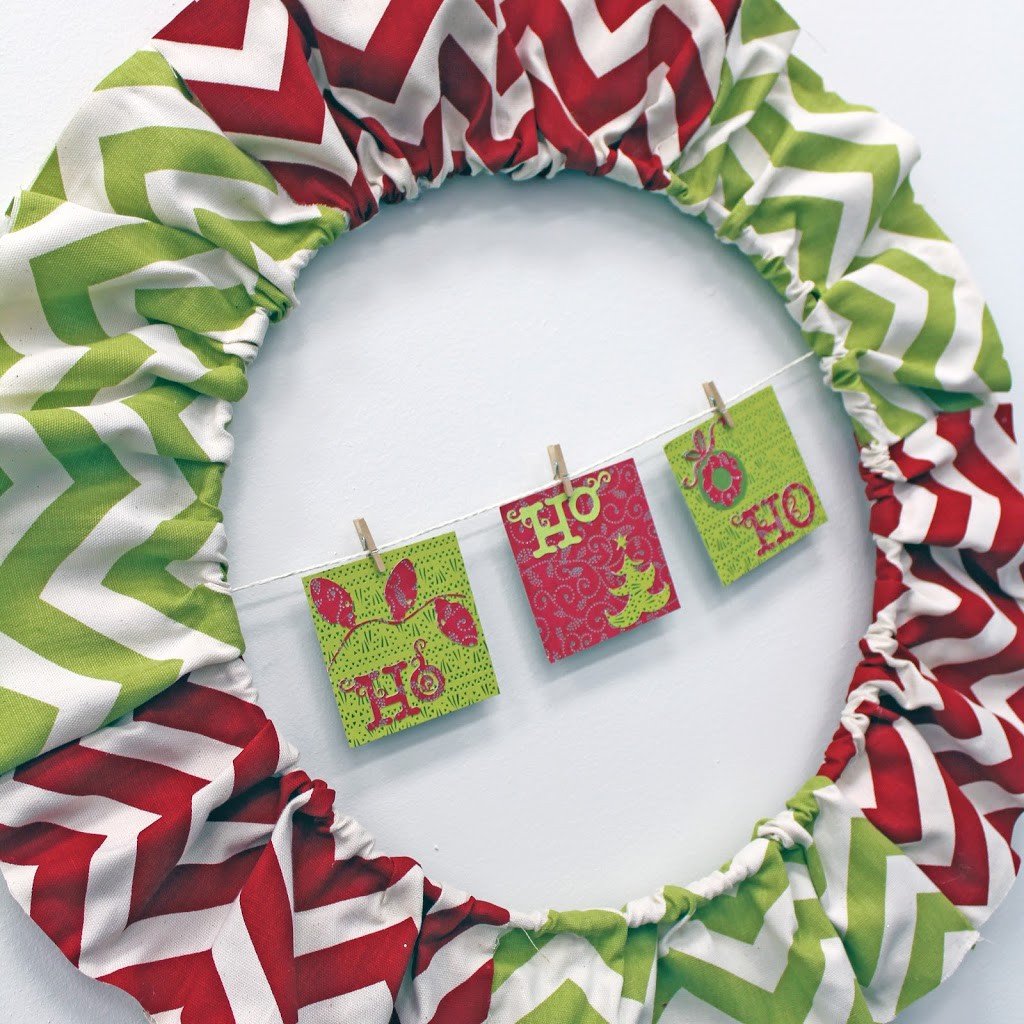
For the center of the wreath I cut out three 3×3(in) thick cardstock paper squares. (We carry a very large amount of different Christmas card-stock) Using my Cricut Expression Machine and the Christmas Cheer Cartridge, ( We don’t carry this specific cartridge anymore, but here is a link to some to some other Christmas Cartridges.) I added some fun holiday shapes and the words HO HO HO. I used a plus glue runner to adhere everything. Of course the Silhouette Machines could also help to create some awesome designs for this wreath if you are a Silhouette user.
Then I hot glued a simple cream May Arts Twine Ribbon to the back of the wreath making sure it was stretched tight enough to hold my squares.
For the designs I chose a festive Christmas wreath…

a funky Christmas tree…

…and some fun Christmas lights!

I hung my festive squares onto the twine using mini clothes pins!
I kept the papers and colors basic but made sure to use some foil papers to add interest and a bit of sparkle!
Here they are again all hung in a row.
Over all the wreath took me about an hour and a half to complete!
Time well spent I think and I absolutely LOVE how it turned out!
The ends of the fabric did not match up and were even fraying a bit but it added a shabby chic chevron feel and I have said this before but…
Imperfections sometimes add just the PERFECT touch!
What do you think? Share your thoughts and comment below!

Supplies:

FEATURED SALES


