Craft Tip & Trick: Add Arrows to Mother’s Day Card
Check out this simple & quick was to add a modern twist to your cards, layouts & other paper projects…by adding arrows! Use these simple arrows to point to a specific area on your project or just scatter them randomly where ever your heart desires!

1. Cut a strip of patterned paper.
2. Mark the center of the strip, on the back side.
3.Make marks down your strip in equal units. (every 1/2 inch seen here)
4. Use scissors to hand cut a notch in one end.
5. Continue cutting along the strip with the points of each arrow landing on the notched marks made in step 3.
6. Line up the arrows with the desired pattern facing upward. Add them to your project!
Using this simple technique, I designed a quick Mother’s Day card featuring bold and bright colors, funky patterns, and of course, arrows!
Check it out…
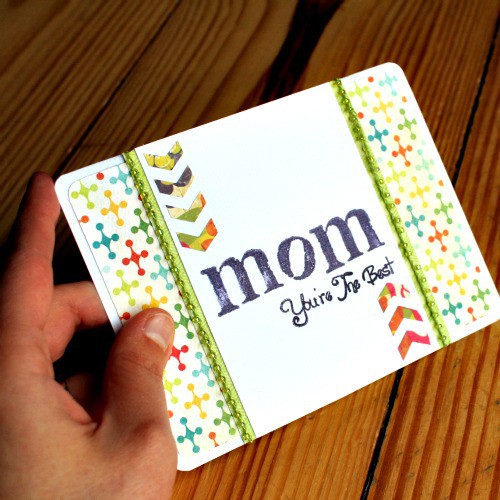
The overall feel of the card was based off of the background paper from the My Minds Eye Collectable ‘Notable’ Collection. I am not sure if this is just because I am a child of the 80’s or what, but this paper screams JACKS! No? Just me? Anyways…I loved the bright child-like colors and they inspired my ideas for this card!

I started with an A4 size white cardstock base and added the ‘Jacks’ paper background, which was cut just slightly smaller than my card size. I rounded all four edges of each layer to stay consistent.

Using the back side of the ‘Jacks’ paper, I added a green patterned vertical rectangle to the center of my card. (approx. 4.25″ high / 3″ wide)
Top that with a white rectangle the same height (4.25″) but a smaller in width. (2.75″)
Using the arrow technique from above, add a few fun arrows to your card!
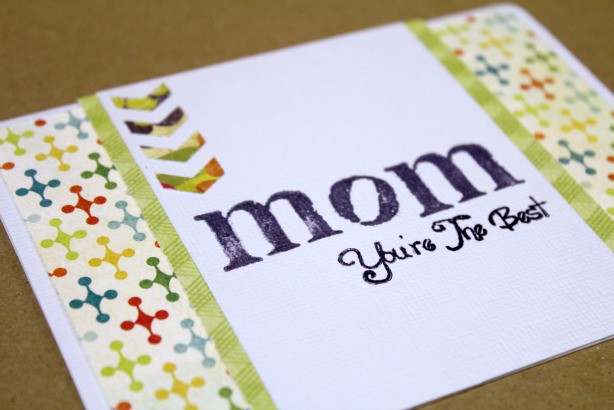
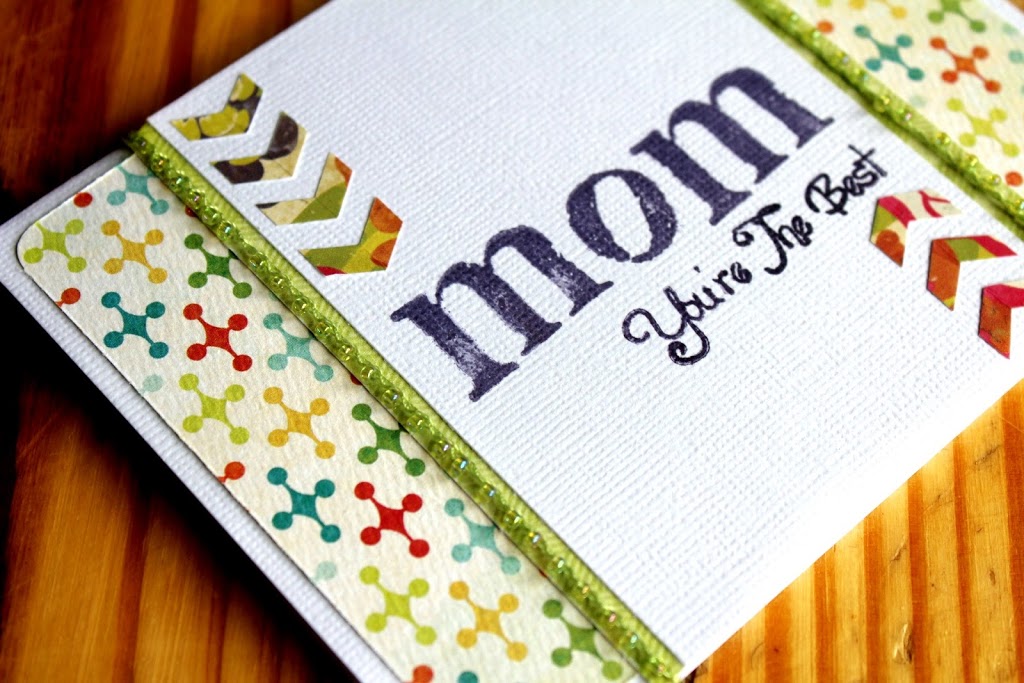
I used my arrows to point to the center of my card where I stamped MOM in Imperial Purple Versafine Ink using the distressed letter stamps from my Fancy Pants Doodles & Things Stamp Set. Is the same color ink, I stamped ‘You’re The Best’ using my Megan Elizabeth Stamp Set.
Check out the arrow detail on my card…

I love the simple repetition of the arrow pattern and the look it added to the card. The sharp angles give it a more ‘modern’ and funky feel and really pull your eye down to the word MOM.
The card was missing something…
To add just that little bit of extra flair to the card I used a bright green beaded thread and threaded it along my white rectangle.
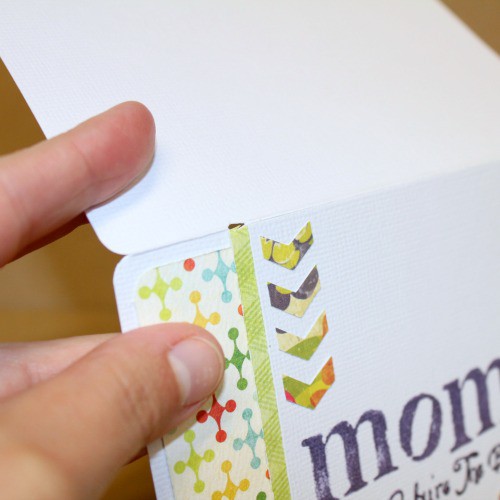
For this step, I used a neat trick where you cut a just slightly into the crease of your card to create a small opening for ribbon, twine or other embellishments.

Thread your ribbon or twine through the hole and adhere it to the inside of your card. I used Zip Dry Glue since it dries fast and has a strong hold. You can cover the ends of the glued ribbon on the inside of your card later with paper.

To complete the card I added a few more arrows to the opposite corner and a bead string on each side of my center rectangle.
I truly love colors and playfulness of this card! I do realize that most Mother’s Day cards are more ‘girly’ and usually packed with some sort of flower…but this card would be perfect for a teacher or a mom who has young children.

I hope you loved this tutorial and are inspired to add arrows to your next project! Don’t be afraid to leave a comment, I truly love hearing what you have to say!
WHAT COLORS REMIND YOU MOST OF YOUR MOTHER?
*Comment below with your answers*
FEATURED SALES