Sparkle & Shine Layout & May The 4th Be With You Card
Happy National Scrapbook Month! This past week we launched our huge National Scrapbook Month Sale along with a super fun Sparkle Scrapbook Challenge to WIN a scrapbooking bundle valued at over $100!!!

Although I cannot win, I wanted to do the challenge anyways. We all know I love anything that sparkle & shines! Here is a layout titled “Sparkle & Shine” featuring a silly picture of my daughter Lauren. (aka “Lo”)

I used a super bright blue and orange color pallet with some fun trendy chevron and polka dot patterns from the oh-so-adorable Sunshine & Happiness Collection Kit! The perfect paper kit for summer!

The ‘sparkle’ on my page was added with White Glitter Thickers, Megan Elizabeth Sparkle Lightz & a Doodlebug Gem on the flower!

I even added a few little sparkle pops around the page to make it look like it was really sparkling! On the journaling card I wrote down 10 things to finish the statement:
Sparkle & Shine ___________.
My favorites are:
Sparkle & shine, because you are mine!
Sparkle & shine bright as the sun!
Sparkle & shine sweet girl of mine!

Here is a closer look at the Sparkle Lightz on my layout. I used a Doodle Bug Fancy Frill circle sticker boarder and put a Sparkle Light in ever circle. That’s a whole lot of bling!
Anyways, I hope you love the layout and it’s not to late to create your own layout with some sort of ‘sparkle’ for a chance to WIN a $100 crafting bundle! You can enter all month long but the sooner you enter the better your chances of winning!
STAR WARS DAY CARD TUTORIAL
Did you know, May the 4th is not only National Scrapbooking Day, it is also National Star Wars Day?(May the 4thbe with you…” get it? Our designer Kala decided to make an Obi Wan Kenobi Jedi Star Wars card to celebrate this unique holiday! She used the Cricut Paper Doll Dress Up Cartridge to create this card.

Here are directions written by Kala:
The Paper Doll Dress Up cartridge has a lot of shapes to pick from. It can be a little tricky figuring out which buttons to push, so I have included which buttons to press, where they are located on the keyboard overlay that comes with the cartridge and the page number where you can find the shape in the booklet. I also underlined the paper color you need for the pieces.
Unless otherwise stated (see the last piece of the light saber), cut everything out at 3 ½ inches for this card. Make sure the Real Dial size is turned OFF.

I began this card by cutting out a body using skin tone cardstock.
Headwear, body (top row, 1st button).(pg. 29)
Next I cut out hair and pants from light brown cardstock:
Hair: headwear, promby (top row, 4th button in) (pg. 32).
Pants: blackout, prince(2nd row, 8th button in) (pg 46).
I cut out the following pieces of Obi’s clothes from dark brown cardstock:
I cut out a little top brown piece, because Obi Wan Kenobi wears a dark brown shirt under his robe: Accessories 1, shift, plgmby (4throw down 4th button in)(pg. 62)
I also cut out a belt: Accessories 2, santa (bottom row, 4thbutton in)(pg. 72)
And his outer robe: Blackout, shift, ntvty2 (bottom row, 9thbutton in) (pg. 77).
Next I cut out Obi’s shirt pieces from a light tan cardstock.
Cut 2: Tabs, shift, nvtvty (bottom row, 8th button in) (pg. 76)
Cut 1: Blackout, shift, dancer (bottom row, 3rd button in) (pg.71)- yes a tutu on the Jedi!
Finally I cut out some boots for Obi out of maroon cardstock:
Accessories 1, suprby (3rd row, 8th button in) (pg. 56).
For the light saber handle, I used light gray cardstock:
Accessories 3, shift, promgl (Top row, 5thbutton in) (pg. 33).Yep-lipstick!
For the light saber part, I used bright blue cardstock:
Accessories 2, magicn (4th row, 1stbutton) (pg. 59).Cut this piece at 5 ¼ inches!


Now that you have all your pieces cut, here’s how to assemble…
I used Zip Dry Paper glue to piece everything together, but you can use your favorite method to attach everything.Start off gluing down Obi’s dark brown undershirt and pants.Next glue on his upper robe pieces, overlapping them around his waist.I trimmed off the upper robe parts that stuck outside his body as they will be covered up by the outer robe.I trimmed down thetutu and used just the bottom piece to make a little ruffle for the bottom of his shirt and glued that on.Next I glued on his belt and boots.I finished his clothes off by putting on his dark brown robe last. I glued on his hair, and after gluing the light saber together, I glued it to his hand.I then drew in his facial features using a fine pointed Sharpie. To scuff him up a little, I used a paintbrush and a brown ink pad to add some facial hair and a little texture to his hair (you can skip this step if you prefer a cleaner cut Obi).
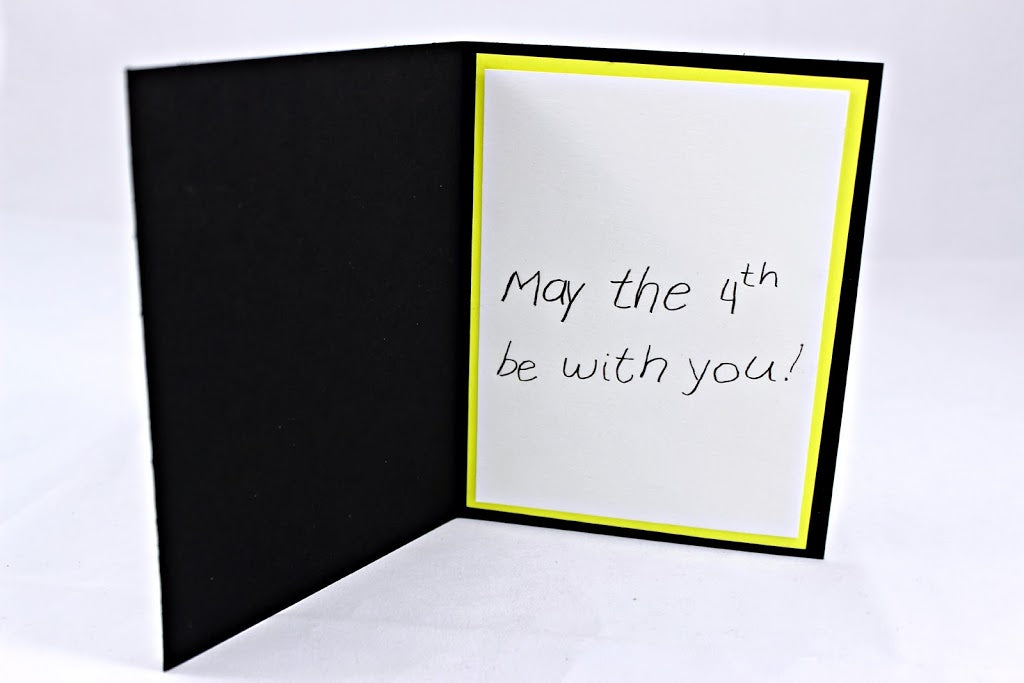
I cut a black card base at 5 ½” by 4 ¼”. I also cut out 2 pieces of bright yellow cardstock at 5 ¼” by 4” to go with the Star Wars logo colors.Also cut 2- 5″x3 ¾” white pieces to go on top of the yellow (the yellow was a little *too* bright).I wrote “A Jedi Note…” on one of the white pieces for the front of the card using the technique Abbey shared with you HERE.I added “May the 4thbe with you” to the white piece for the inside of the card using the same technique.I attached each white piece to a yellow piece and then glued the pieces to the inside and outside of thecard, as appropriate.
I attached Obi Wan Kenobi to the front of the card and it was complete!
I hope you enjoyed this tutorial and were a little inspired to find your favorite characters on this cartridge too, the possibilities are endless!
Have a wonderful day and happy crafting!
Abbey & Kala
FEATURED SALES