
Lunchbox Letters: DIY Silhouette Magnet Project Tutorial
With back to school right around the corner I thought it was the perfect time to share this adorable lunchbox letters magnet project with you all!

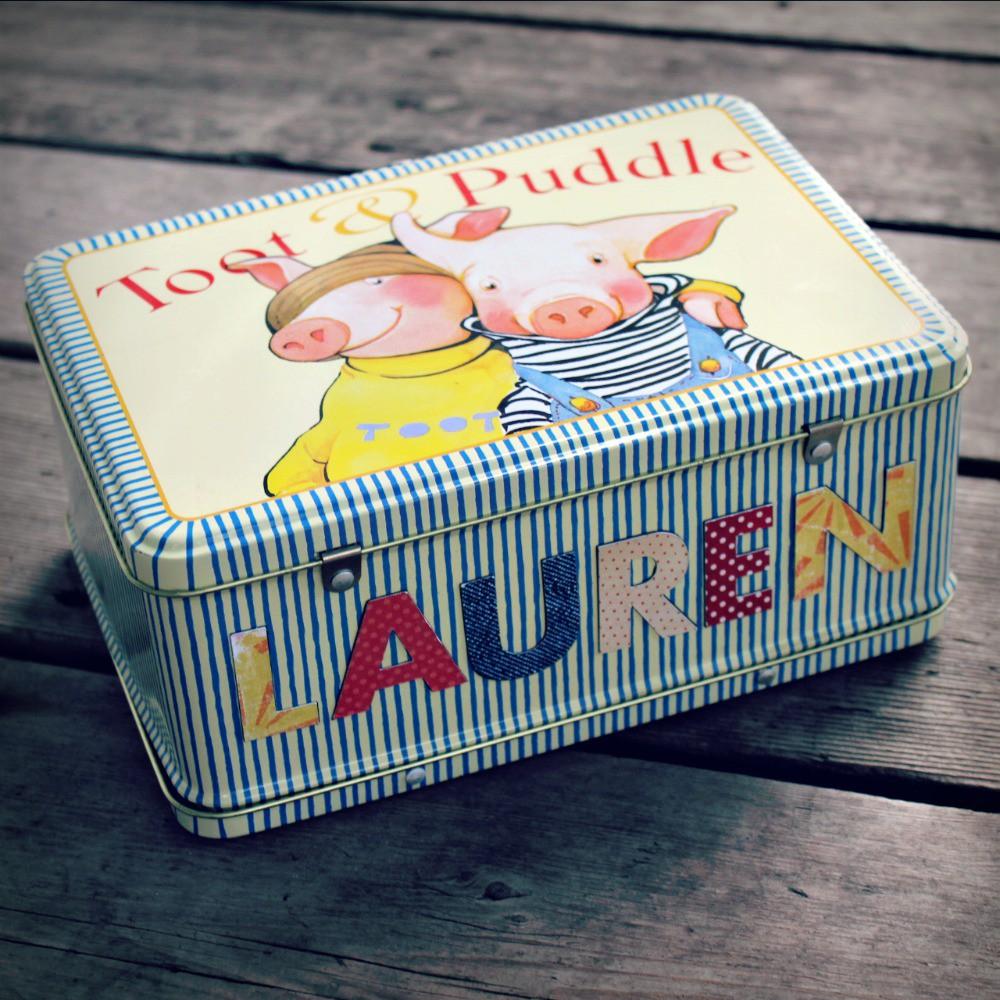
I snagged this adorable Toot & Puddle lunch box at the local thrift shop when I was pregnant with my daughter Lauren, who is currently 1.5 years old. I am not sure if it was the adorable illustration, the fun primary colors or the pigs, but I had to have it!

Oh yea, did I mention my maiden name is Haug? Of course no one could pronounce Haug (How-g) , so I was formerly known as Abbey Hog. You’d think this was a bad thing,but being a “hog” became something I grew to love and a part of me will always be a “hog.” My point being, being a “hog” at heart, I’ve always loved pigs, so this lunchbox stole my heart!
I have just recently acquired a Silhouette Cameo and one of their many fun accessories to the machine is Silhouette Magnet Paper. Say what? You can make your own magnets?
YES, and it is SO EASY!
(I also used this Silhouette Magnet Paper with my Cricut Machine last year, check out that project HERE.)

For this project I decided I wanted to make a magnet alphabet that Lauren could not only store in this lunchbox, but spell out words on the metal lid too! To start, I chose 5 primary colored patterned papers to coordinate with my lunchbox colors. Using some scratch paper, I wrote out each color and divided the letters of the alphabet into 5 groups. (above)

Before cutting any of the papers, you must first cut out your magnets. The Silhouette Magnet Paper comes in a pack of 4-8.5×11 sheets for only $9.99. That’s only $2.50 a sheet! For this project I used only one sheet to cut out my entire alphabet, plus had some left over.

Now, in the Silhouette Studio, set your cutting area to letter size. Choose the type tool, a font & size, and type out your alphabet.
Tip: Don’t forget to put your CAPS lock on. You can cut our your letters in lower case, but the CAPS alphabet is more solid and easier to cut.

Next, choose your cut settings. For this magnet paper, I chose a custom setting with a blade depth of 7, a speed of 3, and check the box to double cut.
(Just to make sure my magnet paper cuts clean and crisp.)
TIP: Slowing down your blade with thicker material is KEY. If you cut thicker material too fast it won’t cut all the way through and you risk ripping and tearing also.

Don’t forget to manually adjust your blade depth on your machine. Take out your blade and put it into the gray blade changer thing-a-bob on your Cameo Machine. Twist until your blade is at a depth of 7. Replace the blade and lock it back into place. Now your ready to cut!

You are all ready to cut!
Place your Silhouette Magnet Paper WHITE SIDE UP (sticker side up) onto your mat with the same orientation as your design. Load your mat.

Go ahead and click send to machine and then cut page. Here is a look at my clean, perfect cut!
Now that your magnets are cut, simply cut your letters out using the same font and size in your coordinating papers. Remember the, scratch paper from earlier with our 5 paper groups and the letters? Clean of your mat and put on your first patterned paper. Load your mat.
Next, In Silhouette Studio, right click onto your type design and click edit type. Delete all the letters and type out only the letters for that you have selected for that paper. Go ahead and change the cut settings back to a paper setting and cut!
You will repeat this process with each pattern paper and group of letters until you have your entire alphabet cut using 5 different patterned papers!
TIP: Make sure to use the SAME font and size for ALL CUTS (magnet & paper)!
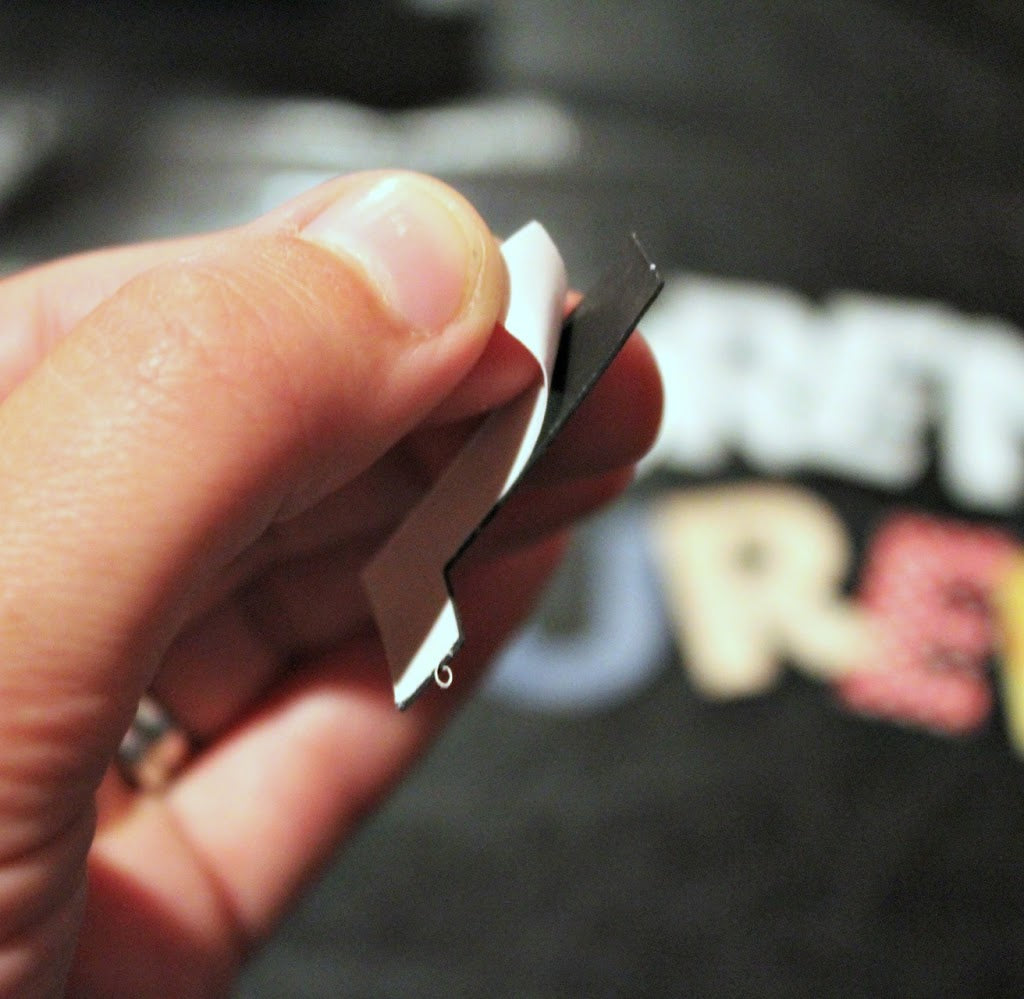
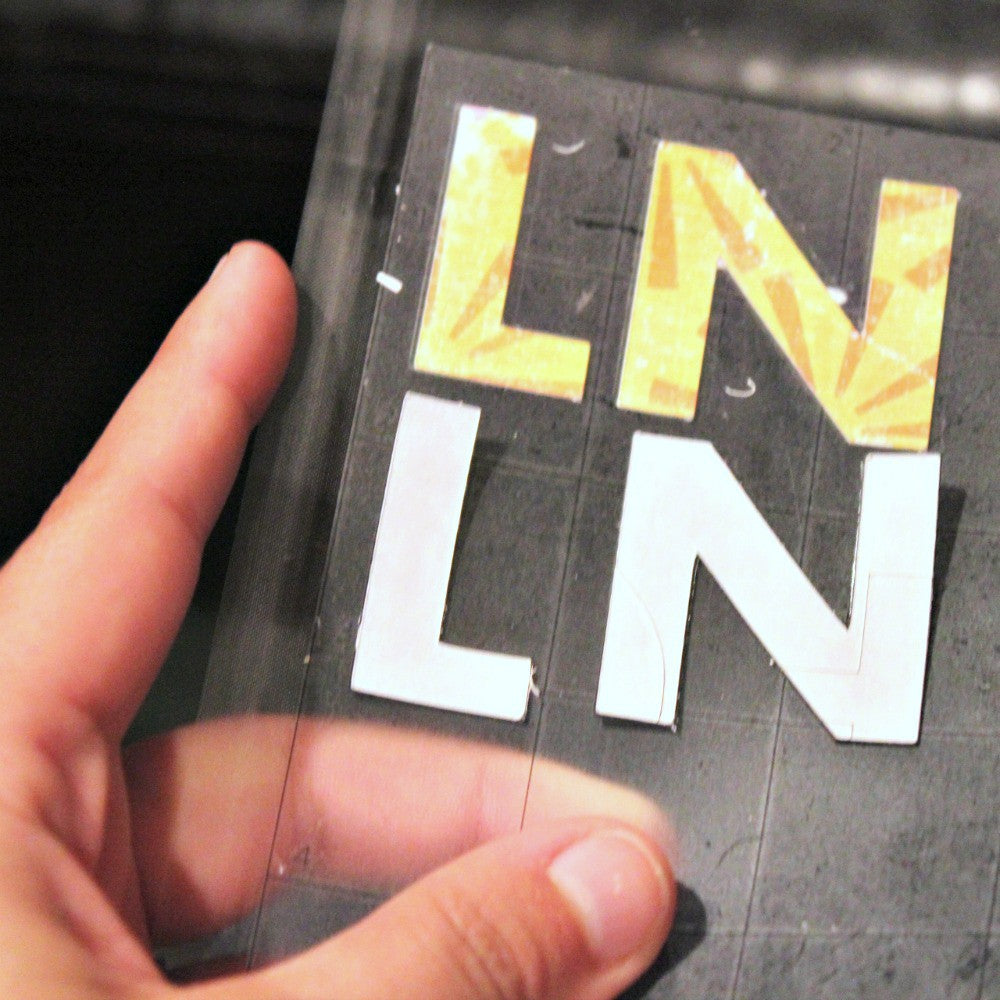
Now you are ready to assemble! First, peel off the white sticker backing off the magnet paper.

The magnet will have an adhesive on it so you can now replace the white sticker backing with your coordinating cut out letter!
Viola’! You just made your first alphabet magnet letter.
TIP: Take your time lining your magnets and letters together.. The adhesive is pretty sticky so if you get the entire letter on and it’s not lining up, it will be a bit tricky to get back off.

Here are a few of my letters to spell out Lauren, my daughter’s name. The paper’s I chose to coordinate with my lunchbox worked out perfect and I love how they look on the lunchbox!

Here is another look…
The magnets are thin, but still have a good hold. They stick anywhere on the metal lunchbox!

Here is them sticking on the inside cover. Now Lo (Lauren) can take the alphabet and spell out words. It’s a simple and cute learning tool for young ones. You could use this same concept and cut out shapes, animals, or anything you would like! The creative possibilities with the Silhouette Cameo are endless!

If you wanted to get really fancy, you could cut out ‘magnet dolls’ for a little girl! Might take a little longer, but it would be so stinkin’ cute, don’t you think?
Well, that is the project for today! Don’t forget, you can use this Magnet Paper with other die-cutting machines too!
WHAT DO YOU THINK?
*Comment below, I love getting feedback and comments*
FEATURED SALES


