
DIY Kid’s Artwork Candles for Mother’s Day
Mother’s Day is less than 2 weeks away (May 11th)! My kids are prolific little artists and I know there is nothing a mother loves more than something her kids have made just for her. With that in mind, here is a super easy gift idea for Mother’s Day that turns your child’s art work into a candle!

This project was so simple and quick, the hardest part was waiting for the paint to dry! With just a few supplies, you’ll have a Mother’s Day gift in a flash…
All you will need is a white candle, some paint, wax paper, tissue paper, your kids cute little fingers and an embossing heat gun or blow dryer.
My candle was about 6″, but feel free to use different sized candles. Pick mom’s favorite scent too, though from my
Cut a piece of tissue paper so that it is slightly shorter than your candle, and long enough to wrap all the way around.

Next let your kids go to town on your tissue paper. We used Folk Art paints, because I love to paint with my kids, but you can use markers or crayons too. Just keep in mind that the tissue paper is thin and delicate so you’ll want something under your tissue paper to protect your work surface and you’ll want to be careful with your decorating so you don’t tear it.

There are two ways you can do this, you can do it in reverse, like I did, or you can do it in the right direction. In hindsight, I would have done it in the right direction, live and learn.

My kids each chose 2 colors of paint and then we made several flowers for each of them. They also each made a buzzing bee! Let the paint fully dry.
Next, cut a length of wax paper (just regular ole wax paper). You’ll want it long enough to wrap around your whole candle and a little extra to give you a “handle.” Wrap your tissue paper around your candle and then wrap around your wax paper. Have the waxy side of the paper facing your candle.

Grab your embossing gun or your blow dryer and start heating your candle. This will melt the candle slightly and make your tissue paper attach to your candle.

You’ll start to see your design get brighter as the wax melts into the tissue paper. Continue heating all around the candle and rotate your wax paper handle as you go to ensure you have even heating over the whole candle.
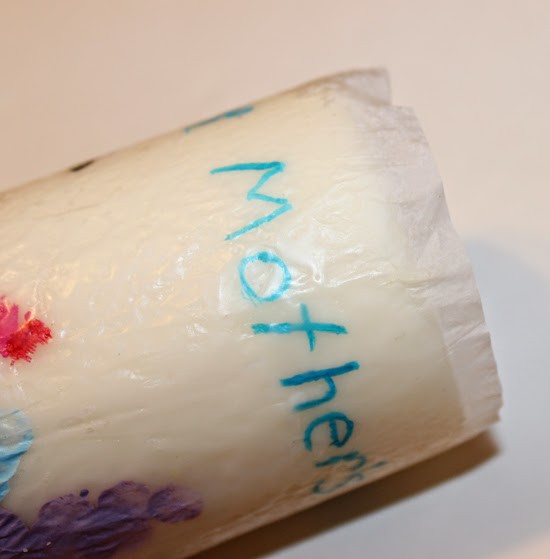
Once I had heated the whole design, I removed the wax paper and spot heated a few places that I could still see the tissue paper.
If you cut your piece of tissue paper to the right size (just slightly shorter than your candle) you shouldn’t have overhang… but if you do (like I did), you can easily trim it off with an X-acto knife:
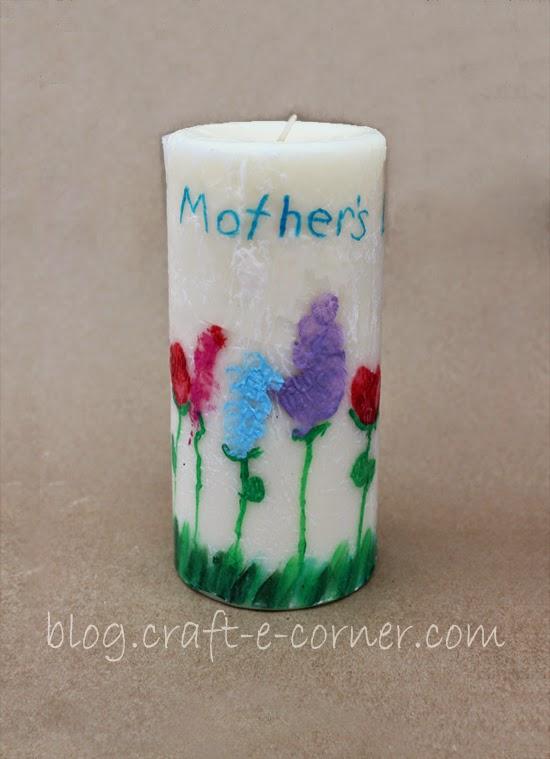
Now how cute did this turn out? It was so super easy to do!
This was our first attempt at this project and I learned a few things along the way (most of which I included in the directions above). Of course, this candle is perfect as is because my kids made it for me, but next time I do this project I’ll try it in the “right” direction instead of backwards. I’ll also make sure to keep any text in line so you can see it without rotating the candle so much.

This idea can be used to do any sort of decoration on a candle! If you can draw it on tissue paper, you can attach it to the candle. Stamp, paint, draw… get fancy!
Be honest moms, what would you really LOVE for Mother’s Day?
Comment and leave a little blog love below!

FEATURED SALES


