DIY Silhouette Heat Transfer Vinyl Kids Coloring Book Shirts for Spring, Easter or Birthdays!
Working with heat transfer vinyl is so simple, let me show you how easy it is to create your own shirt!
The important thing to keep in mind when making a coloring book shirt like this is to keep double lines (which will be your outline). Imagine the red cut lines being filled in with your vinyl. When I finished designing my bird, the image looked like this:


When you cut this out from your vinyl, it will need to be in reverse so when you iron it down, it will be the right direction!
![]()
Load your vinyl into your machine on the cutting mat, shiny side DOWN. The heat transfer material box says that you do not need a cutting mat, but I tried it with the settings the box and my machine listed for HTV and it didn’t work. After some experimenting, I found some settings that seemed to work great. In my software, I set my blade to 3, speed to 8 and thickness to 18.
Once you cut your image, you’ll be able to see the design through the plastic protective sheet on the back.
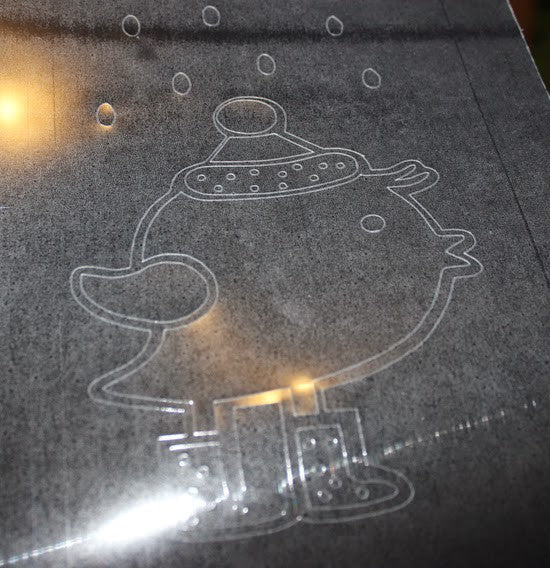
Note: You are only looking to cut through the vinyl, not the backing sheet! The backing sheet is clear and sticky and helps you place your designs right where you want it it to go. You can also lift up the design and move it several times to ensure proper placement.
Next you can weed your design and remove all the extra vinyl that you don’t want on your shirt.

I found a hook tool worked really well to weed the design! Just grab the edges of your vinyl and pull it off- it’s really very easy to weed.

Once your image is completely weeded, it should look like this. (Note: the polka dots on the birds hat “didn’t make the cut”…whoops…)
Now position your image on your shirt taking care to center it. You’ll want the shiny side up (so the plastic sheet is facing you and your design looks the right direction on your shirt). Smooth the plastic sheet over your shirt and make sure it is flat. The stickiness of the sheet will help it stay in place.
Place a thin towel over the design (I used a tea towel) and iron it on the highest setting your iron will go with NO steam. You’ll probably want to do this on a sturdy surface and likely not on your regular ironing board. I use my kitchen table and a piece of wood.
You need to put some pressure on the iron as you go. Place your iron in one place and push down hard. Do not move the iron around like you would when you regularly iron, just put it down and leave it in one place (while applying pressure) for about 20 seconds. Pick it up and move to another section and repeat until you go over the entire design.
Once the whole design has been ironed, you should be able to peel your plastic backing sheet off.

If you have any piece of your design still stuck to your backing sheet, cover the image again and repeat the ironing steps above. If you have a very stubborn piece that isn’t coming off your backing sheet, even after applying lots of pressure, you can use a sharp tool to pick the vinyl off the sheet and then cover with your tea towel and iron again. The image came right off in this case- easy peasy!
Turn your shirt inside out and give the design a good iron from the inside of the shirt too, just to be safe!
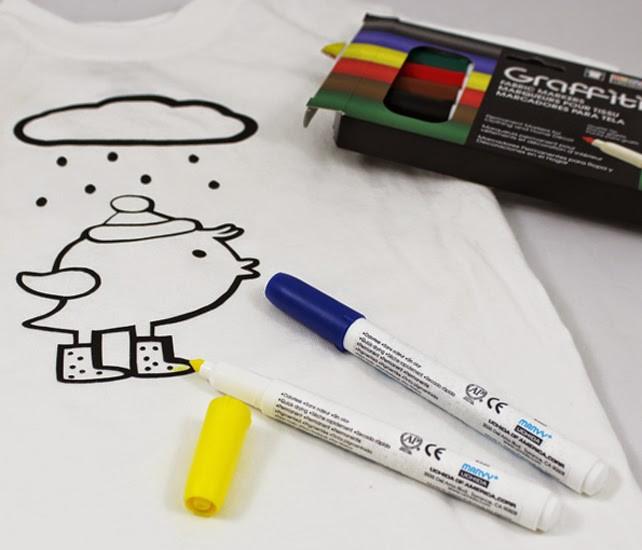
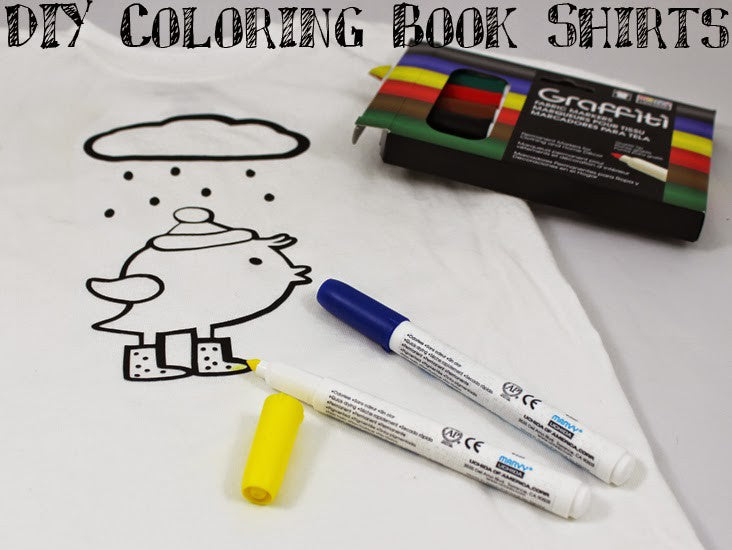
When they were all done, I gave my kids fabric markers and let them go to town!
TIP: Make sure to put a piece of cardboard inside the shirt to keep the markers from bleeding through to the back of the shirt.
We used Graffiti Permanent Fabric Markers so these colors will stay put. There were no issues at all with the kids coloring over the vinyl!


If you’d like a non-permanent option, washable markers, like Crayola, would work great too.
The kids had a great time coloring in their shirts. They were so proud of what they made and happily wore them to school the next day!
This idea isn’t limited to just shirts either! Add HTV to pillow cases, kitchen towels, lunch bags and more! Cotton works best (avoid fabrics that can’t be ironed). Throw in some fabric markers and you have an instant custom Easter basket filler or birthday present!

FEATURED SALES