
9 Steps to a Simple Knapsack Tote Bag
I’m always looking for more storage around my house, probably because I have too much junk laying around, but that’s besides the point. I saw a cute little knapsack tote bag on Pinterest and thought that it would be an easy and functional storage bag.

Start with some cute fabric, and depending on what size bag you want, will determine how much you need, but you will need two square sheets of fabric. Mine were two quilting squares that I had in my stock pile of fabric.
1. Place your two fabric squares right sides facing each other, and pin around the edges if you desire.

Keep a seam ripper handy for when you forget to leave this space, and have to go back and rip it out…oh, that’s just me.) You can go back around a second time to strengthen your bag with a double seam if you want…I did not want.
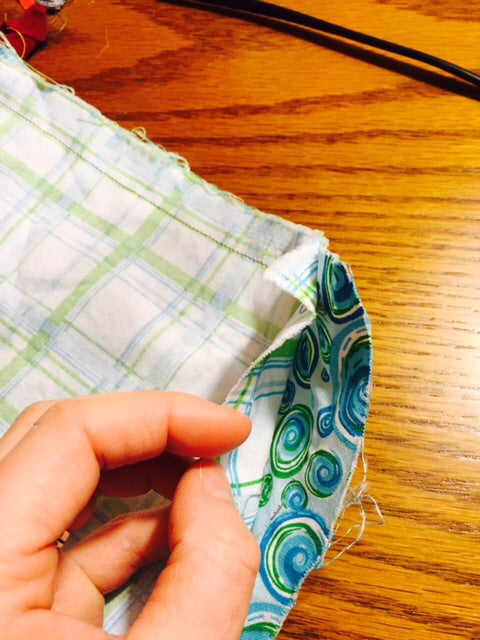
3. Once you have your square sewn together, grab your scissors, and trim around the edges, making sure to cut the corners at an angle to allow for a perfect corner when you turn it right side out.


4. Now push your fabric back through the opening to turn it right side out. You can use the scissors or another pointed tool to push the corners out to make your right angles.

5. Make sure to sew closed the opening that you made to push the fabric back through. Fold edges inward and pin closed. Sew opening shut. Now go iron your square…or not…I did not…I try to avoid pulling out my ironing board for such a small project, but it would probably look more finished if I did..

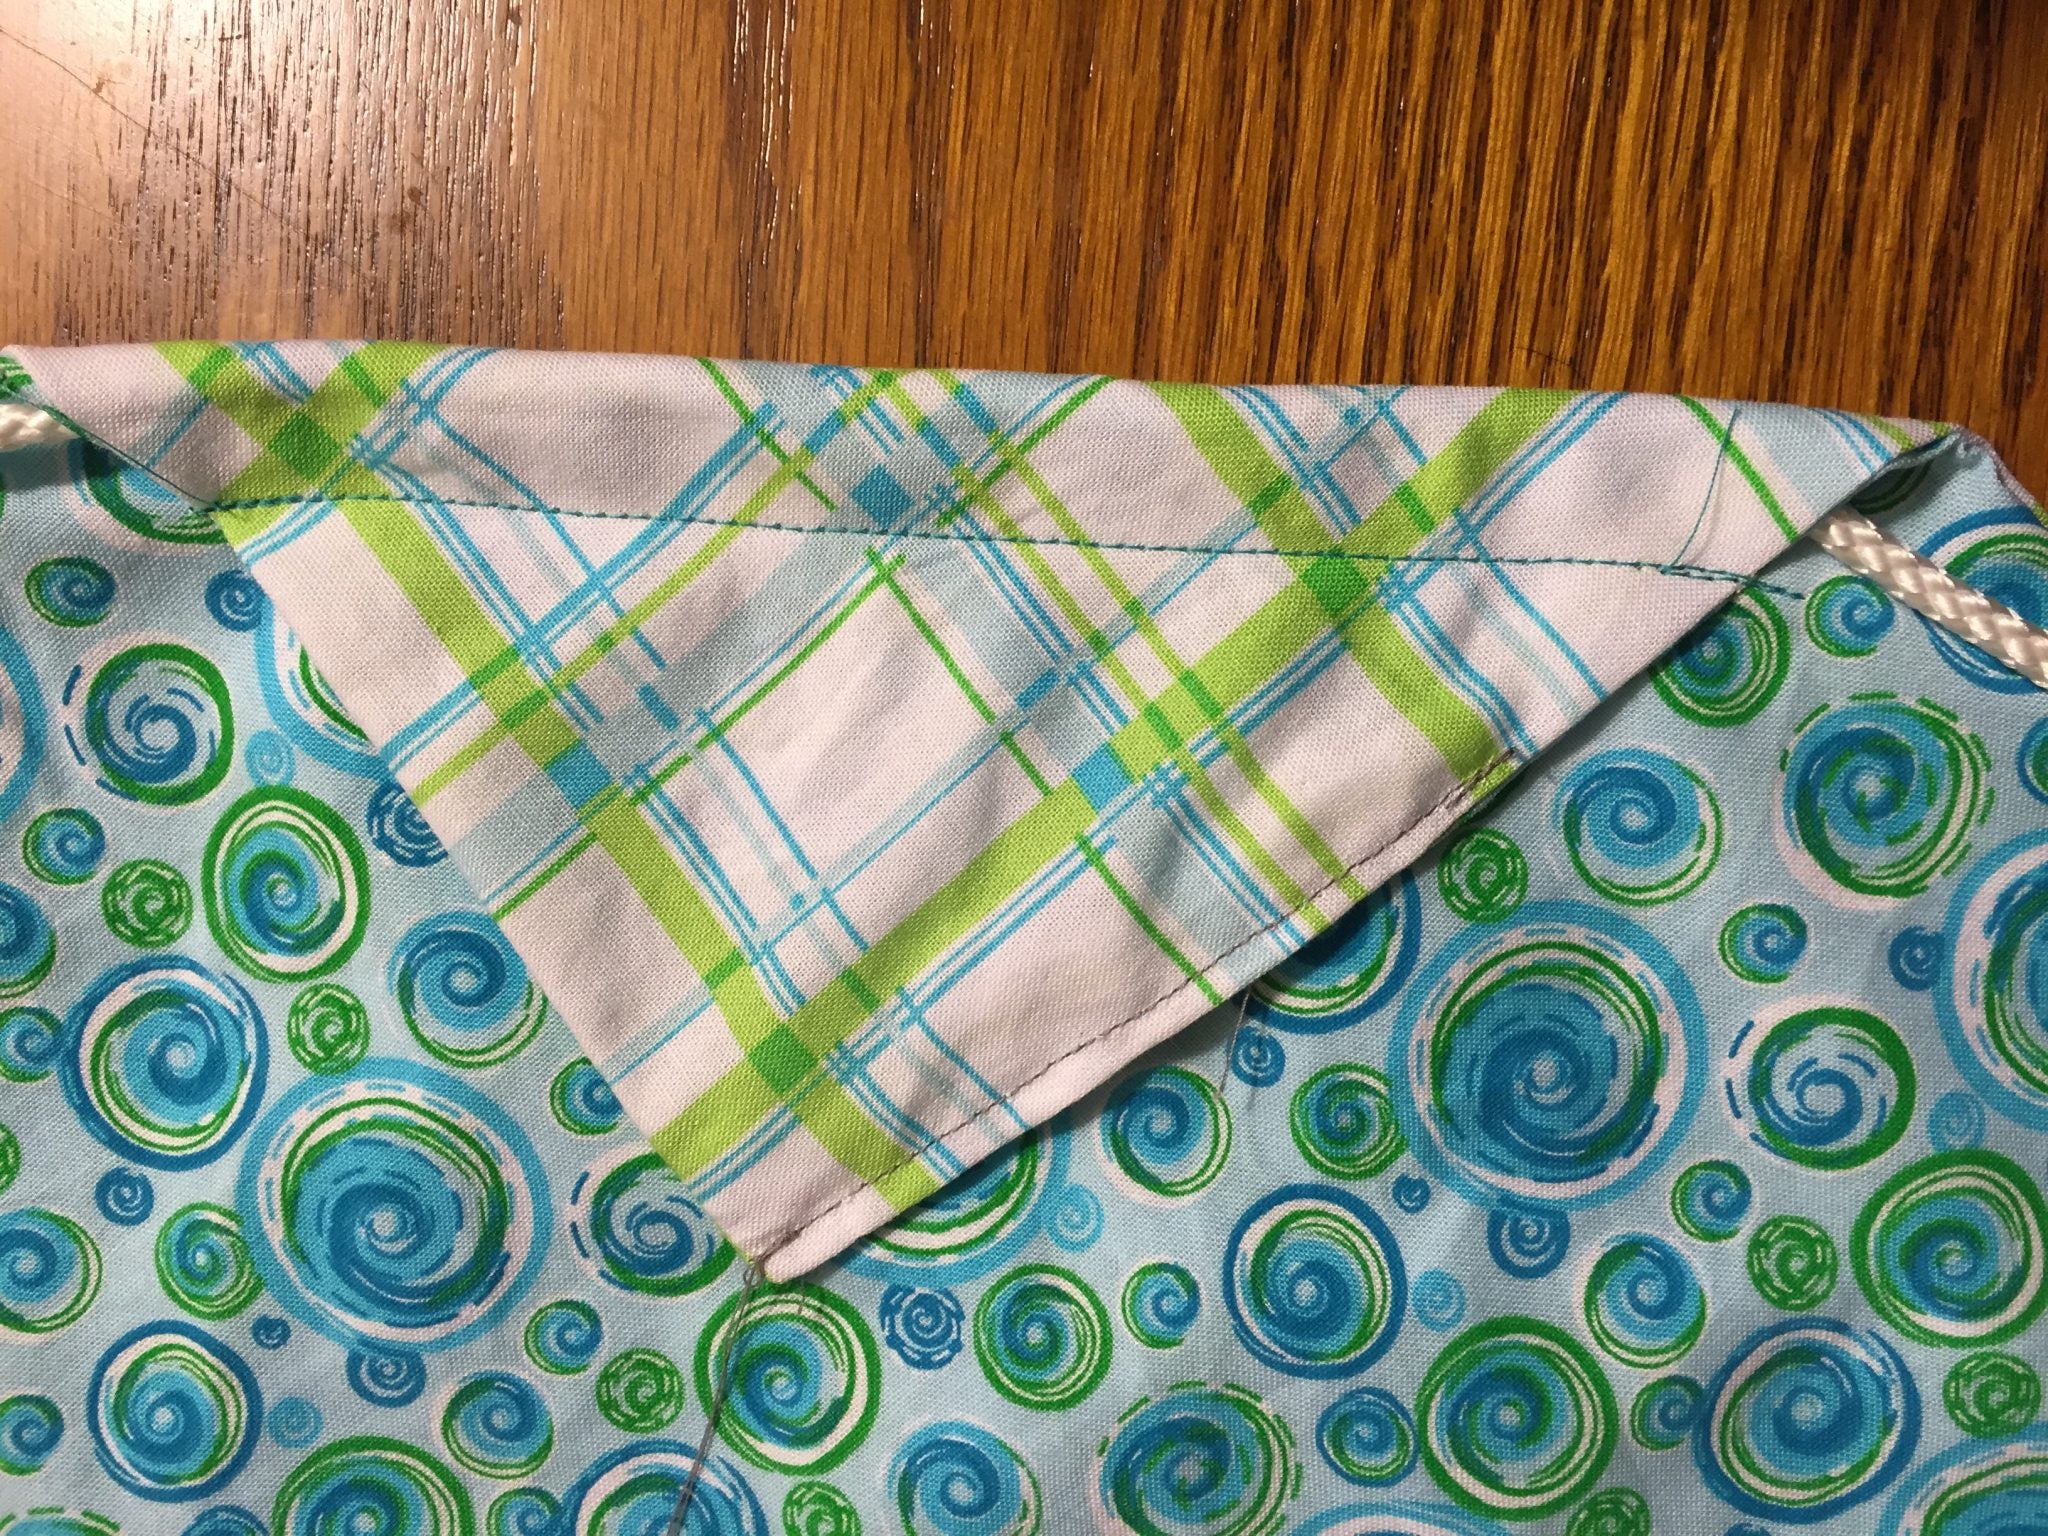
6. Lay your cord on your fabric square to circle the fabric. Next fold down all four corners toward the center and over the cord leaving the two ends of cord out as shown.

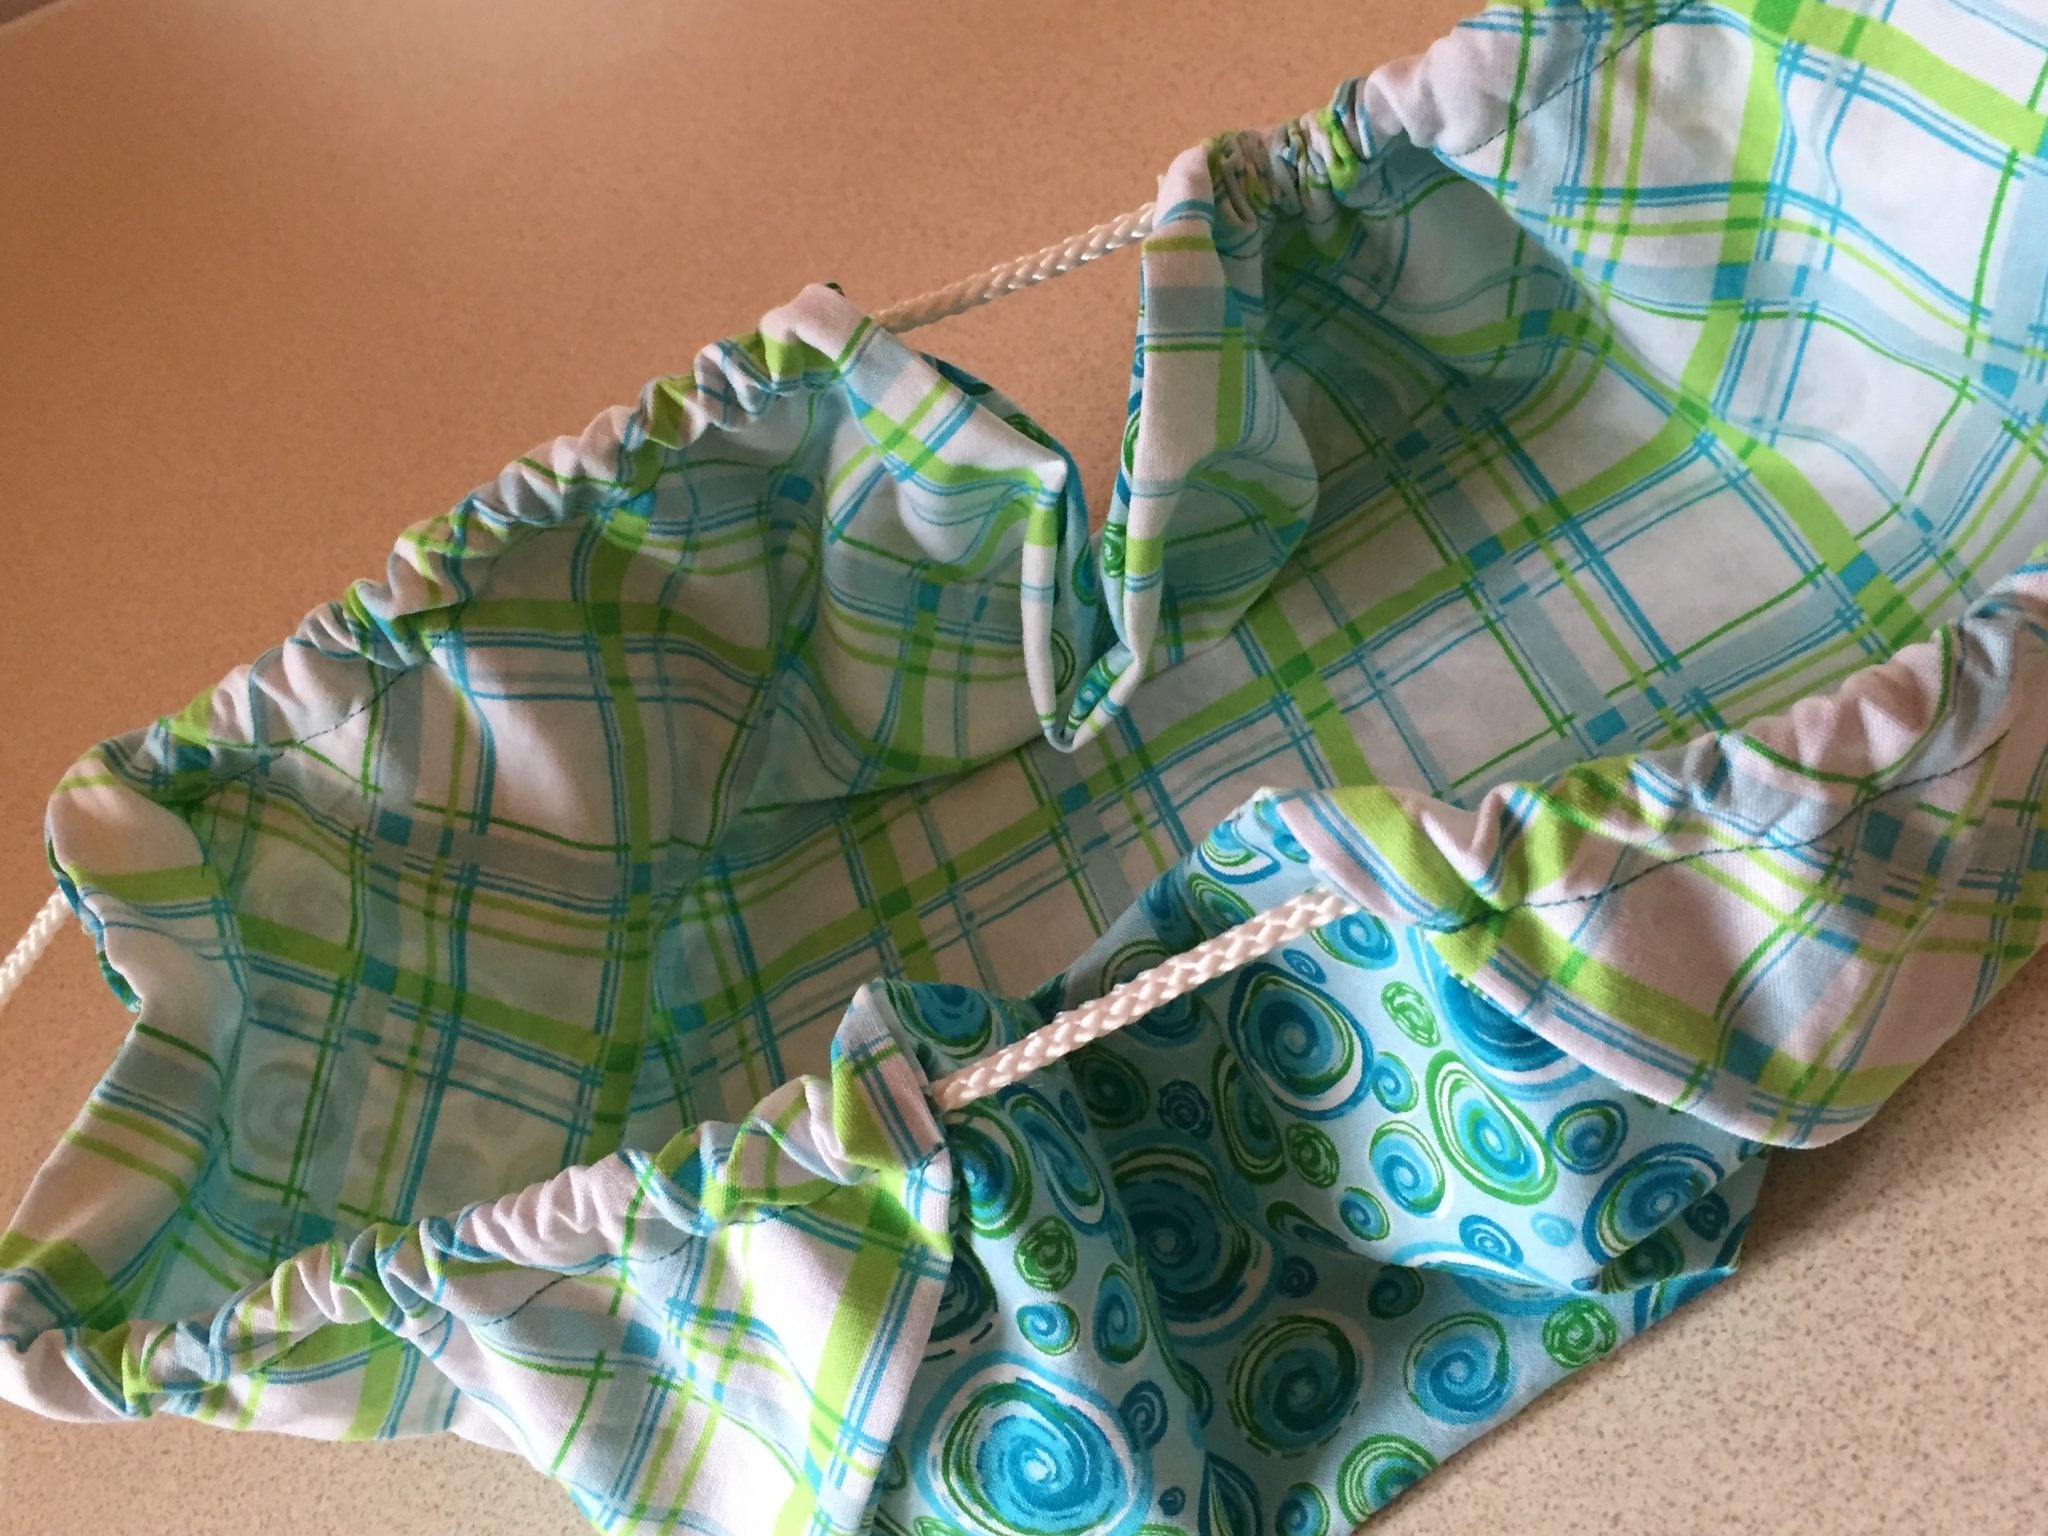
7. Pin down the corners making sure to place the pins with clearance of the cord. (This will allow the cord to be able to slide easily through the opening so you will be able to cinch close the bag.) See picture

8. Sew your seam to close the cord inside the folded corner. Again, you can make another seam to create strength for your bag, and I would suggest this if you are going to be carrying heavy objects inside.
9. Last thing to do is tie a knot into your cord, or use a button or other notion to finish off your cord as you choose. I tied a knot and then sewed the ends together because I was using only things I had lying around, and I didn’t have anything cute to attach to the cord.

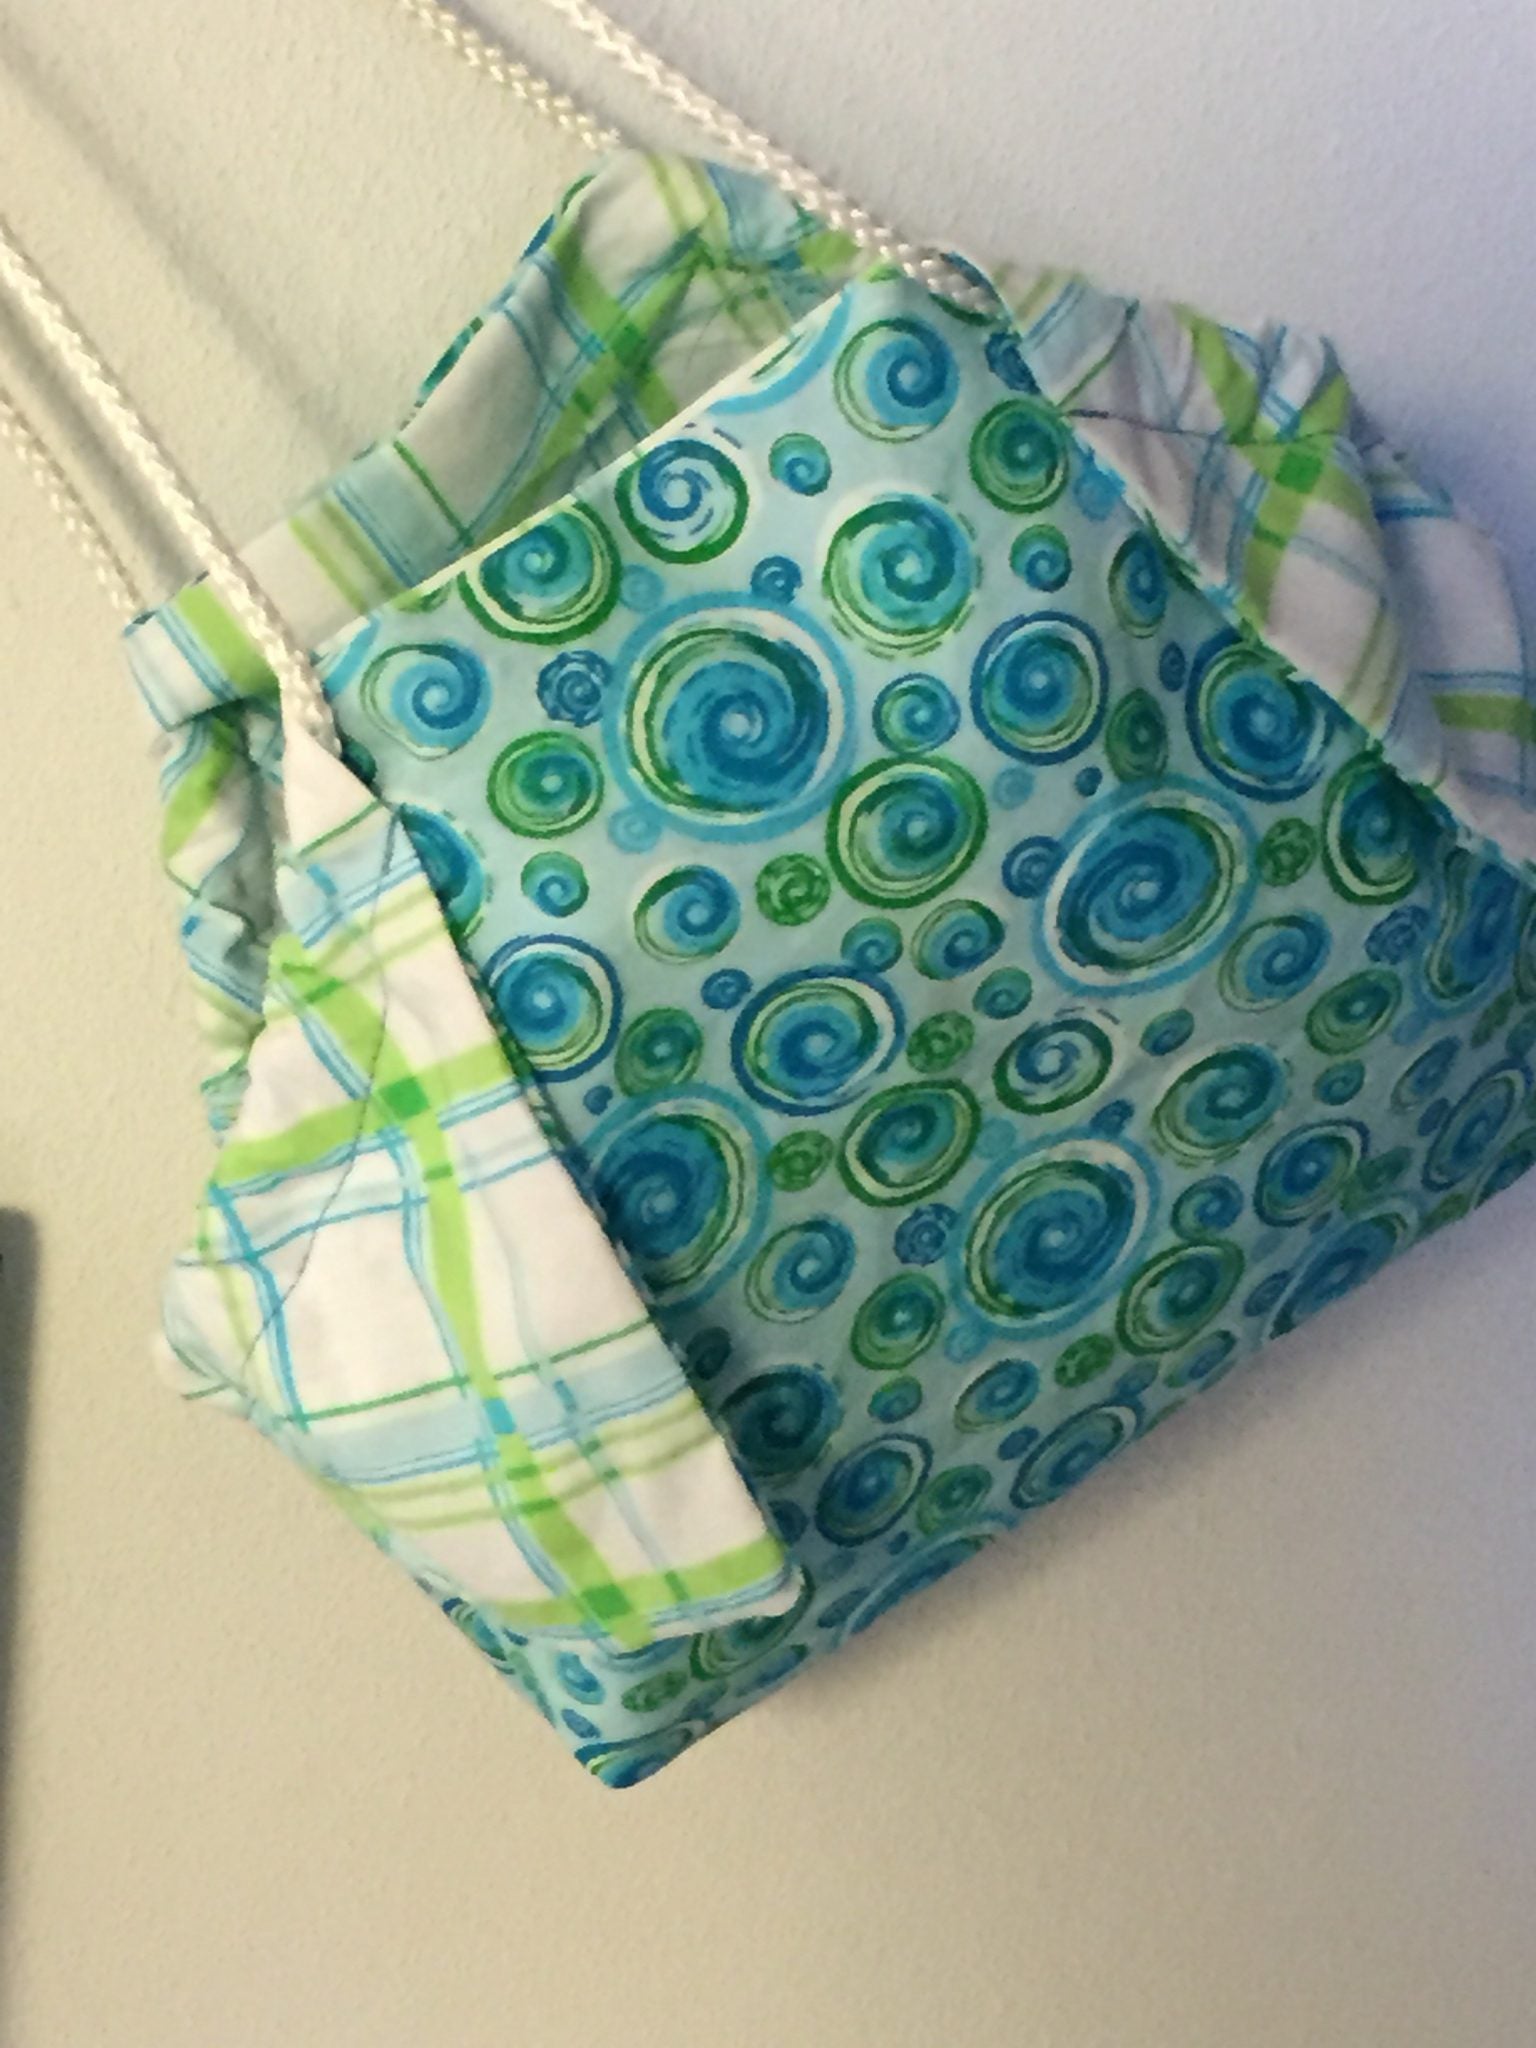
You’re done! Wahlah! Go find a few items to stick in your new tote bag and cinch it shut for a easy new storage bag.


What I really like about this is that you can set it on the counter, hang it up or even fold it up and throw it in your purse for future use. It can be small enough for cosmetics, or you could make a larger bag for groceries, or even go huge and turn it into a beach bag/blanket! Super versatile with minimal effort!
SEW Cool!!
What do you think? I am happy with this little tote bag and am thinking of making more in bigger sizes. I will have to find some more fun fabrics. How would you use a bag like this?

FEATURED SALES


