How to: Knockout Designs + HTV
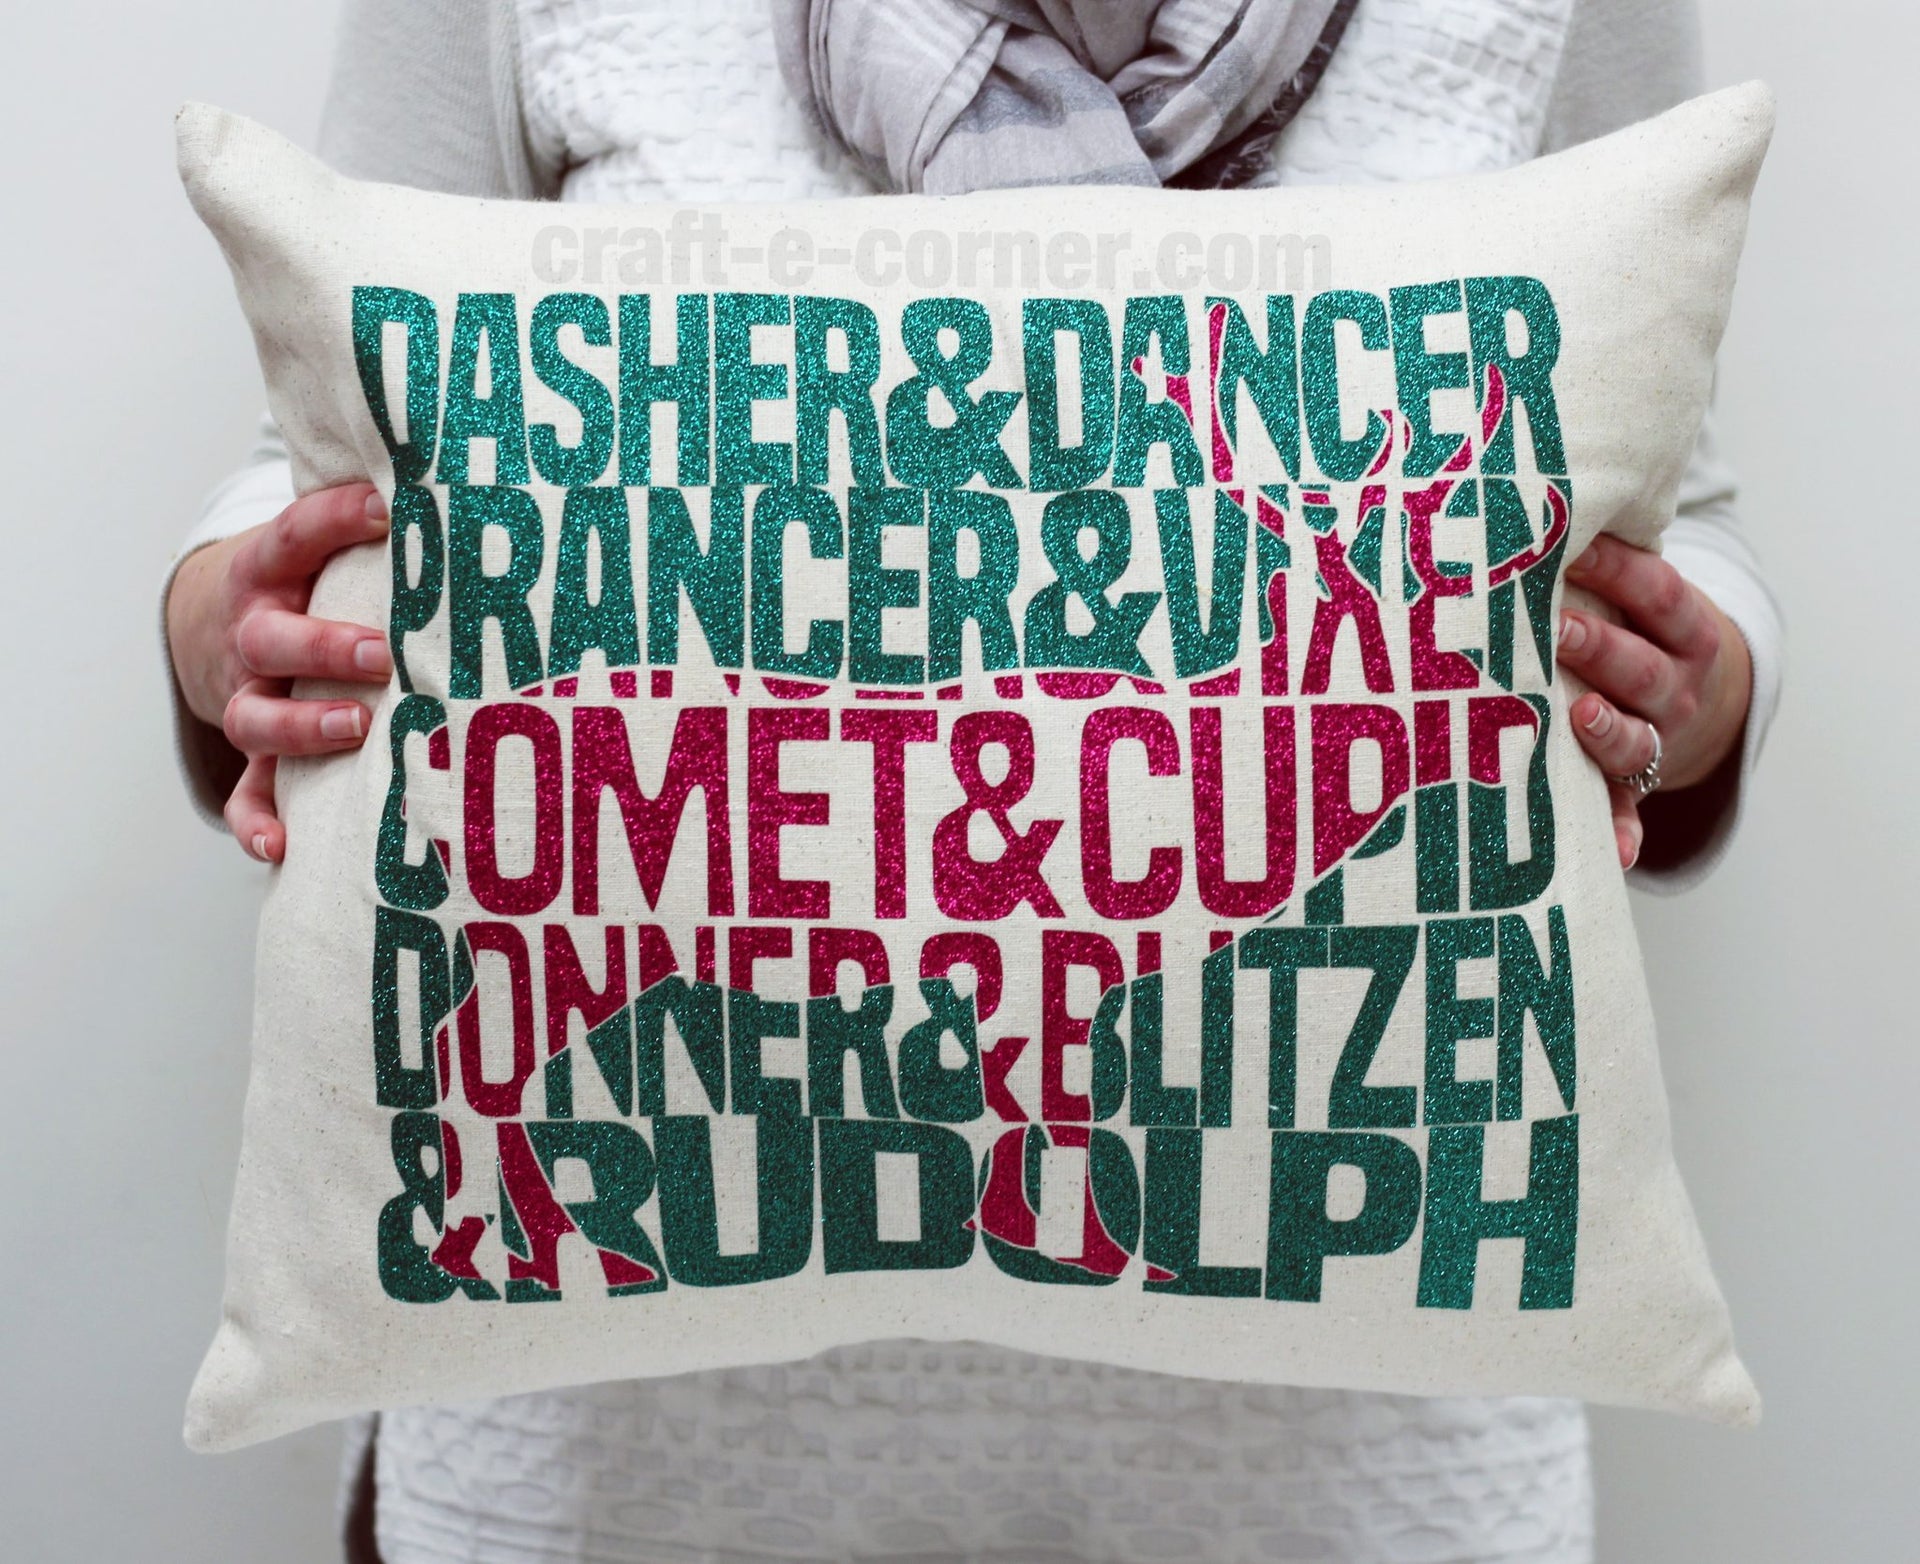
Knockout designs are so much fun! I created this reindeer knockout design as part of our exclusive heat transfer designs set:

Let’s see how to put it all together!
Pick up all of our exclusive heat transfer designs here:

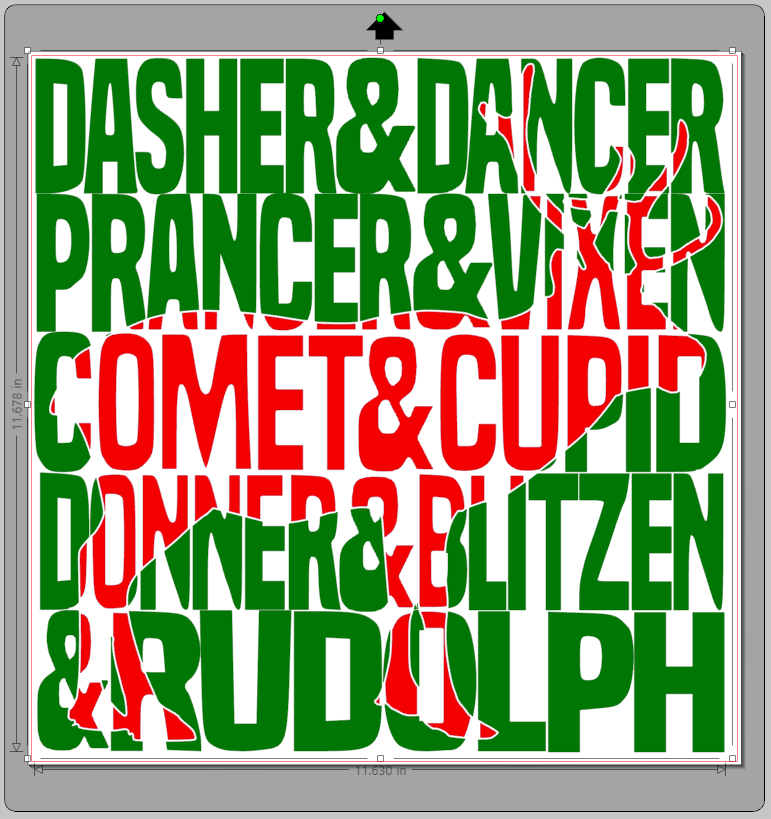
For this project, I used the “knockout reindeer” design. When you open this file, you will see this:
This file is a ready to cut Silhouette Studio file and will require Silhouette Studio 3.0 or higher. This file cut is grouped together as one piece. If you need to change the size of the design to fit your project, resize it before ungrouping the reindeer from the words. This will ensure that your pieces fit together correctly when you cut.
For my pillow, I needed the image to be a little wider than 12 inches so resized it to fit by dragging it out a bit. Once you have your image the right size, right click and select “Ungroup” to separate the layers. This will release the reindeer from the words:

In this case, since my pillow was larger than 12 inches, I have a little overhang. To make the design fit on my 12×12 inch sheet of heat transfer (and use less glitter HTV), I ungrouped the layer and moved the pieces on the end that overhung the material size. The last few letters in each row were over the edge, so I moved each group within the empty space in the layer so they fit inside the reindeer shape:

Let me stop right here and say it- this is the harder way to do it. I would recommend making your design smaller or having more heat transfer on hand. Keep in mind that for every piece you move, you’ll have to piece it back together. HOWEVER, this technique allows you to make the most of the heat transfer you have AND you can make larger designs with the same amount of vinyl. So, if you are up to the challenge, follow on…
Once I was done moving the pieces around to make them fit, I flipped the design and then grouped all the green words together. Next I moved onto the reindeer. The poor thing! I cut it’s head off and put it between the legs. Here’s what I did:
1- Right click: Ungroup–> This will release the compound path and make it so you can move the individual pieces. When you ungroup it, the middle parts of the letters will fill in (as they are no longer a compound path).
2- Uncolor the design. This will allow you to see an outline instead of a solid image. This is easier to work with than solid letters (especially when you can’t see the middles of the letters anymore).
3- Drag a box around the top front of the head, then press CTRL+G to group the pieces together. Move the pieces to the bottom.
4- Drag a box around the rest of the top of the head pieces, group them together and move them between the legs. (I did have to rotate it to make it fit.)
5- Once all the pieces fit, select the entire design, right click and select “Flip Horizontally.” This will reverse the image to prep it for cutting.
Once you have your two parts ready for cutting, select both pieces and click on the cut settings window. Ensure that you have the right material selected BEFORE you cut. For this project, I was using glitter heat transfer vinyl so I located that in the material type list:

Select your blade from the drop down menu. To see what the recommended blade settings are for your material, click the Edit button. This will bring up the material settings. In this menu, you can choose your blade (ratchet blade, automatic blade, deep cut, cap blade (blue), cap blade (yellow), cap blade (pink), and sketch pen). I am working with a ratchet blade, so I selected it from the drop down menu. The the settings I have found to work best with my machine for glitter heat transfer are speed 5, thickness 10 and double cut. Note: Your machine may differ and the settings will depend on your material you are using as well.
Once I ensured that my blade was set to the correct setting, I put my heat transfer, SHINY side down, on my cutting mat and then had the machine cut the design. Once your vinyl has been cut, peel away the excess:

Once the excess vinyl was removed, I moved onto the red part of the design and cut. I removed the extra vinyl and then cut out all the pieces that I had put in other spots (like the letters and antlers). I layered them out on top of each other to see that they all fit properly and plan the best way to reassemble them:

Next, I prepped my pillow sham by folding it in half and ironing it to create a crease down the middle. I folded it the other way and creased it down the middle again. Creasing the sham like this give me a bulls eye to help align the design. I lined up the design making sure to account for the extra row of letters that were cut separately:

I covered the design with a thin cloth and used my heat press to press the design. Next I removed the clear carrying sheet and lined up the red deer and pressed the deer in place.
I started piecing together the smaller pieces. Aligning and pressing each piece into place. I started with the top letters (ER), Next, I moved onto the antler pieces:

Some of the last row of green was easier to line up after I pressed the antlers:

It was like a jigsaw puzzle! Make sure to cover the vinyl with a sheet or towel before pressing. A teflon sheet is handy here, but I usually use a flower sack towel. It is important to cover the vinyl because glitter heat transfer vinyl can melt when it comes in direct contact with an iron or heat press. While a heat press is not necessary for doing this type of project, it really came in handy when putting together all the pieces for this pillow.
I put the pillow in the sham and this project was d.o.n.e!
If you were working with a smaller sized design, simply press the green layer and then line up the red layer and press again- ta-done!
Want to create your own designs? Learn how to create your own here:

How to Create Knockout Designs in Silhouette Studio

FEATURED SALES