Personalizing Stuffed Animals with Heat Transfer Vinyl
Personalizing a stuffed animal is so easy, you’ll wonder why you didn’t do it before! Use a heat press or an iron and make a stuffed animal for any occasion from last day of school, baby shower gifts, wedding mementos and more! With a little heat transfer, you can make a custom gift that they are sure to love.

I decided to create some fun stuffed animals for the kids to use on their last day of school. To create these custom autograph animals, I used some plain white stuffed animals and added the design with Heat Transfer Vinyl (HTV) using my heat press. For this project, I used the “Last day of Autographs” file that I designed as part of the 12 Exclusive Heat Transfer Designs I created for Craft-e-Corner. When you first open this file, you’ll see this:

This file was saved so you can see the all the pieces (so it’s quite zoomed out). You will probably need to resize the design. The size you need will depend on what project you are putting it on (more on that below).
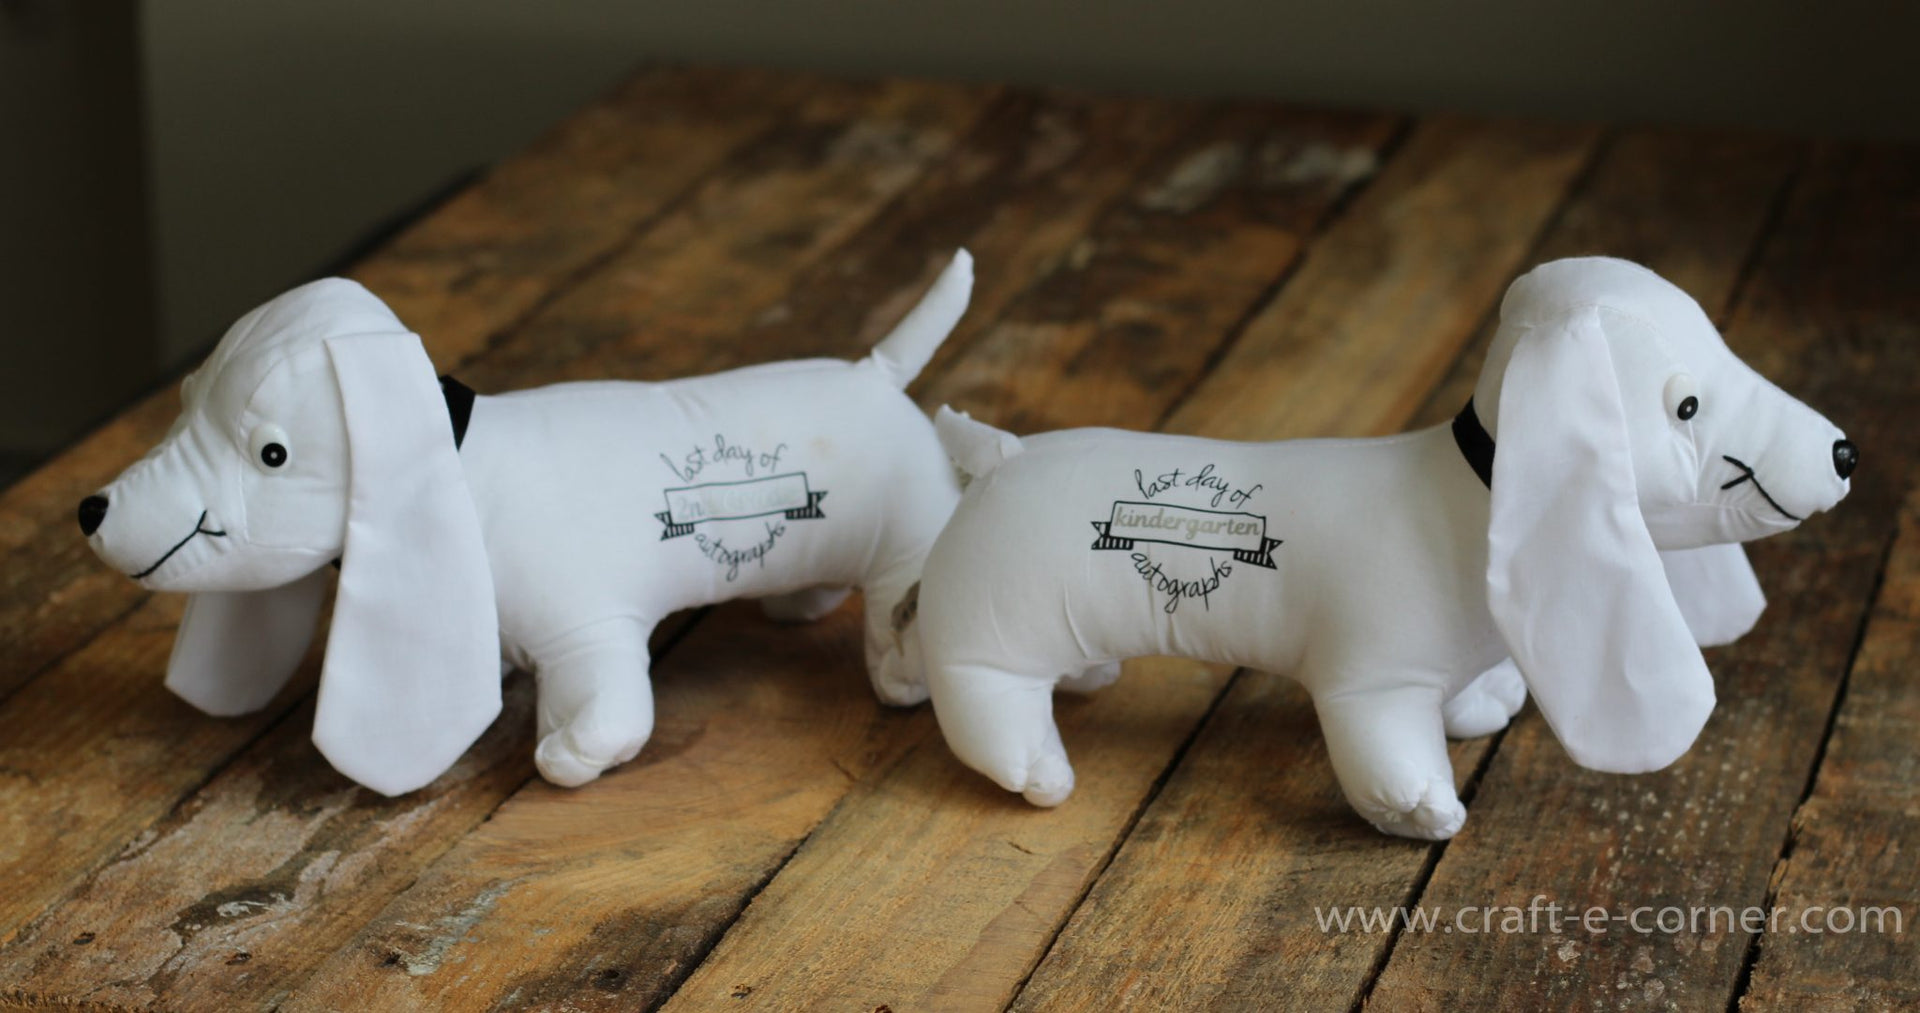
This design is perfect for collecting last day of school autographs. I decided to veer away from a tshirt like so many people do and created these cute lil puppies instead:

Autograph stuffed animals are the same concept as a shirt, but they’re so.much.cuter! I know, who needs another stuffed animal? But the kids are dying over them and can’t wait to have their friends sign their dogs.
Adding heat transfer vinyl to stuffed animals isn’t much different than adding HTV to just about anything else, but I have a few things I learned while doing these, so let’s get into it.
First thing you’ll need to do is measure your stuffed animal. These dogs are on the small size so this decal ended up being pretty small. I misplace my ruler just about every other second, so I usually grab my Silhouette mat and measure things with it:

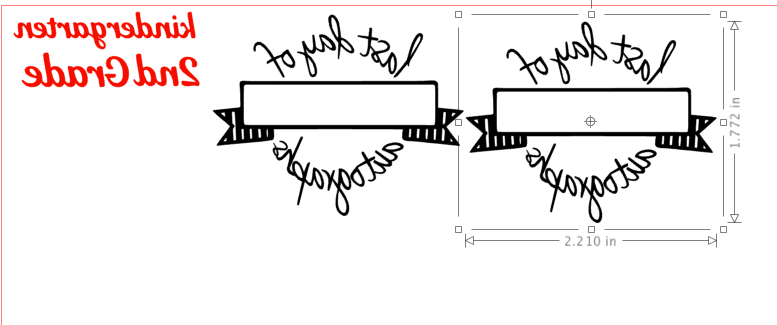
I had about a 2×4 inch area to work with. Once I knew what sized space, I went to resize the design to fit. I needed both kindergarten and 2nd grade, so I clicked on kindergarten, 2nd, grade and the last day of piece of the design. To select more than one piece of a design at once, hold the shift key while you click:

Silhouette Studio will draw a box around everything as you select it. Once I have my pieces selected, I grouped them together by pressing CTRL and G. I moved them off to the side. Next, I clicked and dragged a box around the rest of the grades and moved them away from the pieces I wanted to keep.
I generally design without the grid on my screen, but I needed to turn it on to make sure this design was the right size. I turned the grid on for my digital cutting mat in Silhouette Studio by pressing G. This will pop up your grid on your screen. If you need to adjust the grid settings, you can click on the Grid Settings Window (upper right hand corner). From here, I shrunk the design down to the size I needed (2 inches tall at most) using the 1 inch grid lines as a guide:

It’s important to have all the pieces resize together to make sure they will still fit when you resize the design. Just to make sure the words will still fit in the box, I pulled the pieces into the box to double check that they still fit (to ungroup by right clicking>ungroup):

Once I was all set on the size, I created a duplicate of “the last day of” part of the design (since I was making 2 dogs) by clicking on the design and then pressing CTRL C and CTRL V (Copy and Paste). Once that was set, I flipped the design to cut with HTV by selecting everything, right clicking and selecting “Flip Horizontally”:
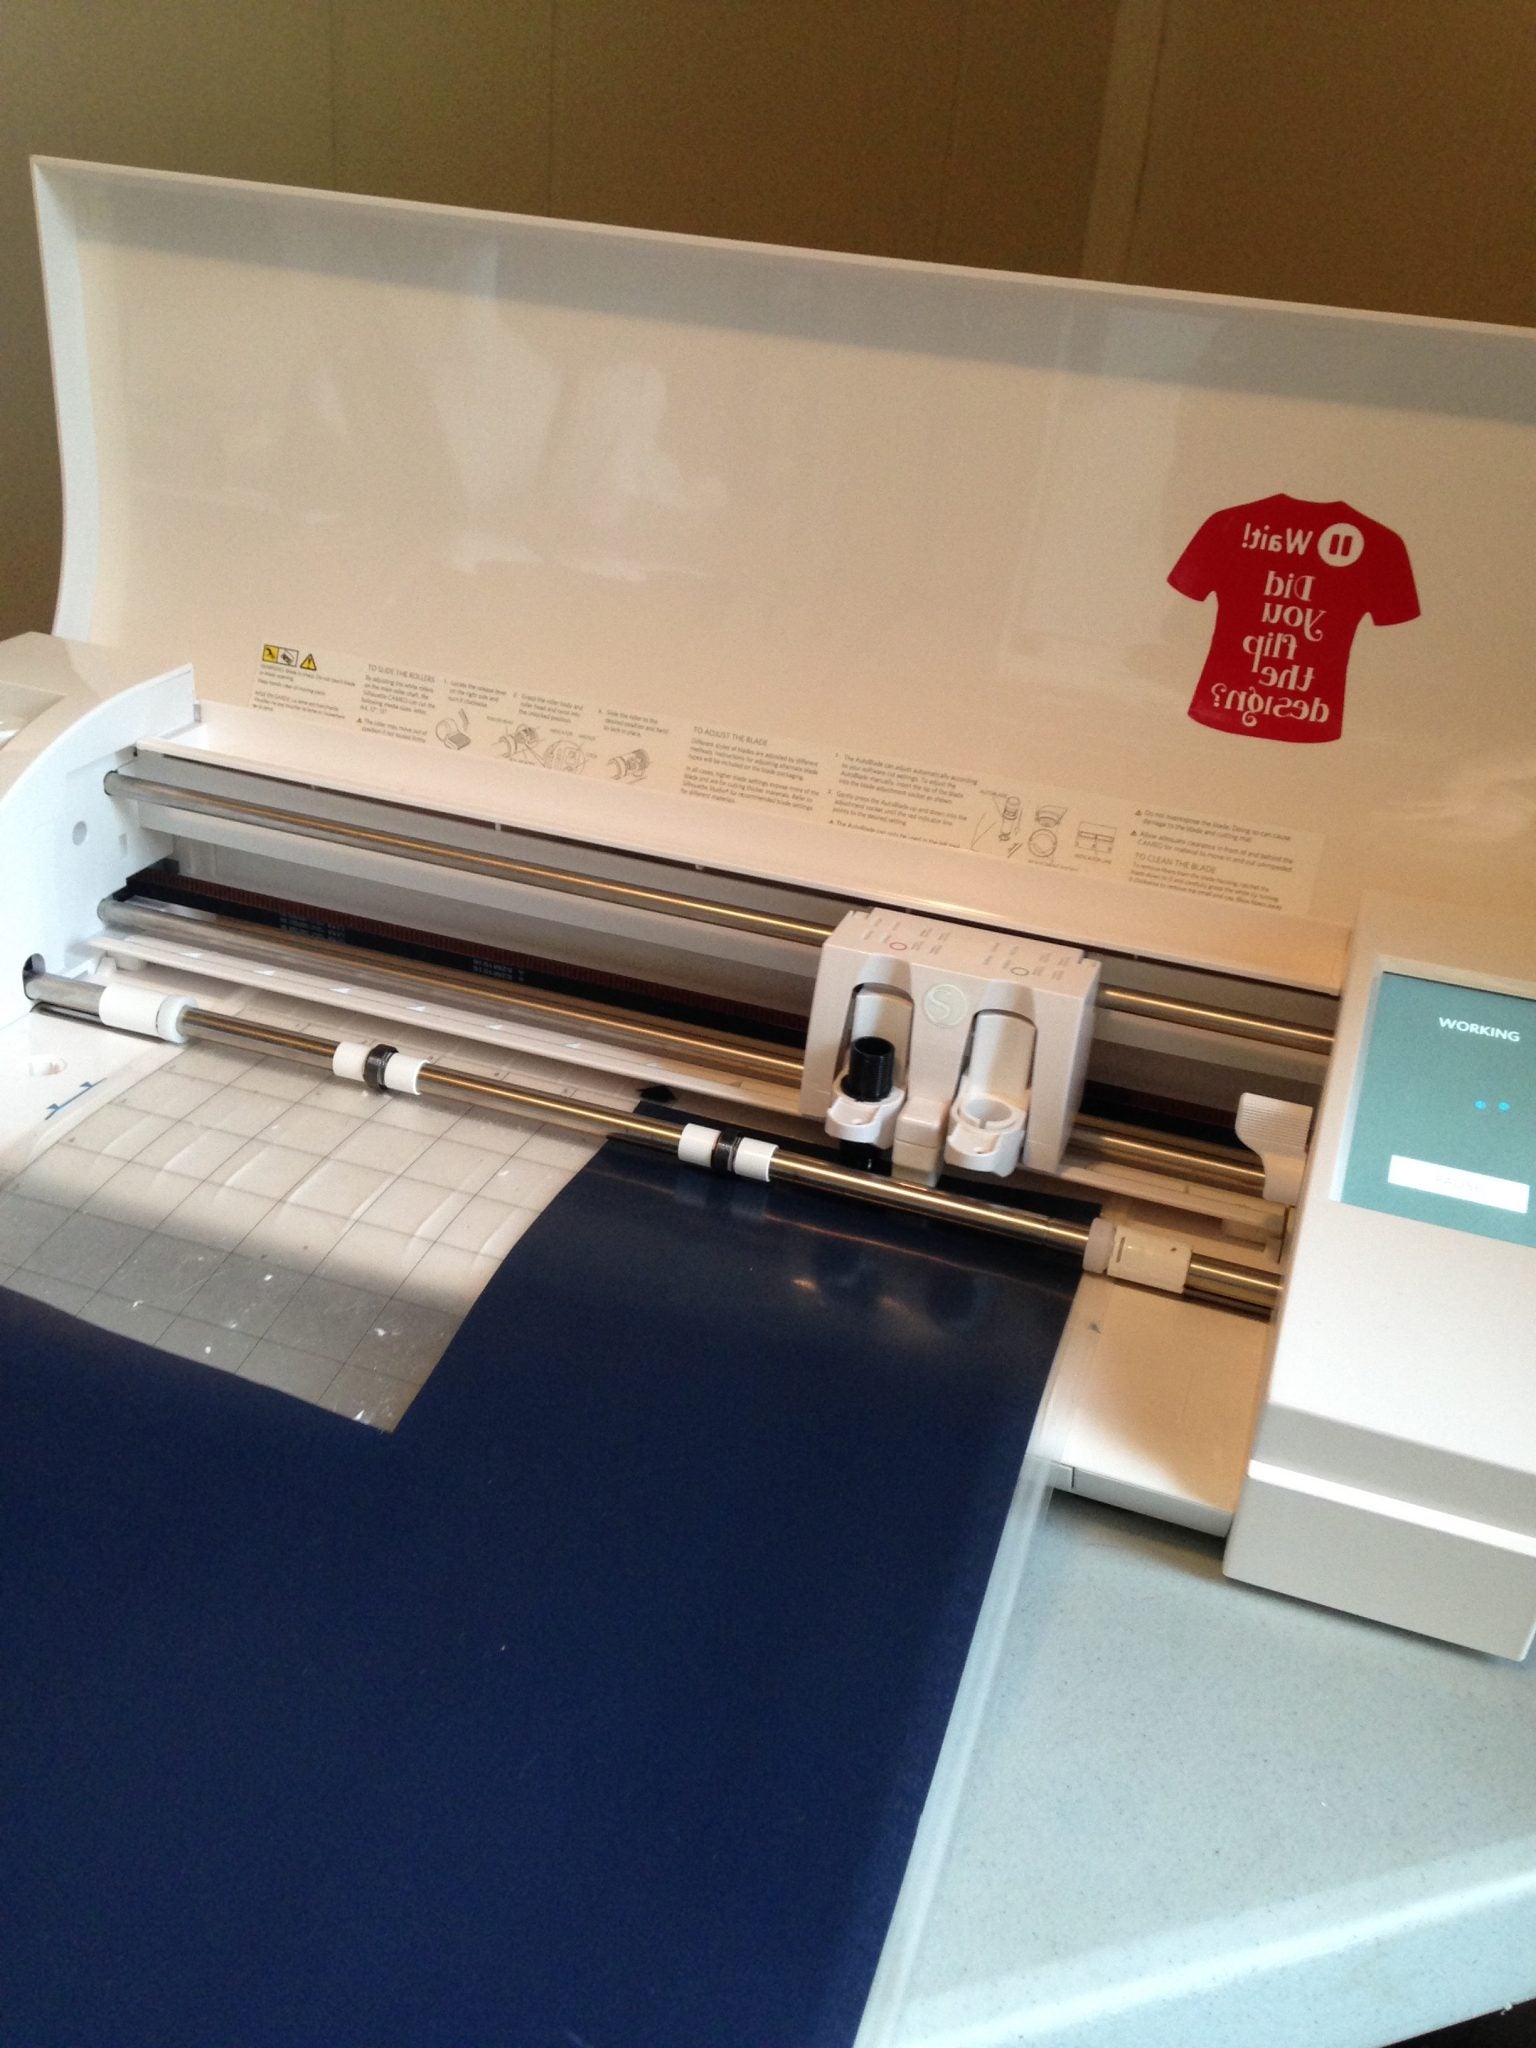
Since this design was pretty little, I could use a smaller scrap piece of HTV. In this case, I loaded the heat transfer on my cutting mat and moved my design to the right hand side of my screen before cutting:
TIP: changing where you cut on your mat will help prolong the life of your mat, even if you’re not cutting through the material.
Once I had the designs cut, I removed all the pieces that weren't part of the design (weeding). Good light and a sharp hook tool helped, especially because this design was so little.
When the design was all ready, I lined it up the black “Last Day of Autographs” piece and stuck it right to the stuffed animal taking advantage of the sticky backing sheet the HTV comes on. Once it was lined up, I put it in my heat press and gave the pup a squeeze:
Next, I peeled the backing sheet off and lined up the grade inside the little box:

It was going pretty well, so I didn’t think twice when I stuck this in place, covered with a tea towel and gave it another press. When I opened the press I’m pretty sure my mouth hit the ground from dropping open. Whoops:

So that piece moved a little bit when I pressed it apparently…
That’s okay- you can fix HTV mistakes! Get the step by step on how to fix this mistake here.

I fixed this one and learned my lesson for pup #2. This time, I used a larger piece of heat transfer vinyl backing sheet that I had left over from another project to wrap around the dog. I stuck the HTV where I wanted it on the stuffie and then used the longer HTV backing sheet to give me something to hold onto. Make sure the piece of HTV backing that you use covers the entire original design. If you do not cover HTV, it will melt (and stick to your iron or heat press):

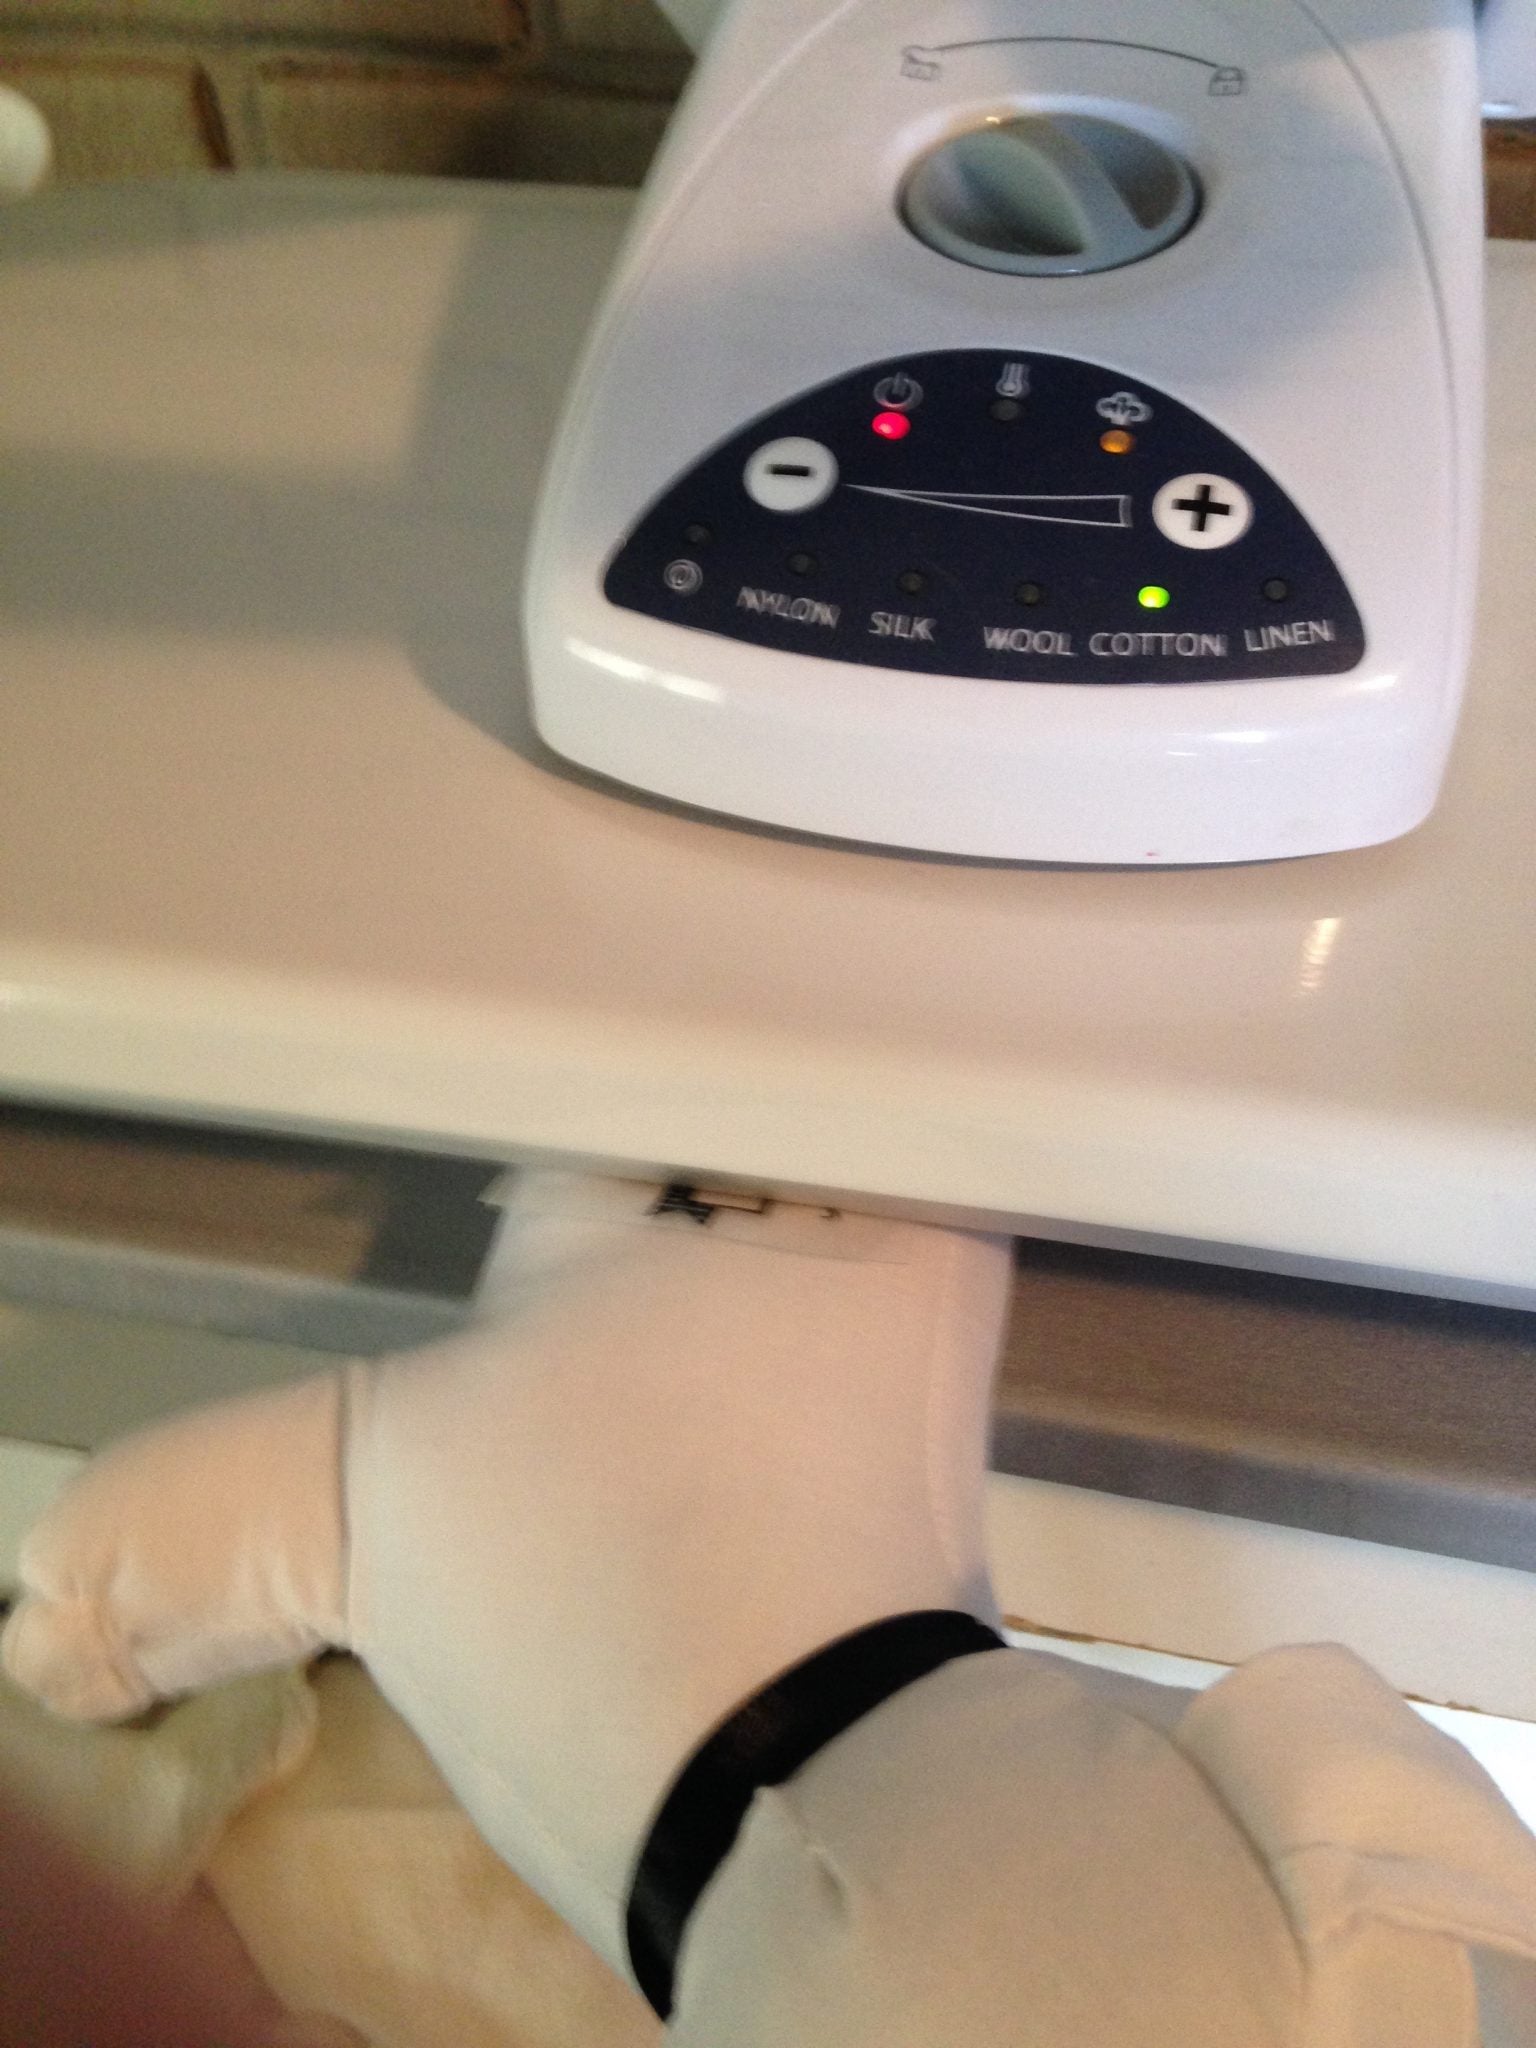
Also, instead of closing the dog between the plates on the heat press, I pressed the stuffed animal against the top plate being careful to watch my hands:

I rolled the dog slightly while pressing the animal against the hot plate.

These dogs have no fur (they are actually made to be written on), but you can personalize stuffed animals with some fuzz too. Look for shorter fuzz so your HTV will stick well and not have weird patches of hair sticking up. This is a zebra I made as a personalized baby gift. It has nice short fuzz and worked really well with the HTV:
If you have a slightly longer fur on your stuffed animal, you can try trimming the fuzz down in the area where you are going to put the design.
TIP: Keep in mind that the eyes and noses on most stuffed animals are plastic. Make sure that you do not get the nose or eyes under your iron or heat press because they will melt (and it’s not pretty!).
If you don’t have a heat press, you can do this with an iron too. Just crank up the heat and press down on a sturdy surface. Smaller designs would likely work better with an iron over a heat press as you have better control. Don’t let not having a heat press stop you!
Imagine the joy your kids will have when they find a personalized stuffed animal in their Christmas stocking or Easter basket! This is such an easy and affordable gift idea too and I know my kids will love getting their friends autographs on their puppies at the end of the school year!

FEATURED SALES