
Whimsical Characters in Hand Embroidery (Free Pattern)
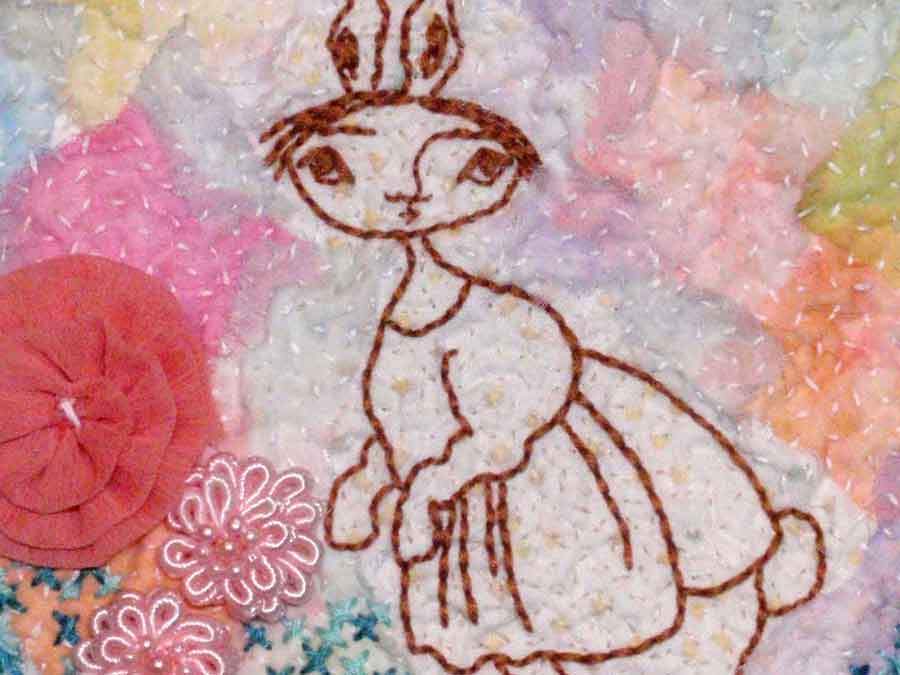
Well, winter has not quite given up here in northeastern Wisconsin, but I’m thinking of spring nonetheless. Today I have a sweet, pastel-colored project to help you join me in the mood. The project includes a free pattern featuring a big-eyed rabbit or a curious snail. This is a perfect project to relax with some hand embroidery in the evening. And at the end of the night, you’ll have a delightful piece of small fabric art. Enjoy!

Supplies:
Embroidery floss
Embroidery needle
Fabric, neutral-colored, approximately 9×9 in.
Fabric for border, approximately 12×12 in.
Fabric scraps, assorted in pastel colors
Batting or heavy felt, approximately 9×9 in.
Fabric pen, disappearing ink
Fabric scissors
Pins
Seed beads, needle and thread (optional)
Fabric or ribbon floral embellishments
Download PDF Pattern
Directions:
Transfer the pattern to the neutral-colored fabric. My fabric is a light pink cotton with a paisley pattern. You can use any transfer method you prefer, but I simply like to hold the fabric and pattern up to the light and trace the pattern using a pencil. Layer the fabric on top of the batting. I used a scrap of natural cotton batting, but heavy felt or polyester batting would work, too. You’ll get a slightly different texture depending on which batting you choose.

Stitch on the pattern lines with embroidery floss using a back stitch. Create two eyes for your character using a French knot. I’m using a medium brown floss that contrasts nicely with the pink fabric. I don’t use an embroidery hoop, because I like the puckered texture created by the stitching. The puckering will reduce the overall size of the project of course, and this is the reason that I wait until stitching is done to cut the fabric and batting to size.
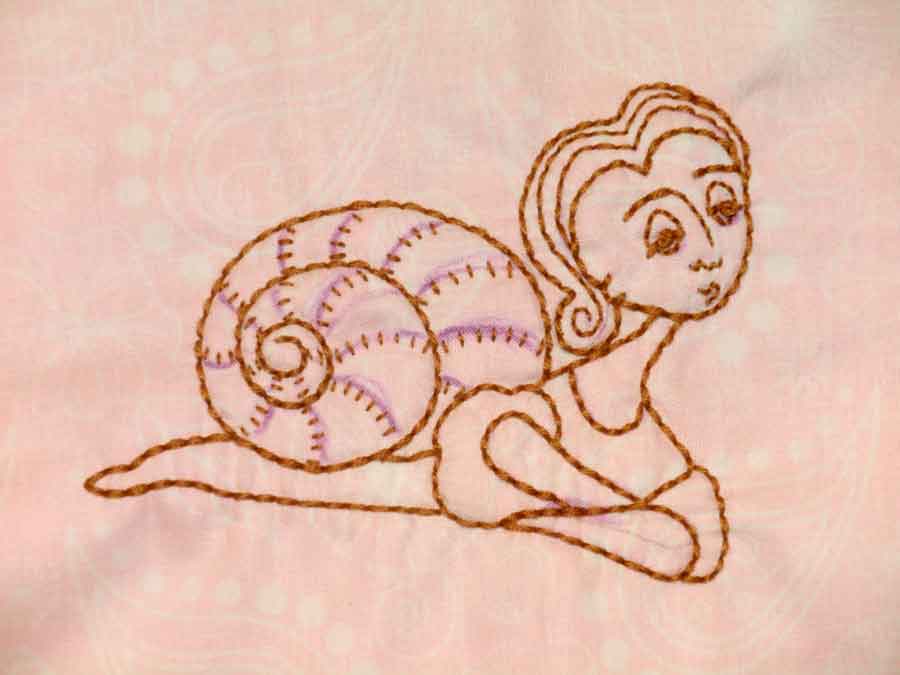
Create texture on the character using a single seed stitch. Select a color for your embroidery floss so that the stitching blends in to the colors of your background fabric. Remember, these fill stitches are intended to create texture on your piece, rather than stand out as an independent element of the design.

When the stitching on your character is complete, cut small (less than 2 in.) pieces of fabric scraps and pin in an overlapping pattern around the character. I used thin translucent fabrics so that the colors blend somewhat as the scraps are stitched together.

Attach the scraps to the background using the same single seed fill stitch that you used on the character and white embroidery floss. Be certain to stitch in random directions to avoid creating defined tunnels or rows on your artwork. At this point, you’ll need to make some decisions about the overall size of the fabric collage. Carry through with stitching the fabric scraps using the random single seed stitched until they cover the visible area you plan for the front of the collage.

I like to use a viewfinder cut from a piece of scrap paper to help me determine how to trim my collage before adding the fabric border. I cut a 5 in. square from the paper and placed it over the collage, aligning the image inside its window. When I was satisfied with the placement, I traced the inside of the window using a fabric marking pen.

Remove the viewfinder and draw a second square – one inch larger than the one traced inside the viewfinder. Use sharp scissors to cut the collage along the outside lines. Place your border fabric, right side down, behind the trimmed collage. Mark a square about 1 1/16 in. larger than your trimmed collage and cut neatly on the lines.

Fold the corner points of the border fabric in to meet the corners of the square marked on the collage as shown in the photo. Pin the corners in place.

Fold up one side of the fabric border as shown in the photo and pin in place. Repeat for all sides. You can expect the corner folds created by the two adjoining sides to overlap slightly. If there is more overlap than you’d like, you can return to the previous step, adjust the corner point, and refold the sides until you’re happy with the corner appearance.

Using white embroidery floss, chain stitch near the edge of the border fabric to secure it on the front of the collage. Use a running stitch on a diagonal at each corner to tack the corner in place.

Enhance your fabric collage with decorative stitching, fabric or ribbon embellishments, and seed beads. Get creative and have fun! I used some turquoise and aquamarine cross and feather stitches to suggest a home for my character and added some delicate pink seed beads to the inside of the chain stitches. A couple of pastel ribbon flowers provide a finishing touch.

Ta da! What do you think? I hope you enjoy this little spring project. I’d love to hear what you did with the patterns in the comments below.
Download PDF Pattern for this Project

Hand Stitched Felt Christmas Ornaments using Cricut Maker
FEATURED SALES


