Santa Ornaments: A Step By Step Coloring Guide
Get into the festive spirit with these adorable DIY Santa ornaments! Using copyright-free vintage illustrations found on Graphics Fairy, you can create your own miniature artworks for your Christmas tree or as personalized gifts for your loved ones. In this project, we will guide you through the steps to transfer the Santa designs onto watercolor paper, color them using Prismacolor pencils, paint the background, and finish them off with a felt backing and an embroidery floss hanger.

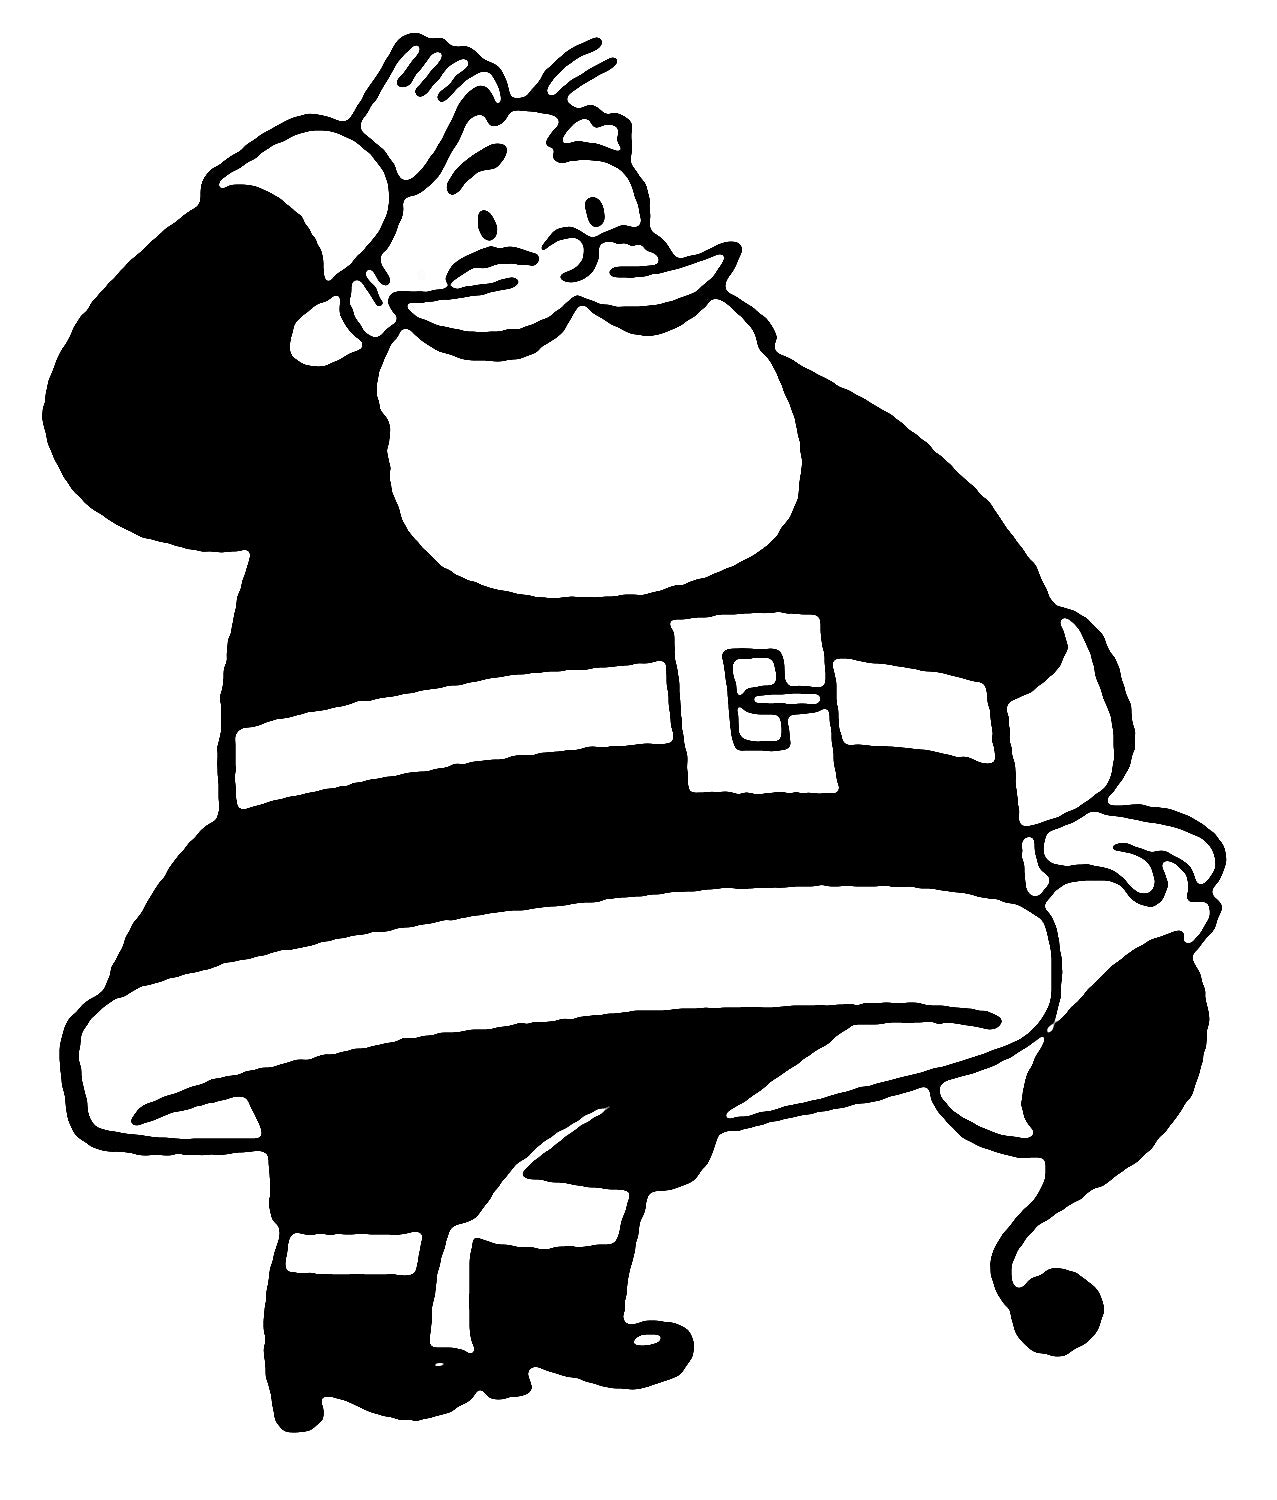
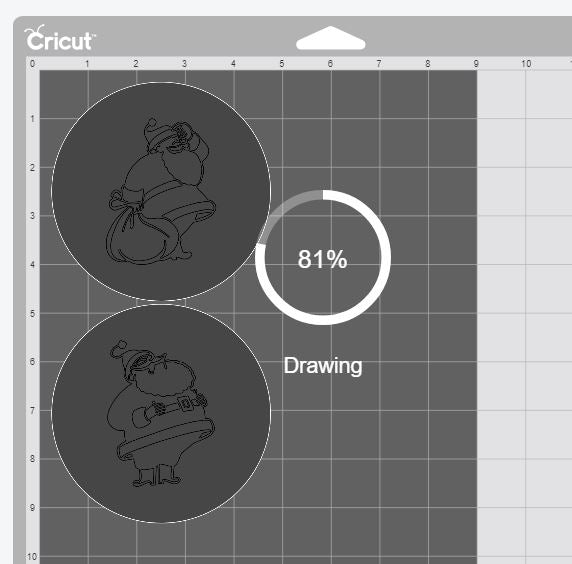
The Santa images used in this project were found on Graphics Fairy. They are free vintage images in the public domain. Because they are black and white, they are easy to bring into Cricut Design Space and edit for drawing with the Cricut.


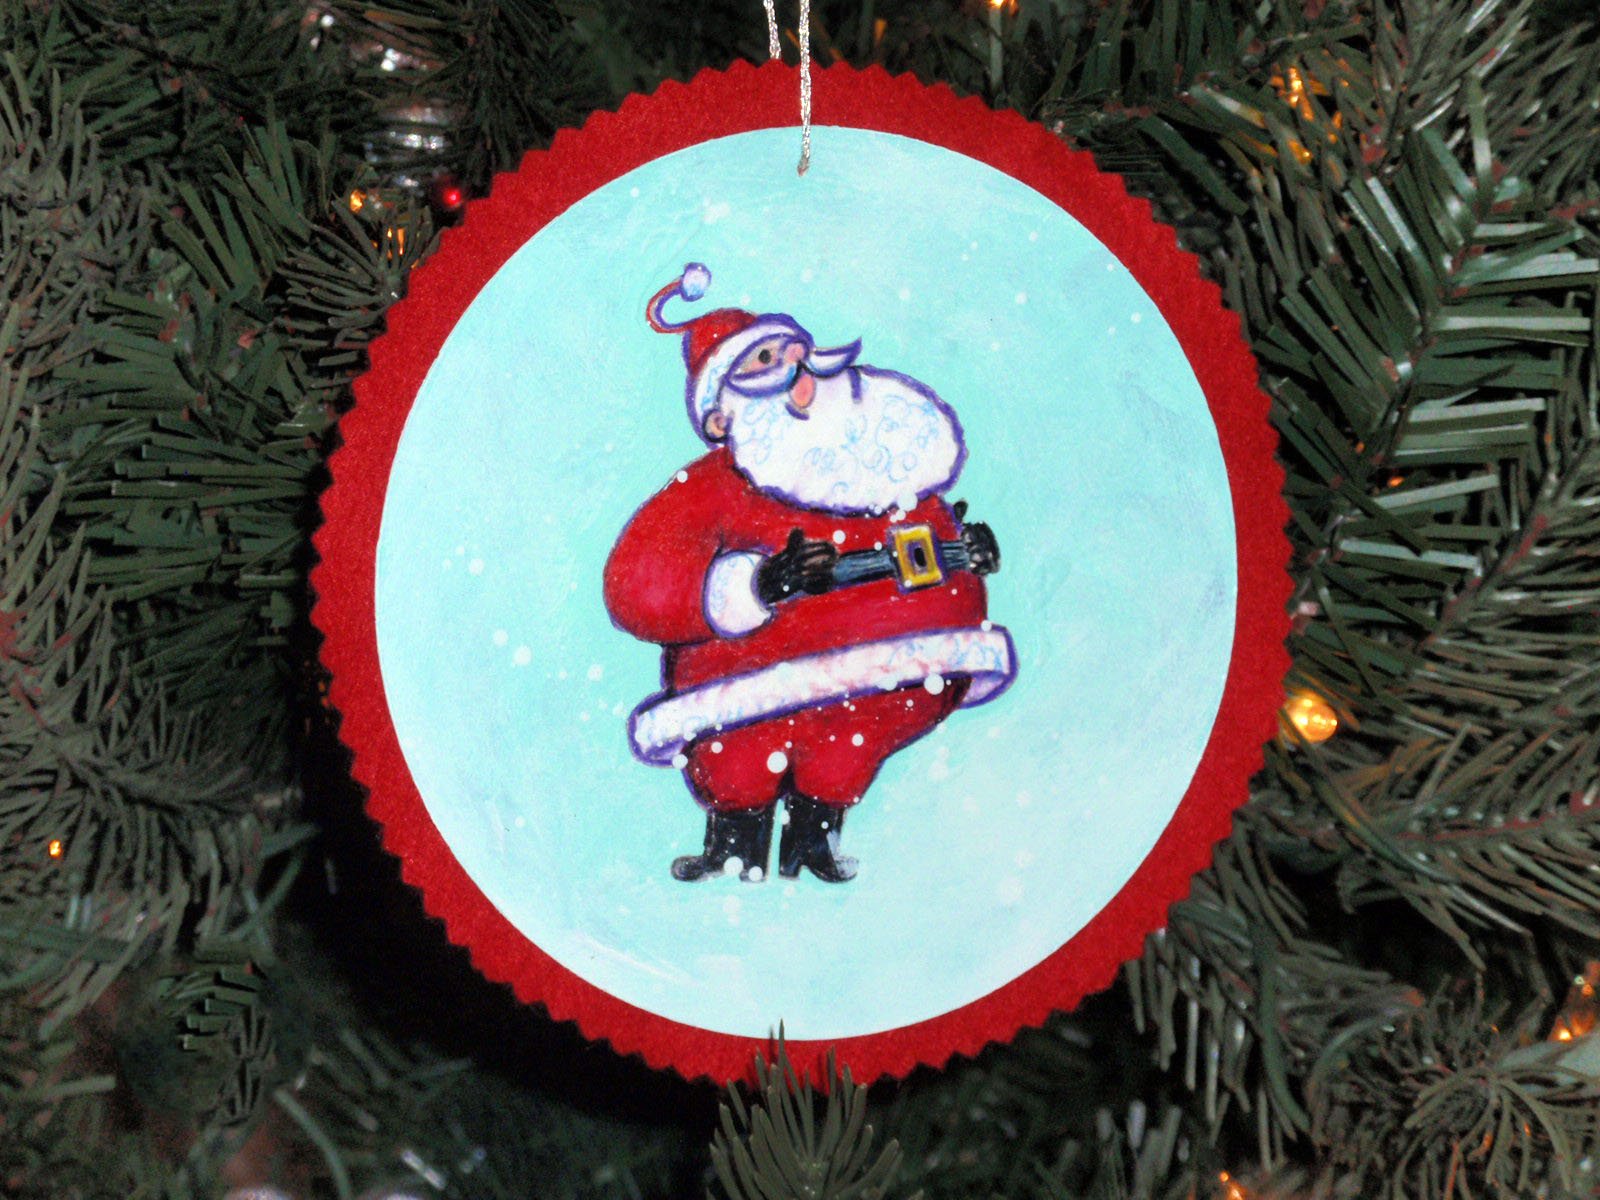
Transfer the Santa designs to watercolor or other heavy paper. I used my Cricut and Cricut pens to draw Santa, write a “Merry Christmas” message, and cut out the circles. However, you could also transfer the designs using old-fashioned transfer paper.

Front of ornament
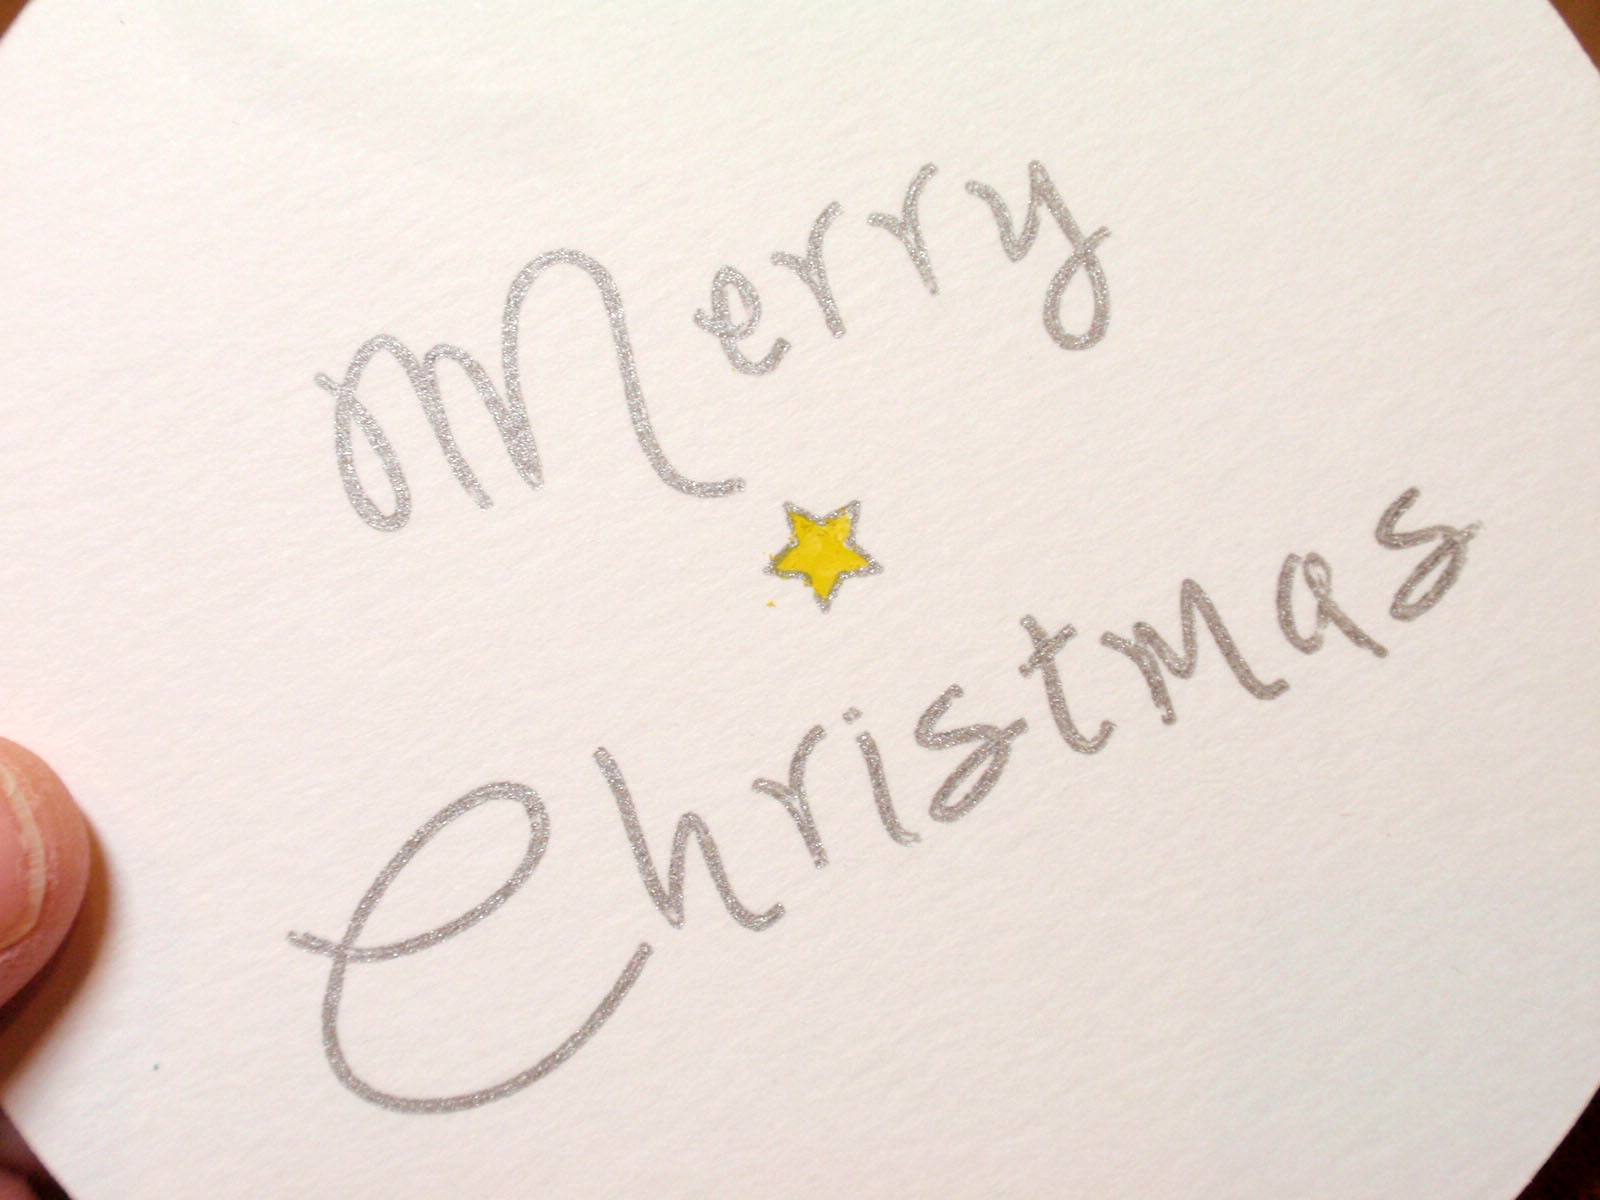
Back of ornament
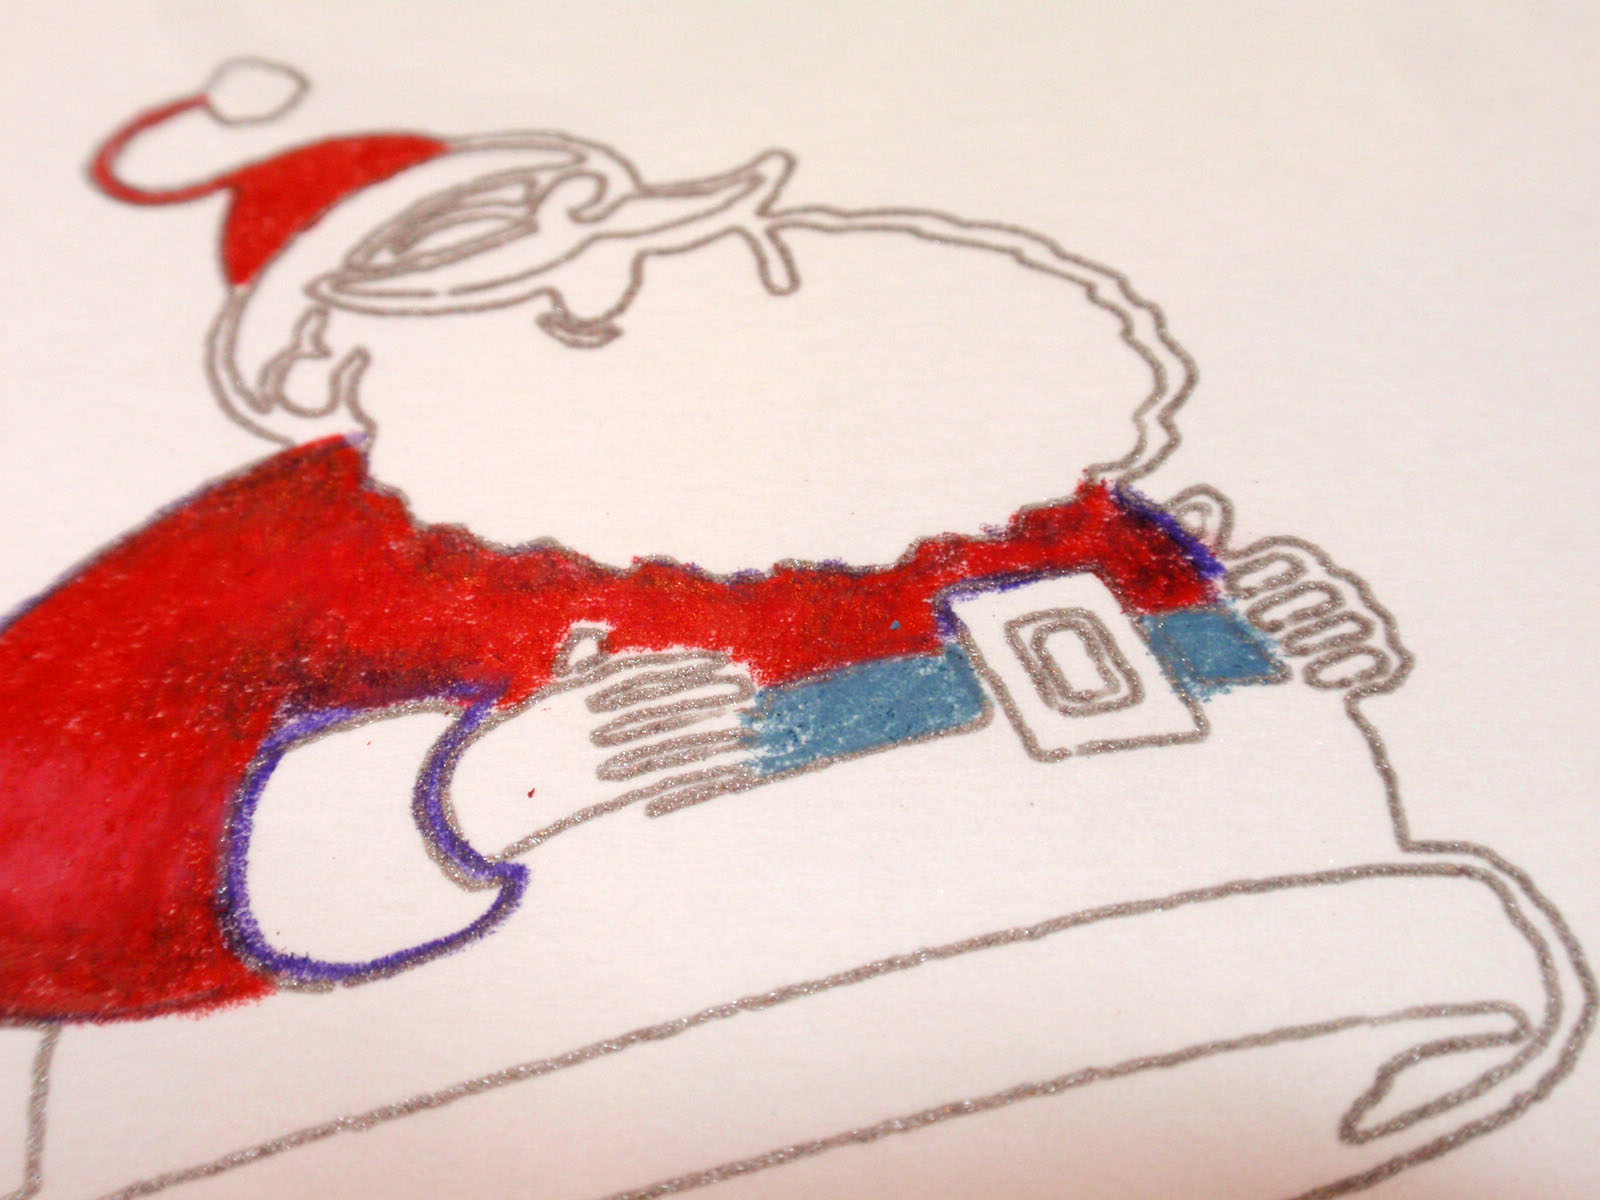
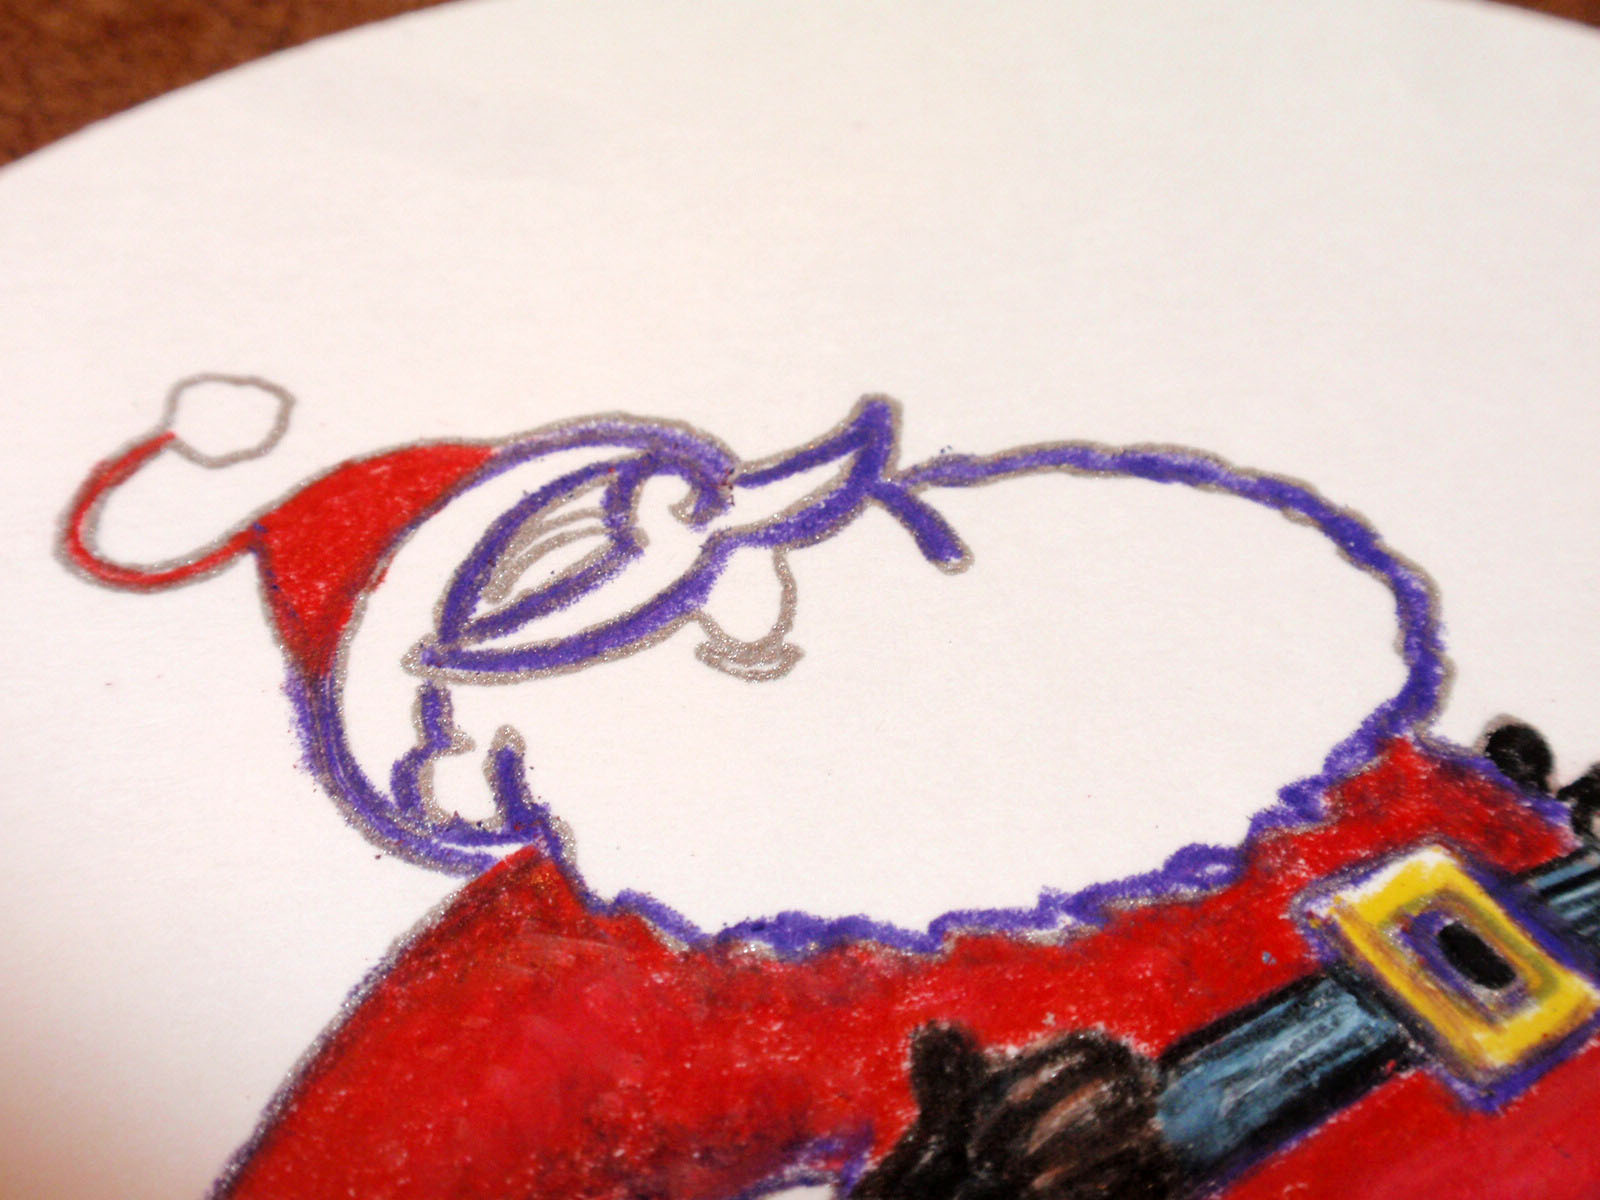
Color the Santa using Prismacolor or other good quality colored pencils. These pencils are soft and allow you to layer color well and create shading or other color variations in your work. The basic coloring technique is to fill an area with a single color, color over selected parts using light and dark colors, and then blend those into the main color using the main (or very similar) color.
The main pencil colors used in the sample project were Crimson Red (PC 924), Violet (PC 932), White (PC 938), Ginger Root (PC 1084), Slate Gray (PC 936), Black (PC 935), and Canary Yellow (PC 916).

Step 1

Step 2

Step 3
Step 4

Step 5

Step 6

Step 7

Step 8

Step 9

Step 10

Step 11
Step 12

Step 13

Step 14

Step 15

Step 16
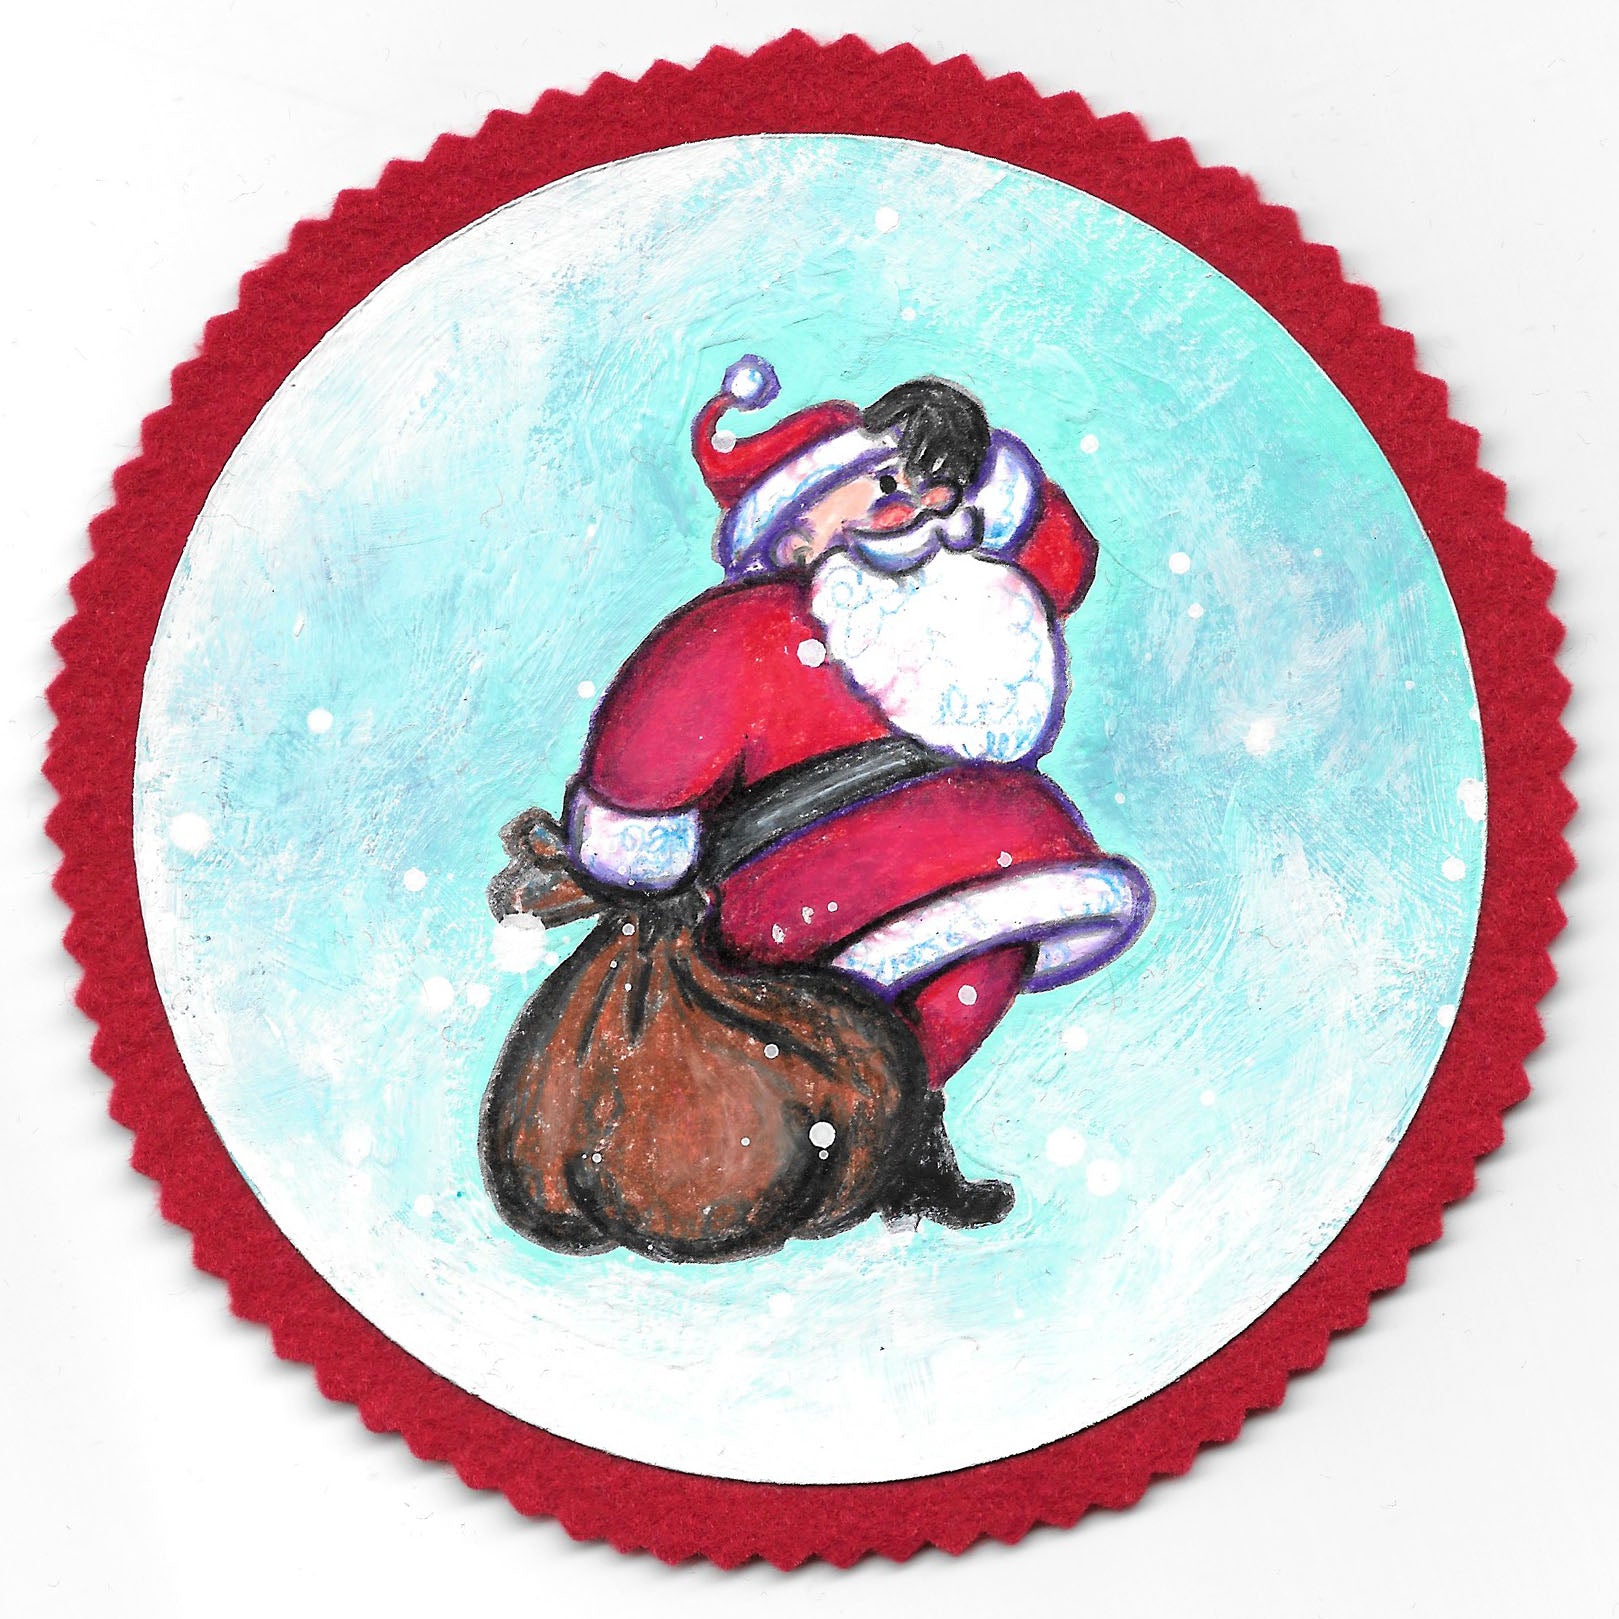
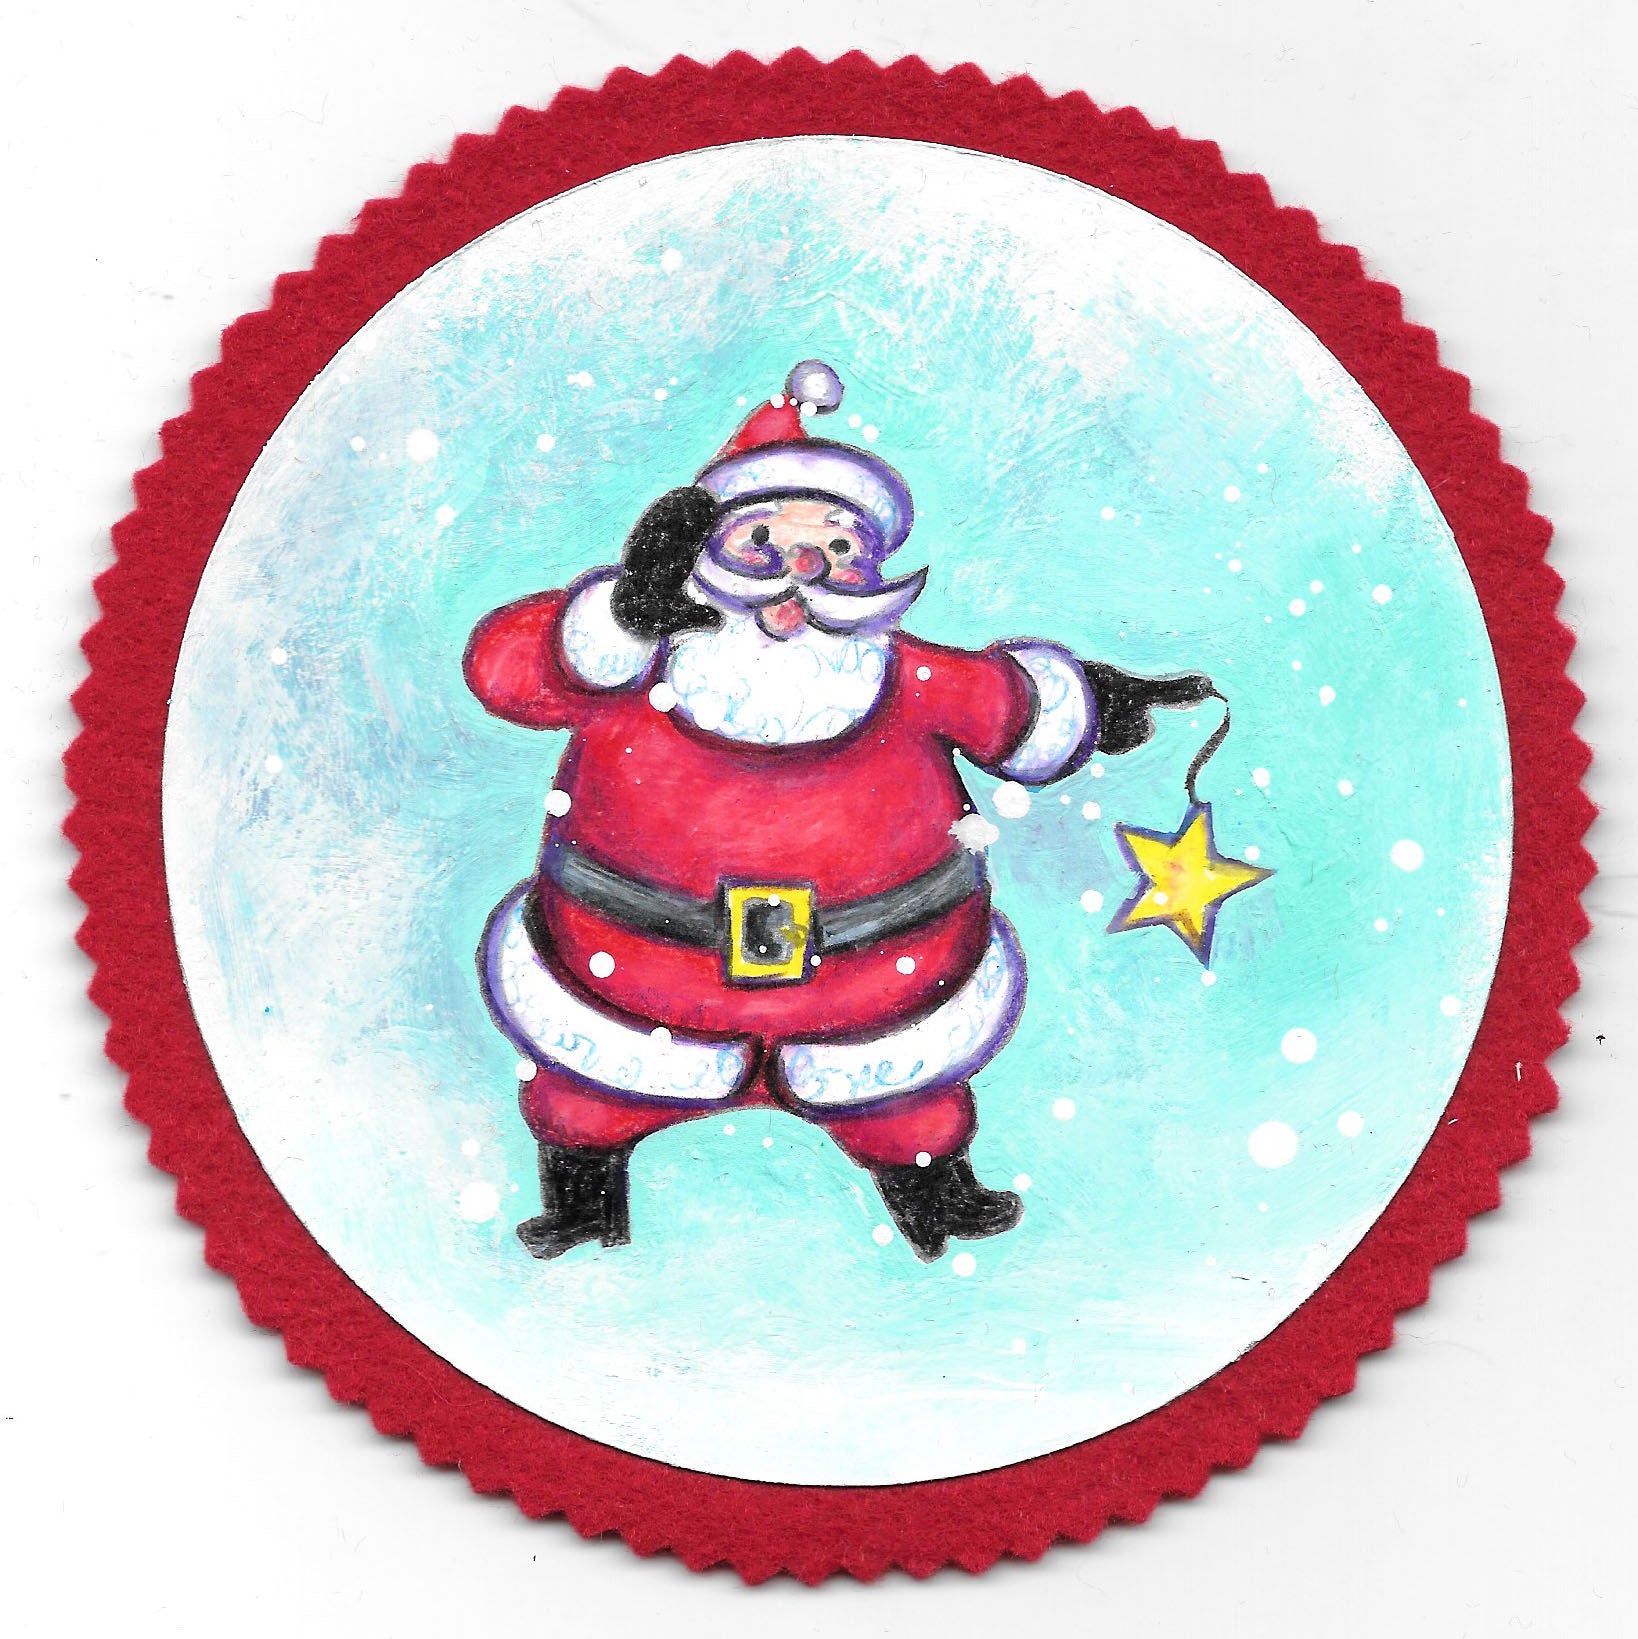
Paint the area around Santa using acrylic craft paints. The sample project uses a mint green paint as the main background color. A bit of red-violet was blended into the mint green while still wet to add some visual texture. White paint was brushed on the bottom and sides of the circle, and then white paint loosened with water was spattered on top. Allow to dry. Spray the colored pencil using a fixative to prevent smearing and add durability.

Step 17

Step 18

Step 19

Step 20
Draw a circle about .25-.5 inches larger than your painted circles on red felt using a fabric pen with disappearing ink. Cut out the circle using pinking shears. Or circles with “fancy edges” could be created and cut using a Cricut Maker.
Glue the paper circle with Santa to one side of the felt circle and the circle with your message to the other side using white glue. Add a hanger made from embroidery floss.

Step 21

Step 22


How to Layer Colored Pencils for DIY Fall Pumpkin Art
FEATURED SALES