Draw & Cut With Your Cricut – DIY Valentines
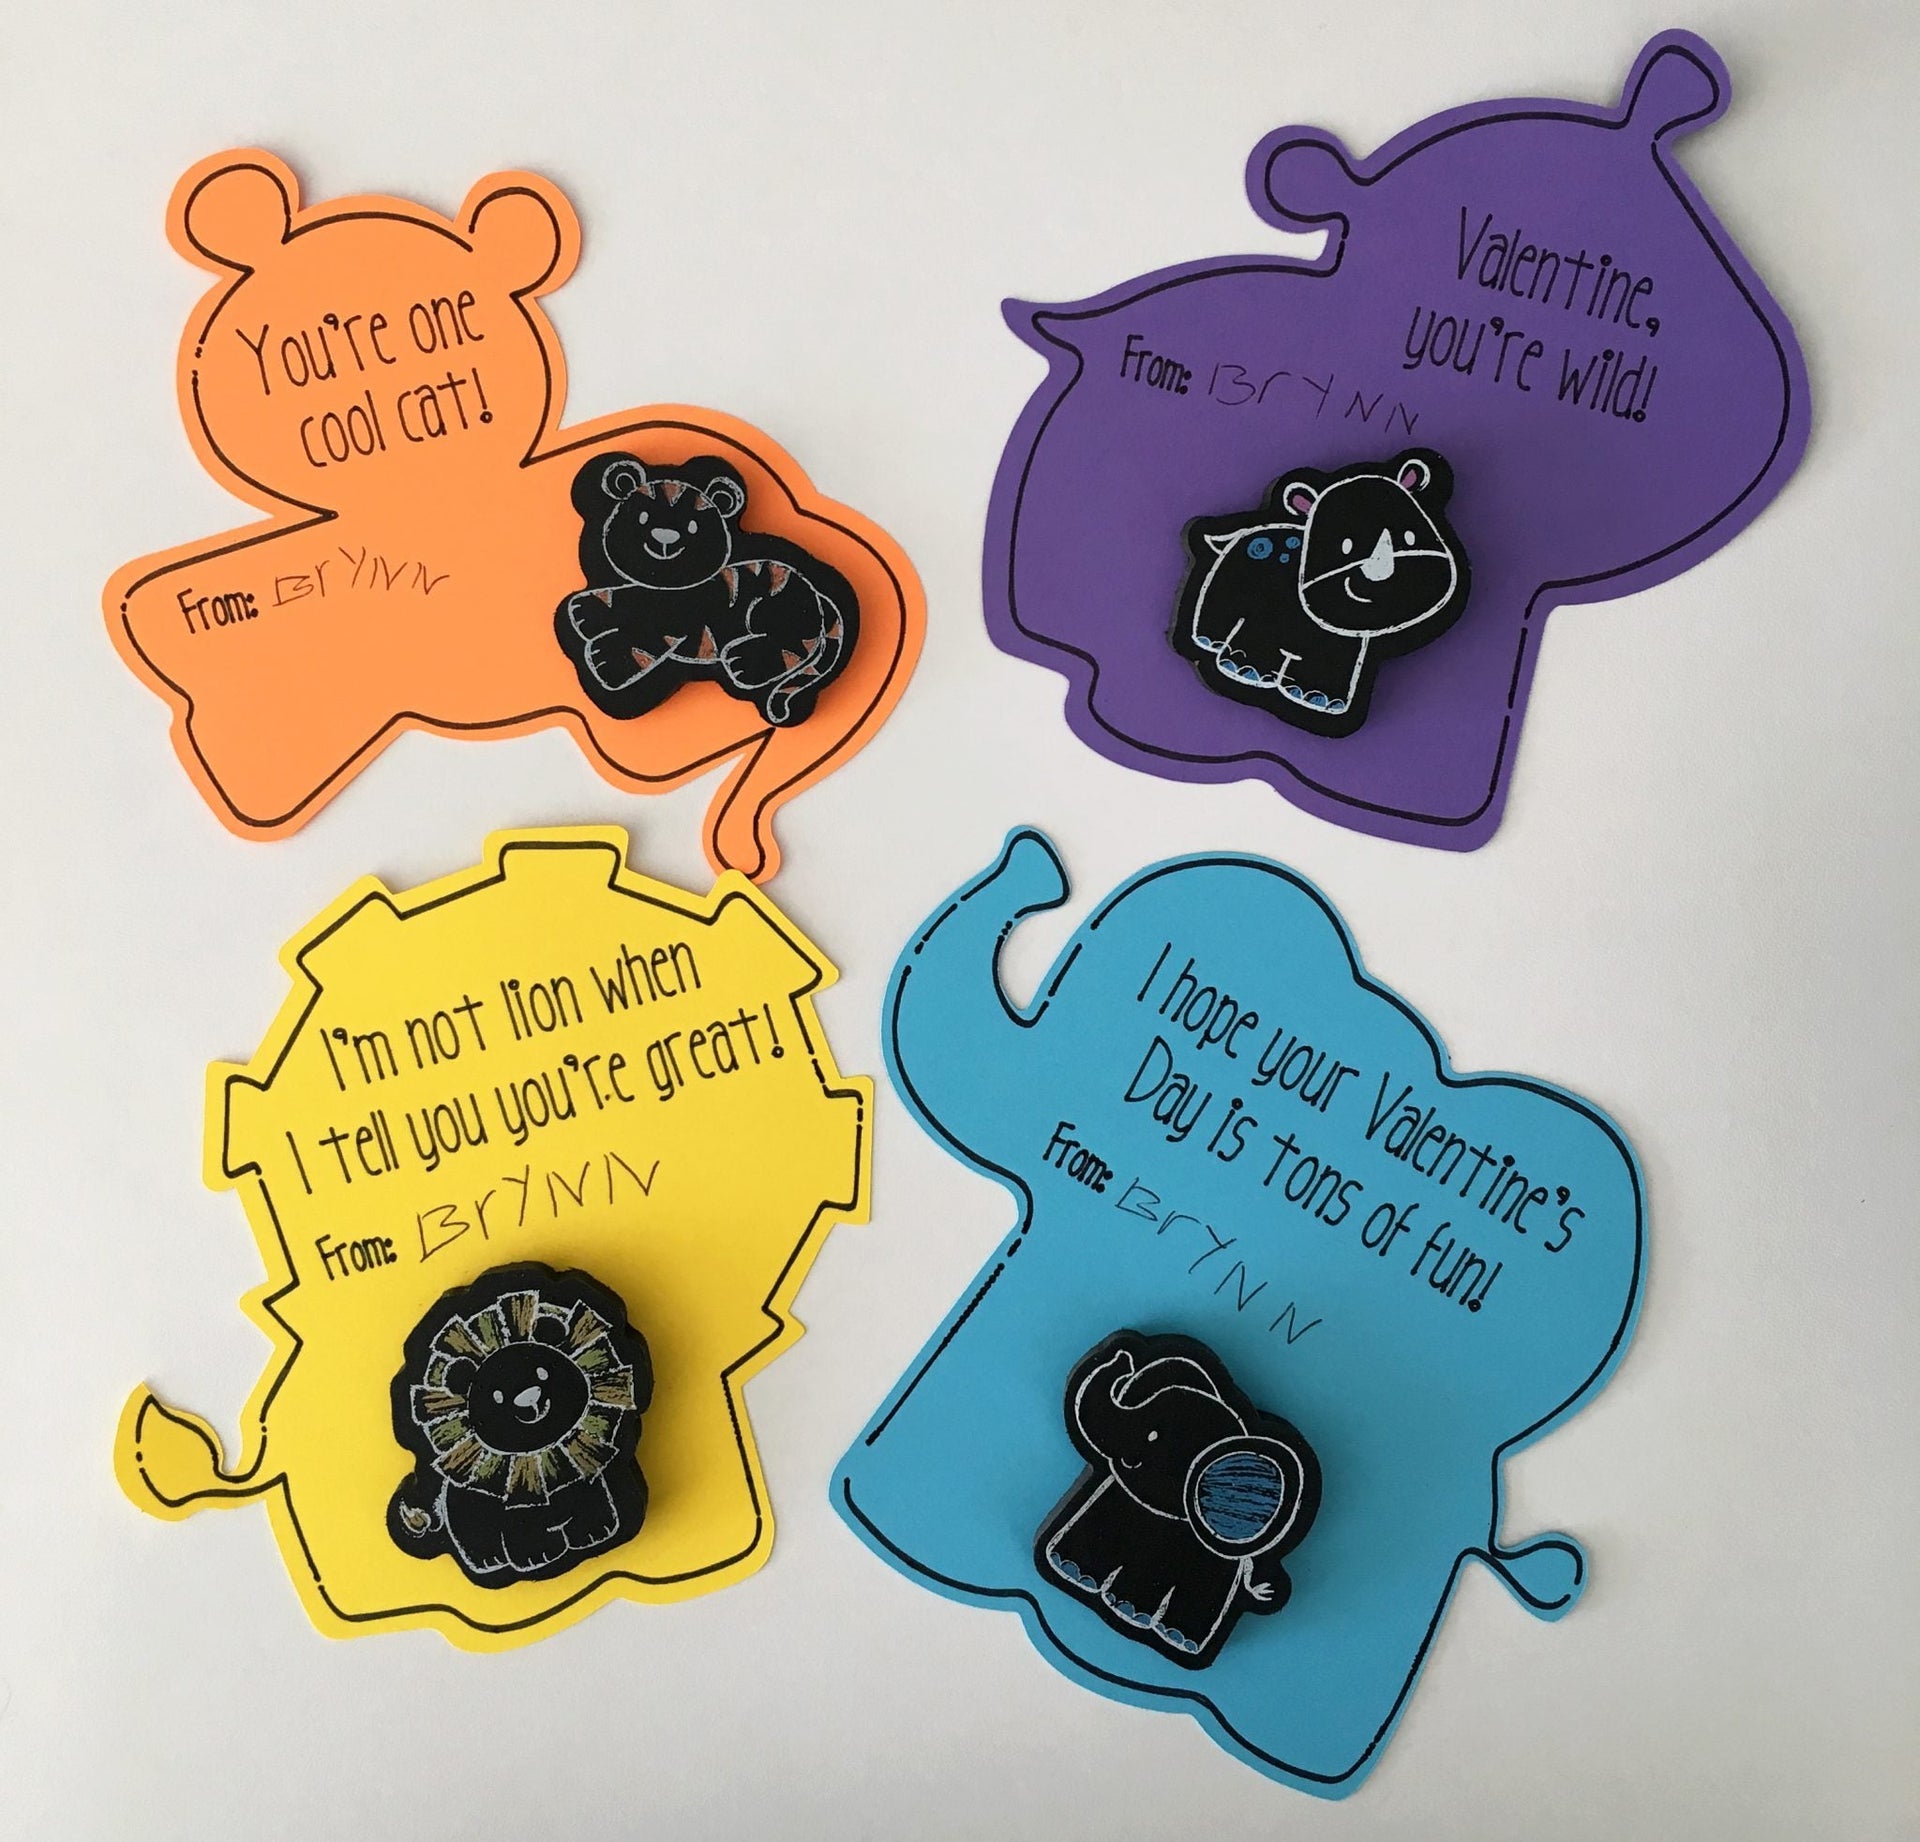
Do you need to send Valentines to your child’s school and want to make something unique? These safari animal Valentines were easy to make with my Cricut Explore Air 2 using the the draw and cut method.
 My daughter’s school doesn’t allow treats or any type of food so I found these cute erasers to use instead.
 I traced an image of these in Adobe Illustrator to get my background shapes made.
 Then I copied each shape to make the outline of each animal. I had to adjust these slightly to get them to fit properly.
 Next, I brought the shapes and lines in as separate images to Cricut Design Space. This way they can be saved as separate cut and draw layers.
In Design Space I added the text. I decided to buy one of Cricut’s “writing” fonts, but if you want to use a font you already have on your computer, it’s best to pick a thin one. You can always fill in the font after it has been made, Design Space will draw the outline of the font and will not automatically fill it in.
 You will also want to attach all of your layers otherwise when you go to “Make It,” Design Space will separate them. You are then ready to make your project.
 I wanted to make sure the first one worked how I wanted it to before making others, but if you are all set you can make copies of your project before making it to maximize your materials and time.
 My last step was adding the erasers to the cards (and having my daughter write her name). I had some double-sided sticky mounting squares laying around that seemed to work out well but you could also use glue dots. I hope her class likes them!
Puppy Pillow Box Valentine’s Day Treat Boxes
FEATURED SALES