Mini Keepsake Pocket Book and Envelope Gift


Looking for a unique and heartfelt gift idea for your mom or another special woman in your life? Consider making a little pocket book that she can keep with her wherever she goes! With just a single sheet of double-sided cardstock and some simple supplies, you can create a beautiful and functional pocket book that's perfect for storing memories, notes, or other small keepsakes. Follow these step-by-step instructions to make your own pocket book, complete with an embellished envelope pouch to hold it in. It's a thoughtful and personalized gift that your mom or loved one is sure to cherish!
Supplies:
- Double-sided cardstock, 12×12 inches
- Scrapbook paper (optional)
- Paper glue
- Faux leather paper, about 7×12 inches
- Stencil and chunky foam stamps
- Matte medium
- Watercolor and/or acrylic paint
- Contact cement
- Spray sealer
- Fabric flower or other embellishment
- Velcro dots
Directions:
Score a 12×12 inch sheet of cardstock horizontally at 3, 6, and 9 inches from the top edge. Score the sheet at 2, 6, and 10 inches from the left edge. Make a 9-inch cut on the vertical center from the bottom edge.


Fold along the score lines and tape or glue the open pockets closed.

Step 1

Step 2

Step 3

Step 4

Step 5
Cut 2.5 x 3.5-inch pieces of scrapbook paper to line the pockets and glue in place (optional).


Cut the envelope pouch from faux leather paper. Size the envelope so its finished dimensions will be about 4 inches wide by 5 inches long to accommodate the folded pocket book. This envelope is a free design in Cricut Design Space.

Soak the cut leather paper in hot water for 20 minutes. Remove the paper from the water and crumple, scrunch, and twist it to create interesting texture. The paper is quite sturdy and can even be wrung like you would washcloth without tearing. Smooth the paper into a flat surface using your hand and allow it to dry.

Stencil matte medium on the surface of the envelope and allow to dry. Or stamp with matte medium using a chunky foam stamp. When dry, the matte medium will act as a resist to the paint and create a kind of batik fabric look on the leather paper. The effect tends to be irregular, though, and is most successful with stencils and stamps of simple shapes. Detailed rubber stamps are not suitable for this technique.
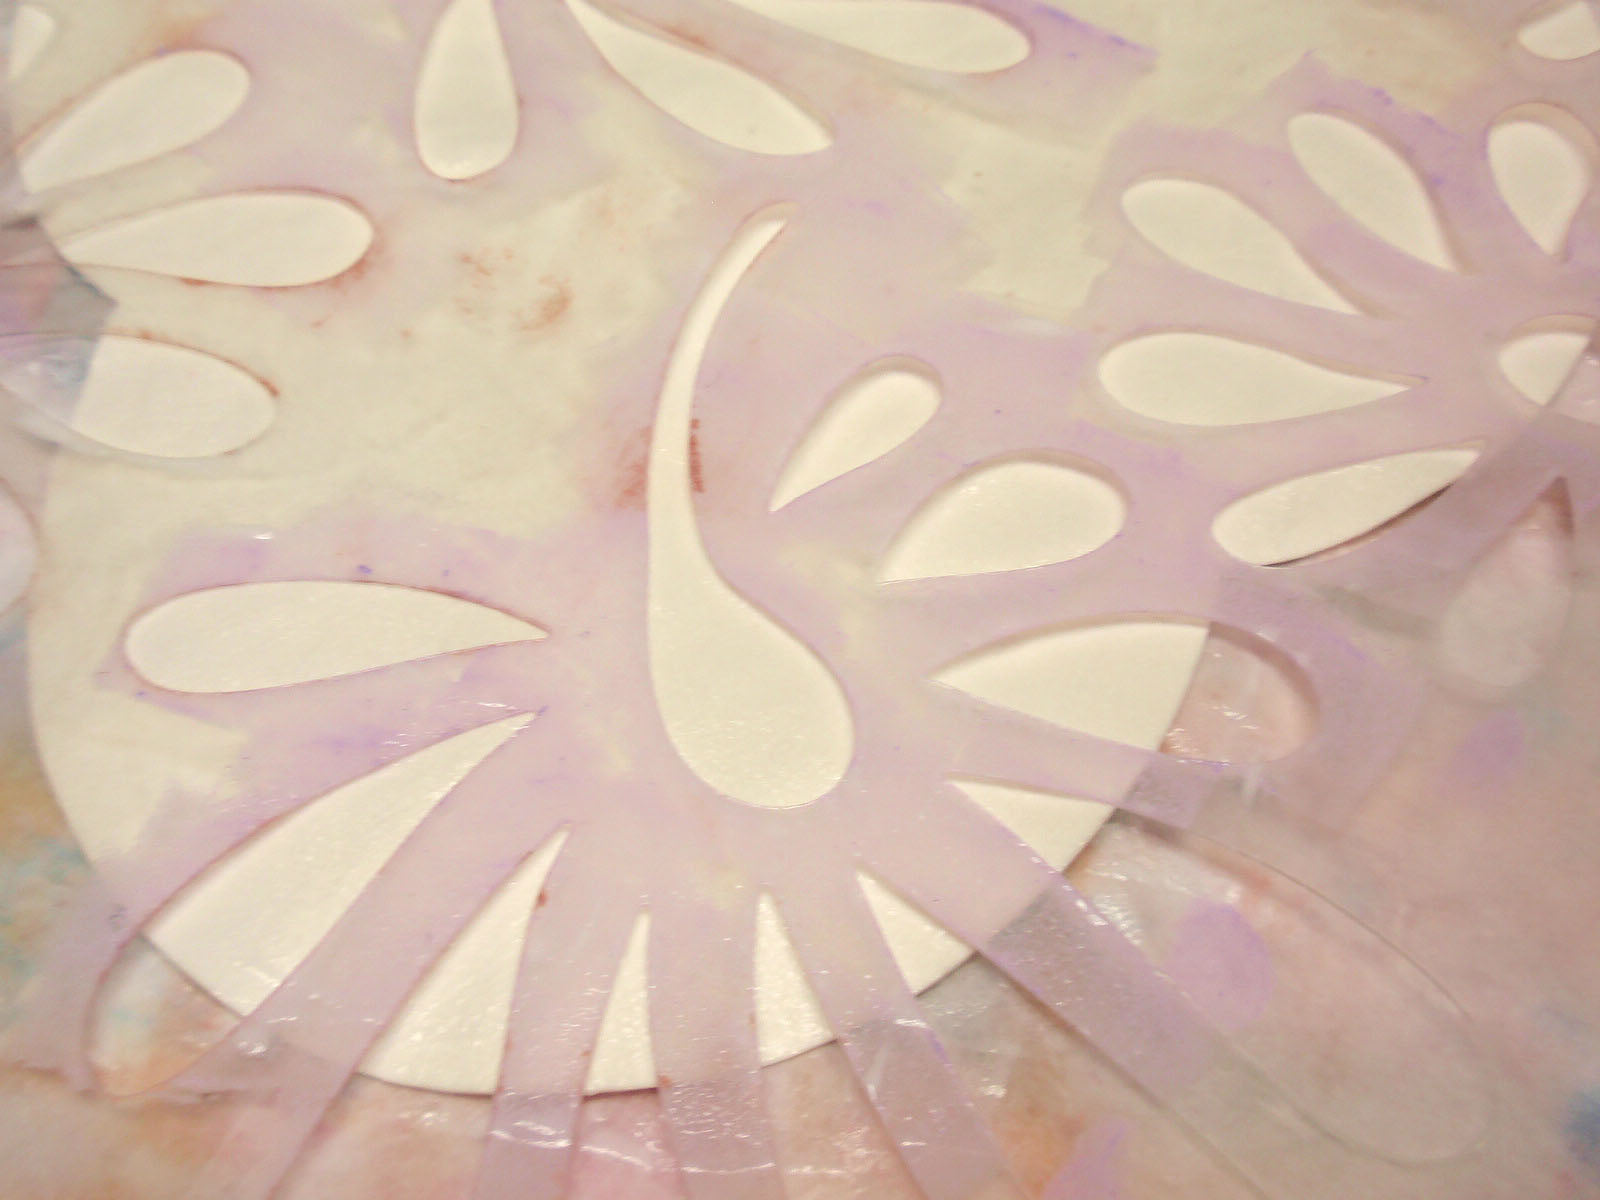
Wash watercolor paint over the envelope to reveal the underlying patterns.

Use acrylic paint to add additional layers of stamped or stenciled imagery until you are satisfied with the look. If you work while the paper is slightly damp, your stenciled work will appear soft. If you want crisp definition to the stenciled paint, allow the paper to dry completely between layers.


Paint the inside of the envelope using coordinating color paint. Allow to dry. Apply a spray fixative or sealer over the envelope to protect the watercolor-painted surface.
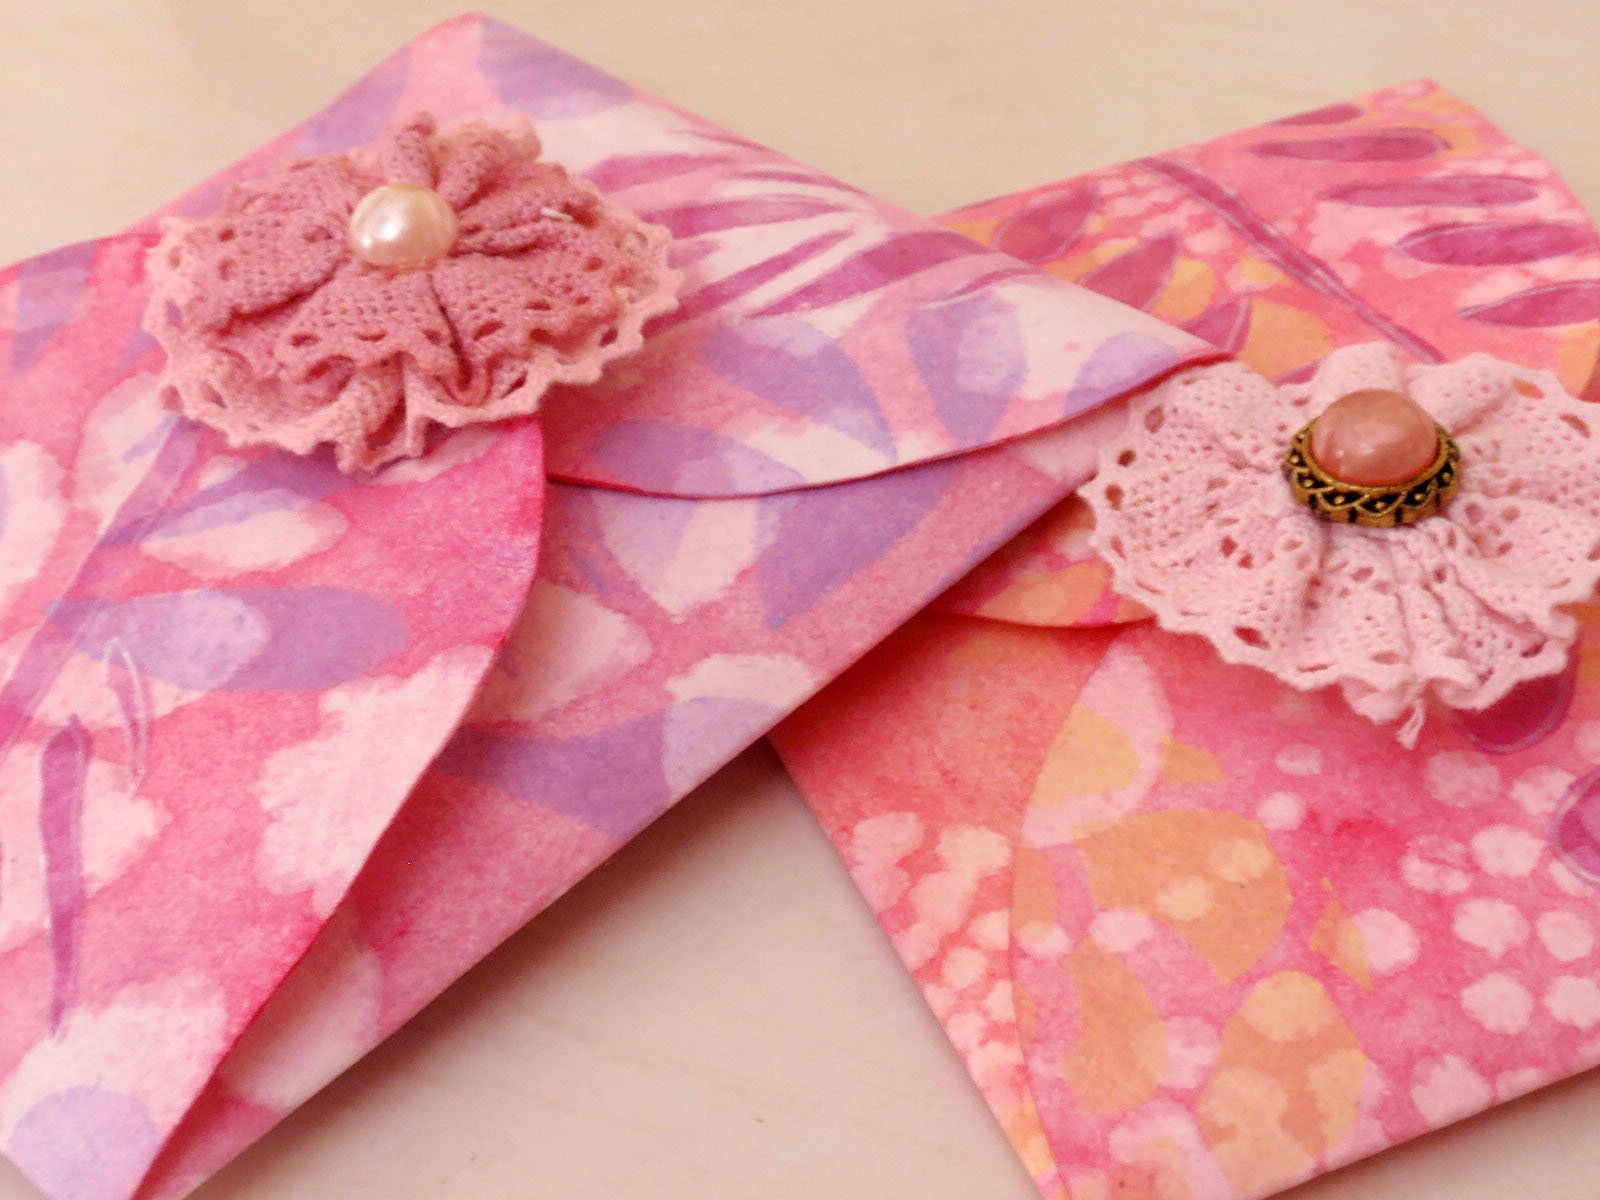
Fold the envelope for assembly and crease the folds well using your fingernail, a bone folder, etc. Use contact cement to assemble the envelope and glue a fabric flower or other embellishment at the base of the front flap (near the closure.) Attach Velcro dots to secure the front flap.


Stacked Books Décor with Cricut Vinyl
FEATURED SALES