
Pom Pom and Paper Bead Garland for Spring

Get ready to add some fun and colorful decor to your home with this easy-to-follow tutorial on creating a pom pom garland. This garland is perfect for any occasion, from Easter to birthday parties, and can be customized by switching up the yarn and paper colors. With just a few supplies, including yarn, scrapbook paper, and braided cord, you can create a beautiful garland that will brighten up any room. Follow the step-by-step instructions to make oversized pom poms and rectangular paper beads, then assemble the garland by tying the pom poms and beads onto the braided cord. This project is sure to be a hit with both adults and kids alike!
Supplies:
- Yarn, your choice of colors
- Heavy string or waxed thread to tie the pom poms
- Scrapbook papers, 12×12 inches
- Drinking straw
- White glue
- Varnish
- Braided cord for stringing the garland, 9 feet
Directions:
Create some oversized pom poms using your favorite technique. Check out several methods for making pom poms with materials you probably have around the house here on our blog.
The sample project used the large pom pom maker from Clover. Watch these video instructions to learn how to use this handy gadget.

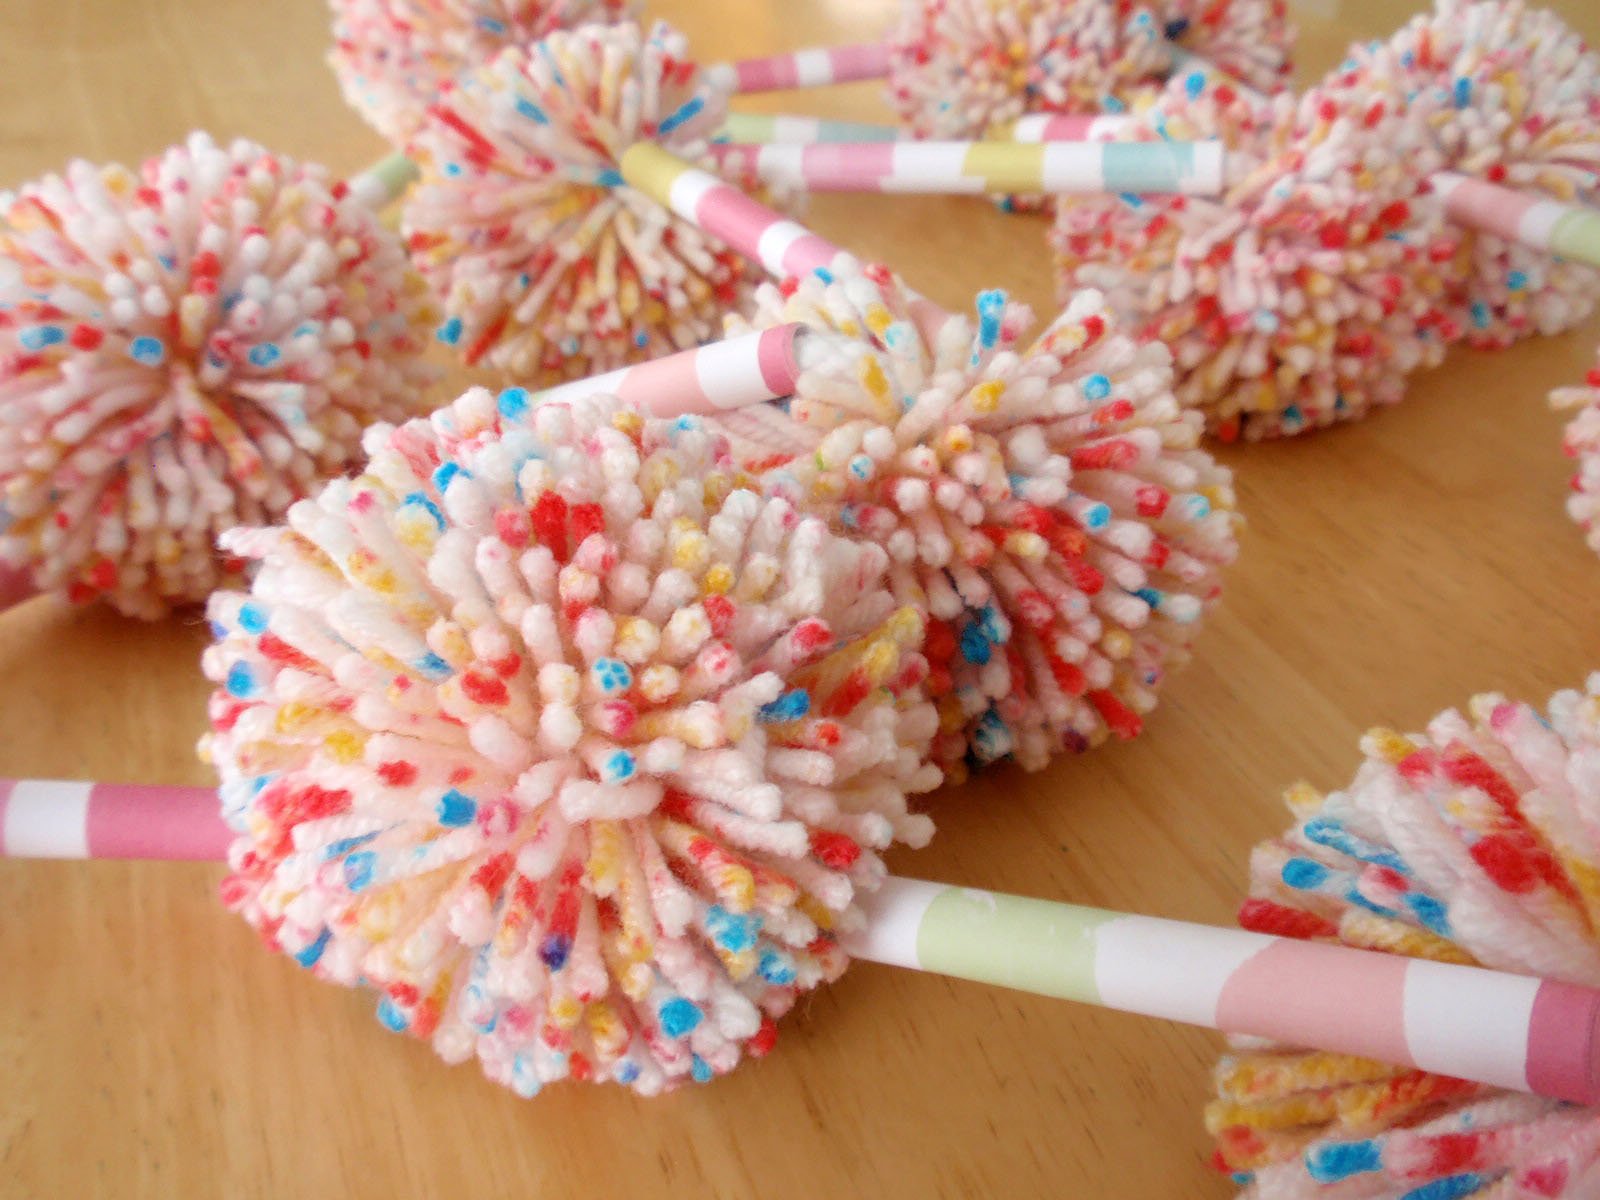
Make variegated pom poms using a variegated yarn or create pom poms with solid color yarn in colors of your choice. One skein of yarn makes about 12-13 large pom poms. Tie the pom poms using heavy string like a waxed cord. Be sure to leave the long ends on the cord to tie the pom poms to your braided cord when assembling the garland.
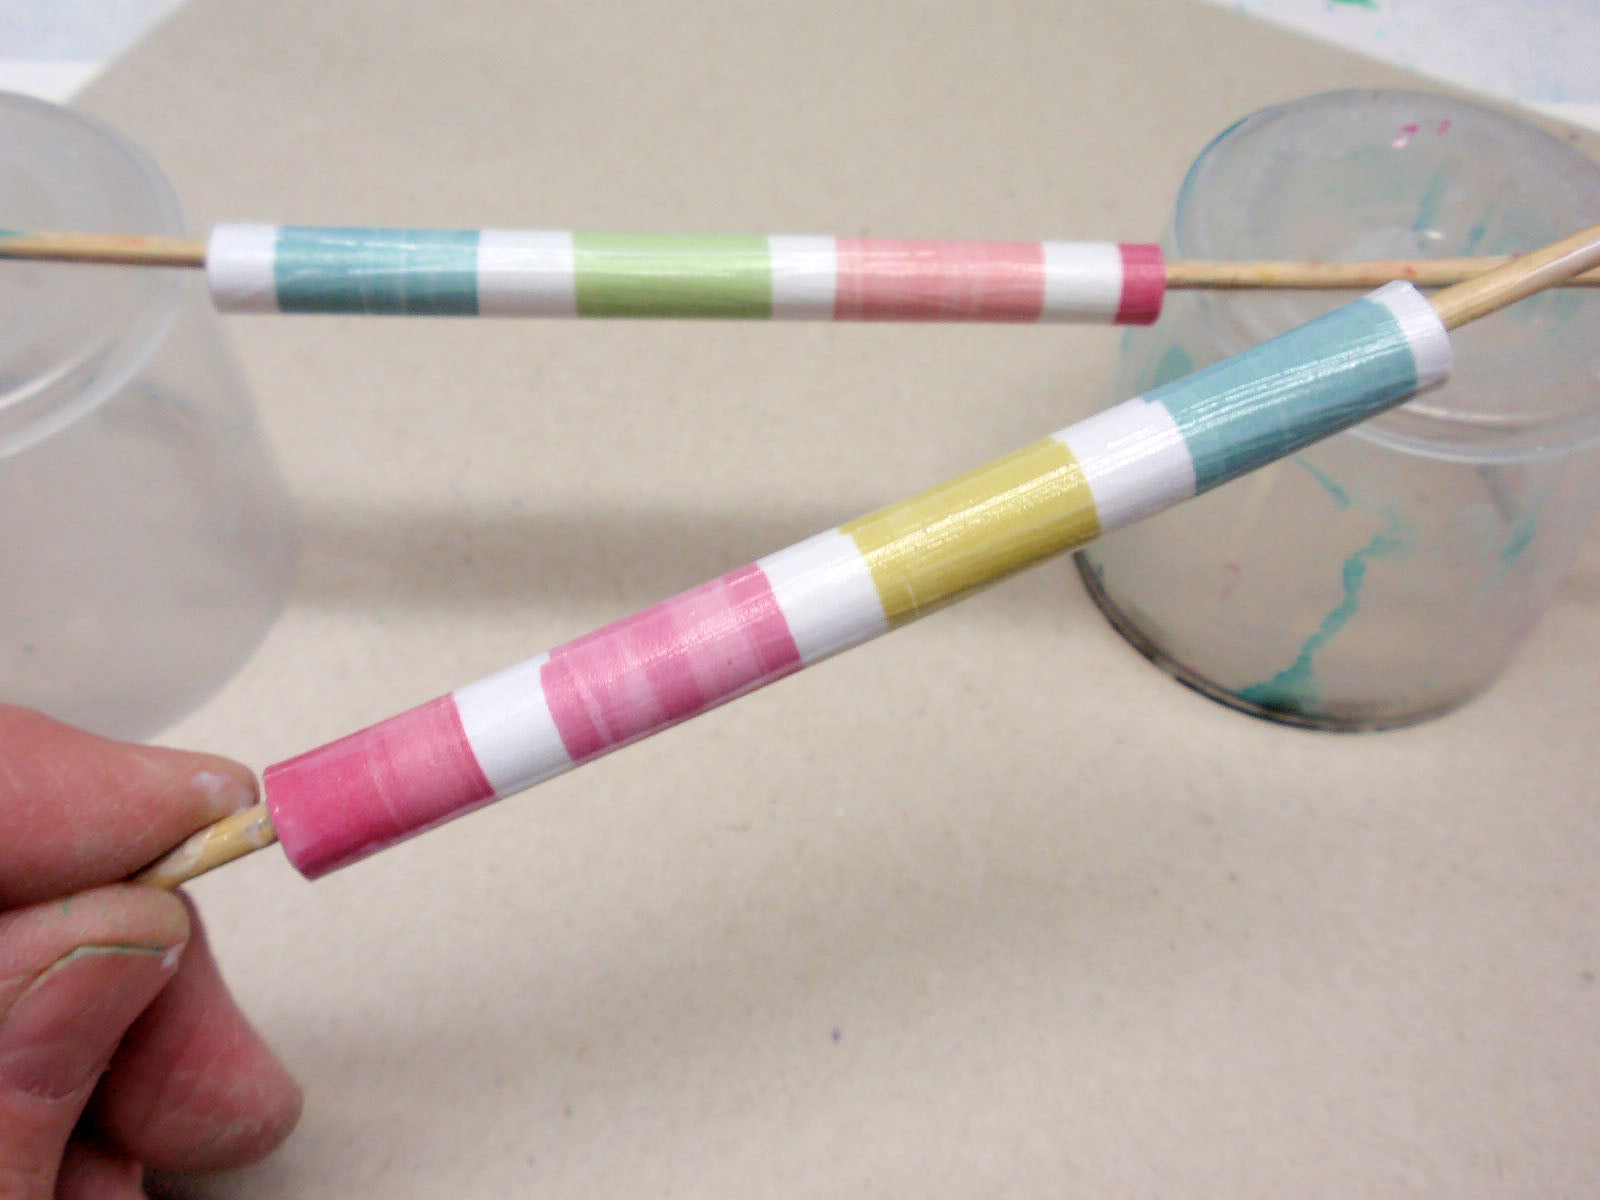
Cut the scrapbook papers into 4×6 inch strips to make long 4-inch rectangular beads for the garland. If you’d like shorter rectangular beads, decrease the 4-inch measurements to your desired bead length. One sheet of 12×12 inch scrapbook paper will make six 4×6-inch beads.

Roll each strip around a straw and secure the end with a bit of white glue.

Apply a coat or two of varnish in the finish of your choice to each bead and allow to dry. For a hard, super shiny finish, you can coat each bead with embossing ink and clear embossing powder. Check out any of the free on-line tutorials that talk about UTEE and paper beads for detailed instructions. The sample project, though, boasts a flat finish on the beads using a matte varnish.
Using the long string ends left from securing the yarn, tie one pom pom at the center of the braided cord. Trim the string ends close to the knot.

String a paper bead on the braided cord and then tie another pom pom.

Continue working from the center of the braided cord to each end until all the pom poms and beads are attached. Knot the braided cord at each end. Hang and enjoy!

Cricut Easter Project: Applying Vinyl on Eggs + Free SVG!
FEATURED SALES


