
DIY Father’s Day Card
 With Father’s Day just around the corner, I thought this would be the perfect opportunity to try out card making with my Cricut for the first time…ever! It’s kind of sad to think that I’ve owned a Cricut for three years now and I’ve never made a card. Oh well, there’s a first time for everything, right? Luckily, it was pretty simple and I’m going to walk you through the entire process!
Materials:
- Cricut Geometric (I am using the Pastel Geometrics Deluxe Paper from Cricut)
- Cricut Printable Sticker Paper
- Cricut machine (I am using the Cricut Maker – here’s a great bundle we offer)
- Scoring Wheel (if you’re using a Maker) or a Scoring Stylus
- Glue Sponge (or just regular glue if you have it – but I highly recommend the Glue Sponge!)
Before we start, I am using the Cricut Maker today. You can use any Cricut though. The only difference is that I am using the Scoring Wheel instead of a Scoring Stylus. I will just be sharing about the Scoring Wheel, however it can be customized for the Stylus too! You would just insert the Stylus into the A slot in your machine and it will mark the fold lines for you.
To start, we are going to create our design in Design Space. Since I have never made a card before and have NO idea how to make one on my own, I’m going to find a template in Cricut Access. Thank the good Lord for that! I found this project called “Vellum Flower Card” to use as the base for my card. I erased the flowers and just kept the card and the envelope. Here’s the info so you can find them too:
- Envelope: #M4131B
- Card: #M40765
To search for these, copy the tag and then click on “Images” in the left-hand corner of Design Space. Then in the top-right hand corner, you’ll paste the tag and it will pull up the exact image. It will look like this:
I want to use Print-then-Cut with my card. I designed the front of the card and I’m going to print it, cut it and then glue it on the face of the card. To learn how to use Print-then-Cut for uploaded images, check out our blog post here. I designed it on www.canva.com and it looks like this:

Once you have all of your pieces in Design Space, size them to the correct sizes that you need. I wanted my card to be about 5×7, so I sized everything accordingly. Once you’re finished with designing your card, it’s time to make it!
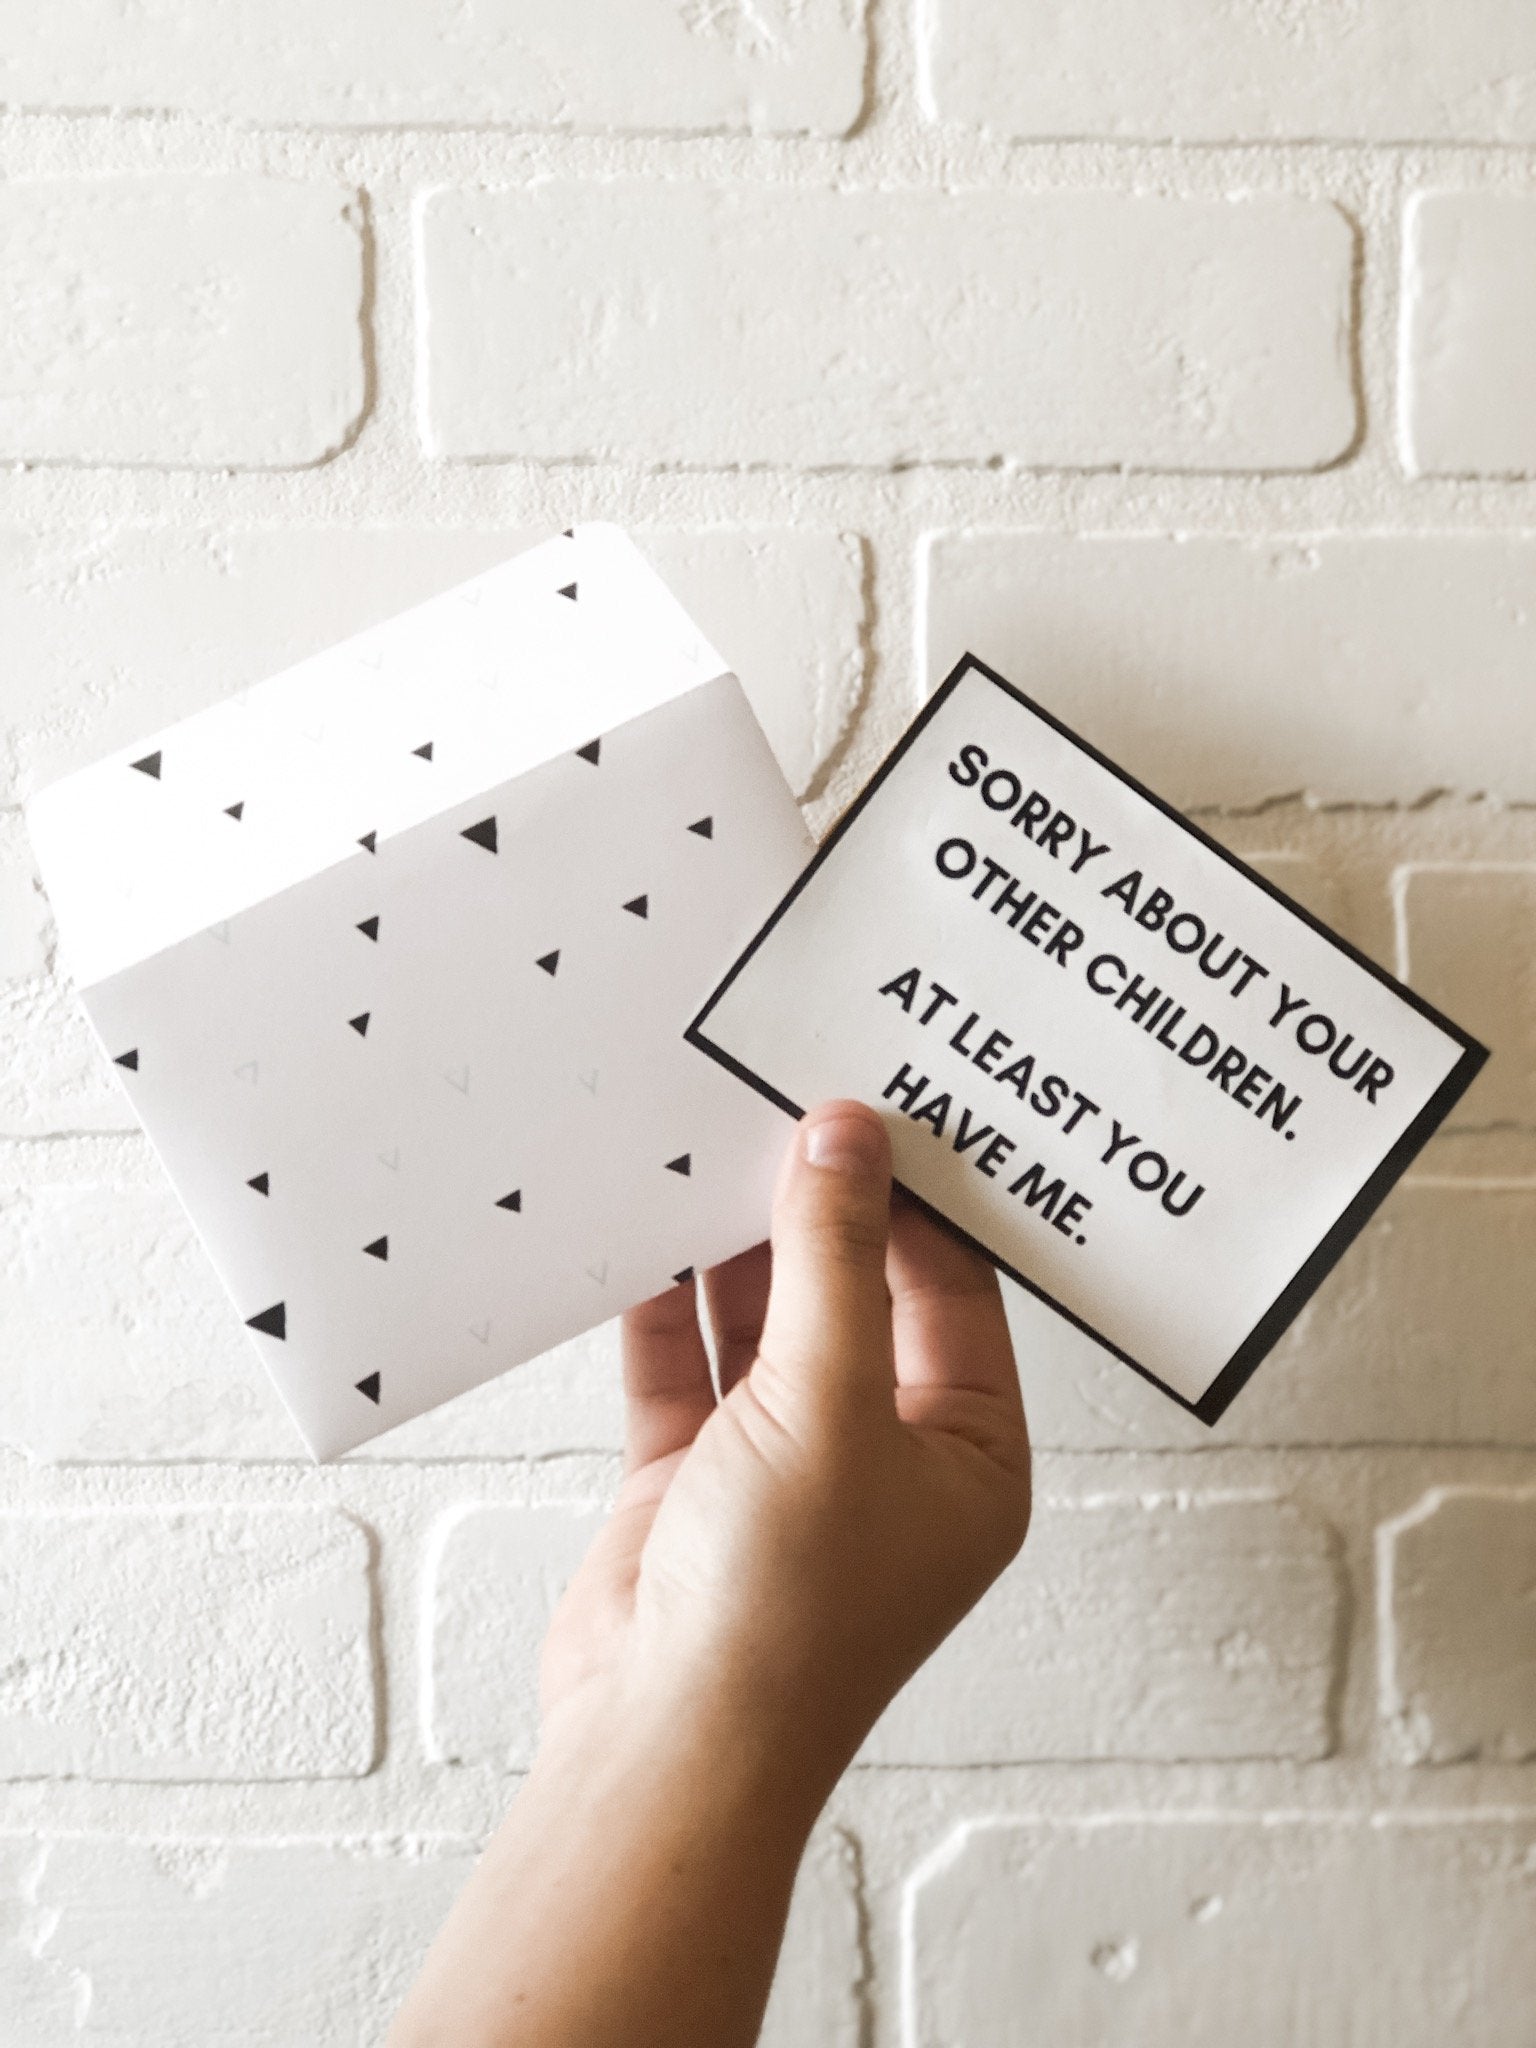
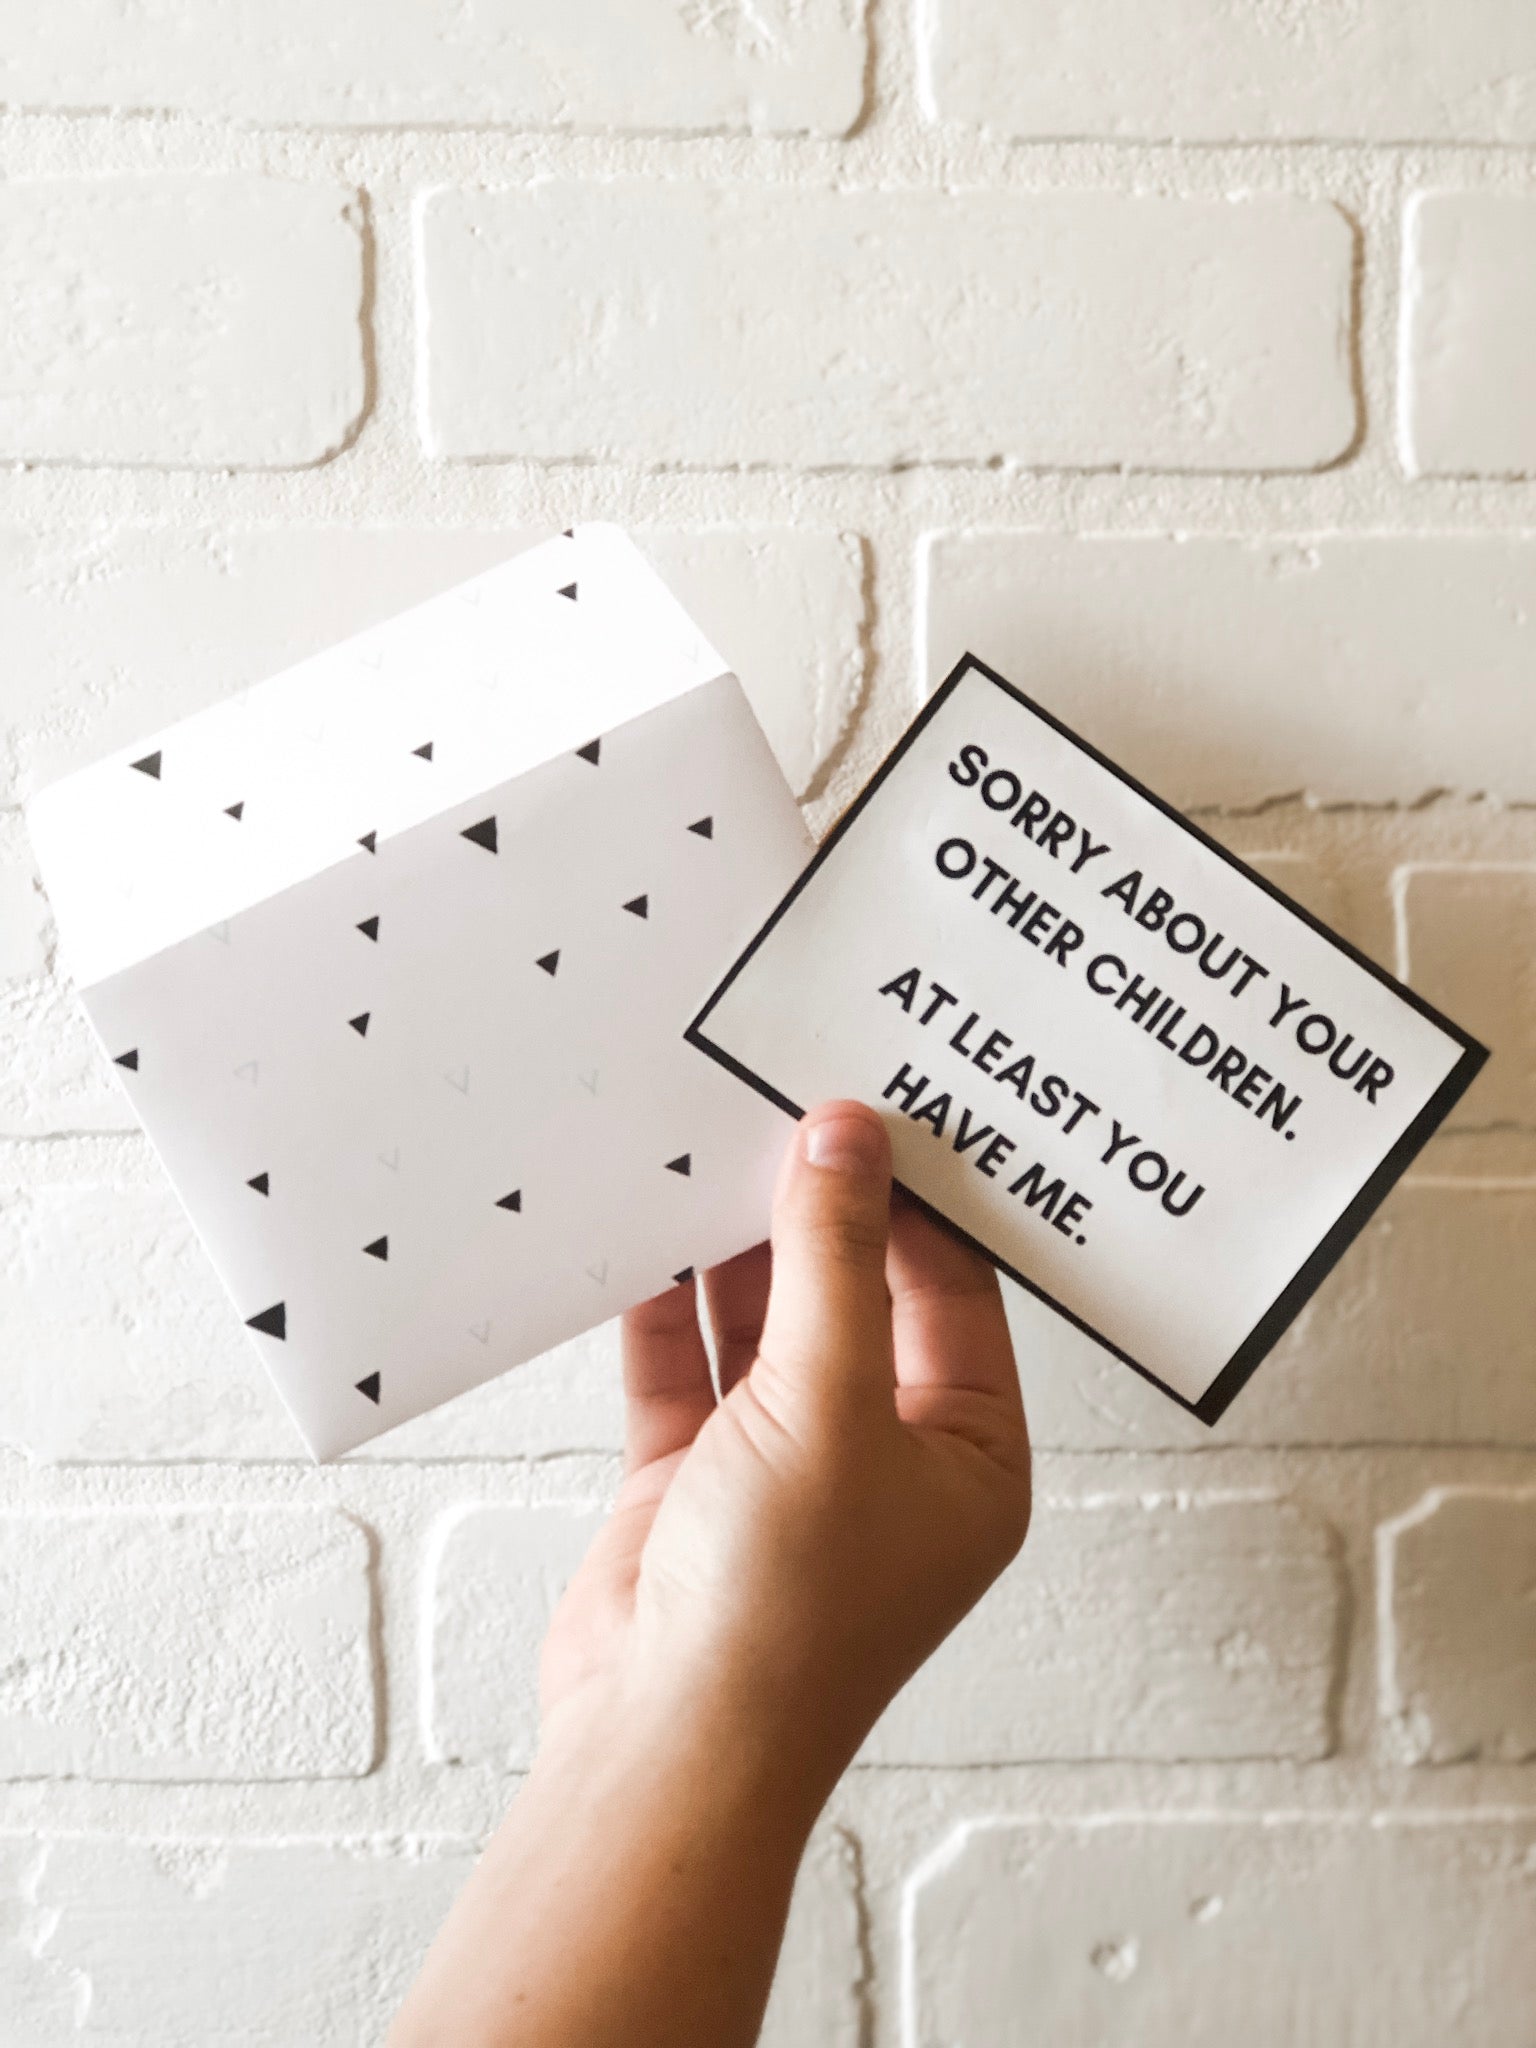
The first step is going to be the print and cut the front of the card, the “Sorry about your other children, at least you have me” portion. To do this, we are going to click “Make It” and then follow the instructions to use Print-then-Cut. I would highly recommend reading through the Print-then-Cut blog post if you haven’t ever done this before. Basically, you’ll print the image/design with your home printer and then transfer it to your Cricut mat. Then insert it into your Cricut and get cutting!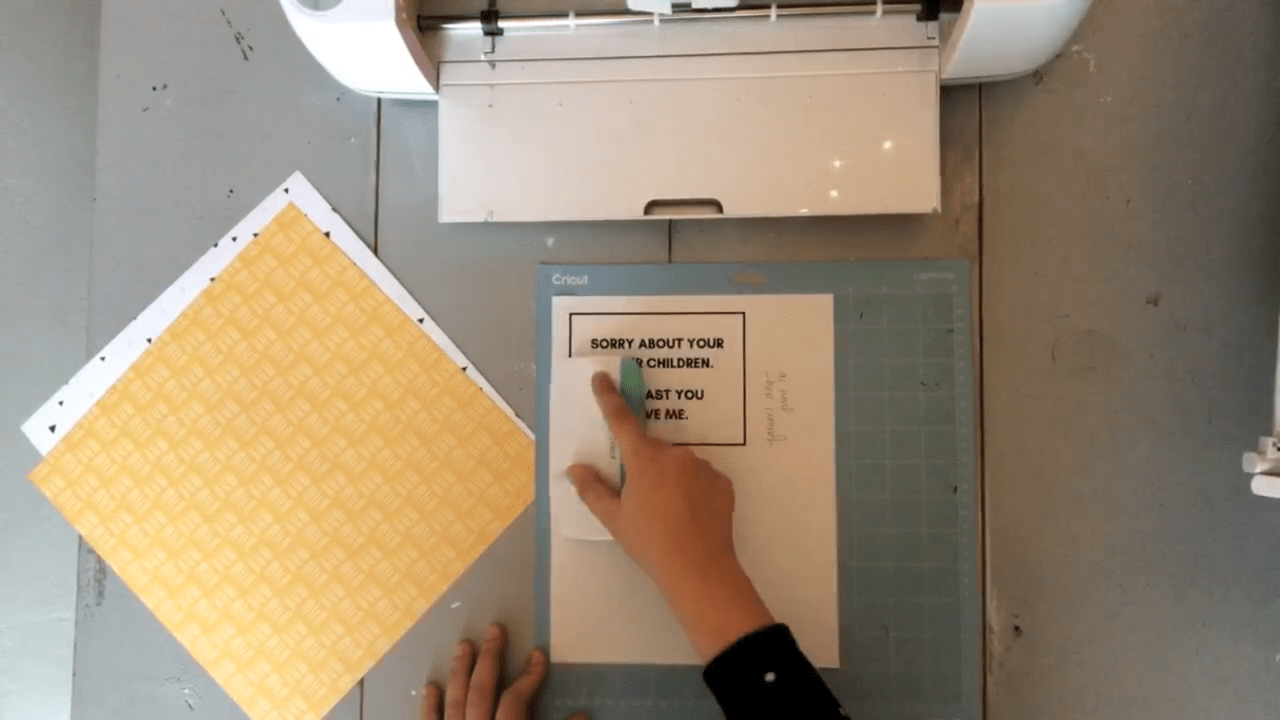 Once you’re done with that, then you’ll start cutting your card. I’ll be using two blades today: the knife blade and the Scoring Wheel. Design Space will tell you when to enter the different blades, so just pay careful attention to the instructions. Your machine may have you do it in a different order, but I’ll explain the process of mine.
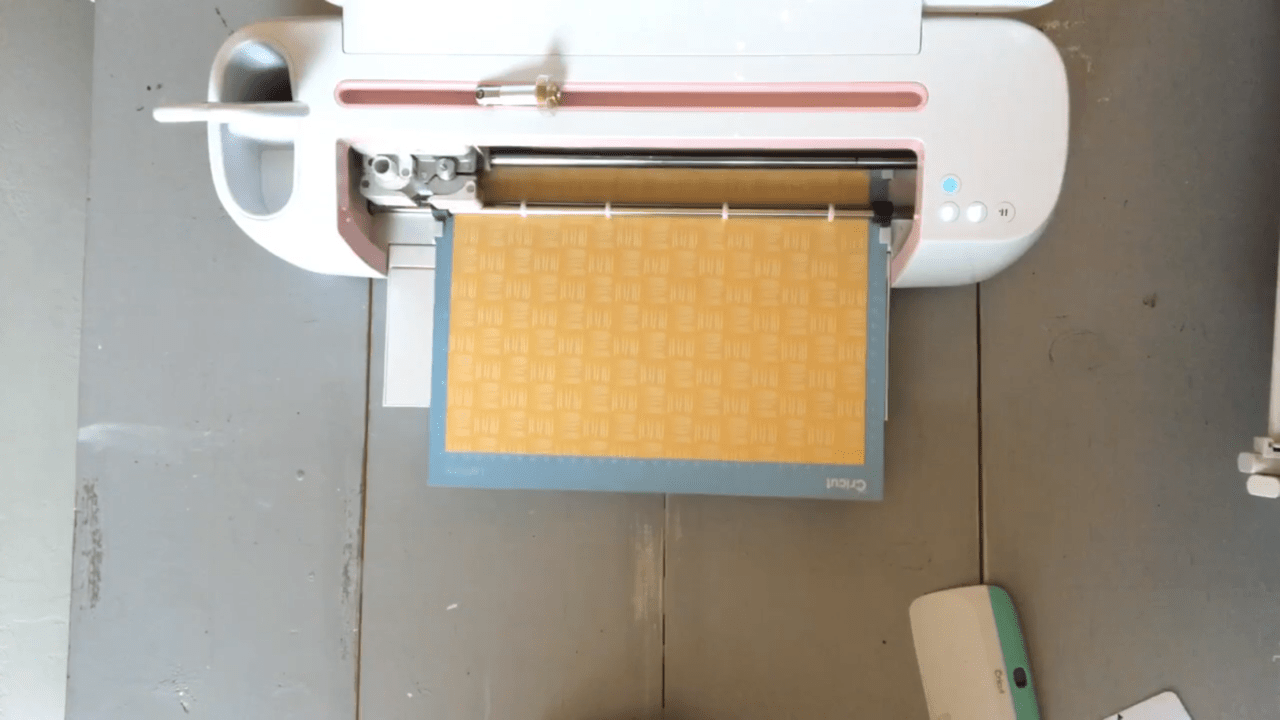
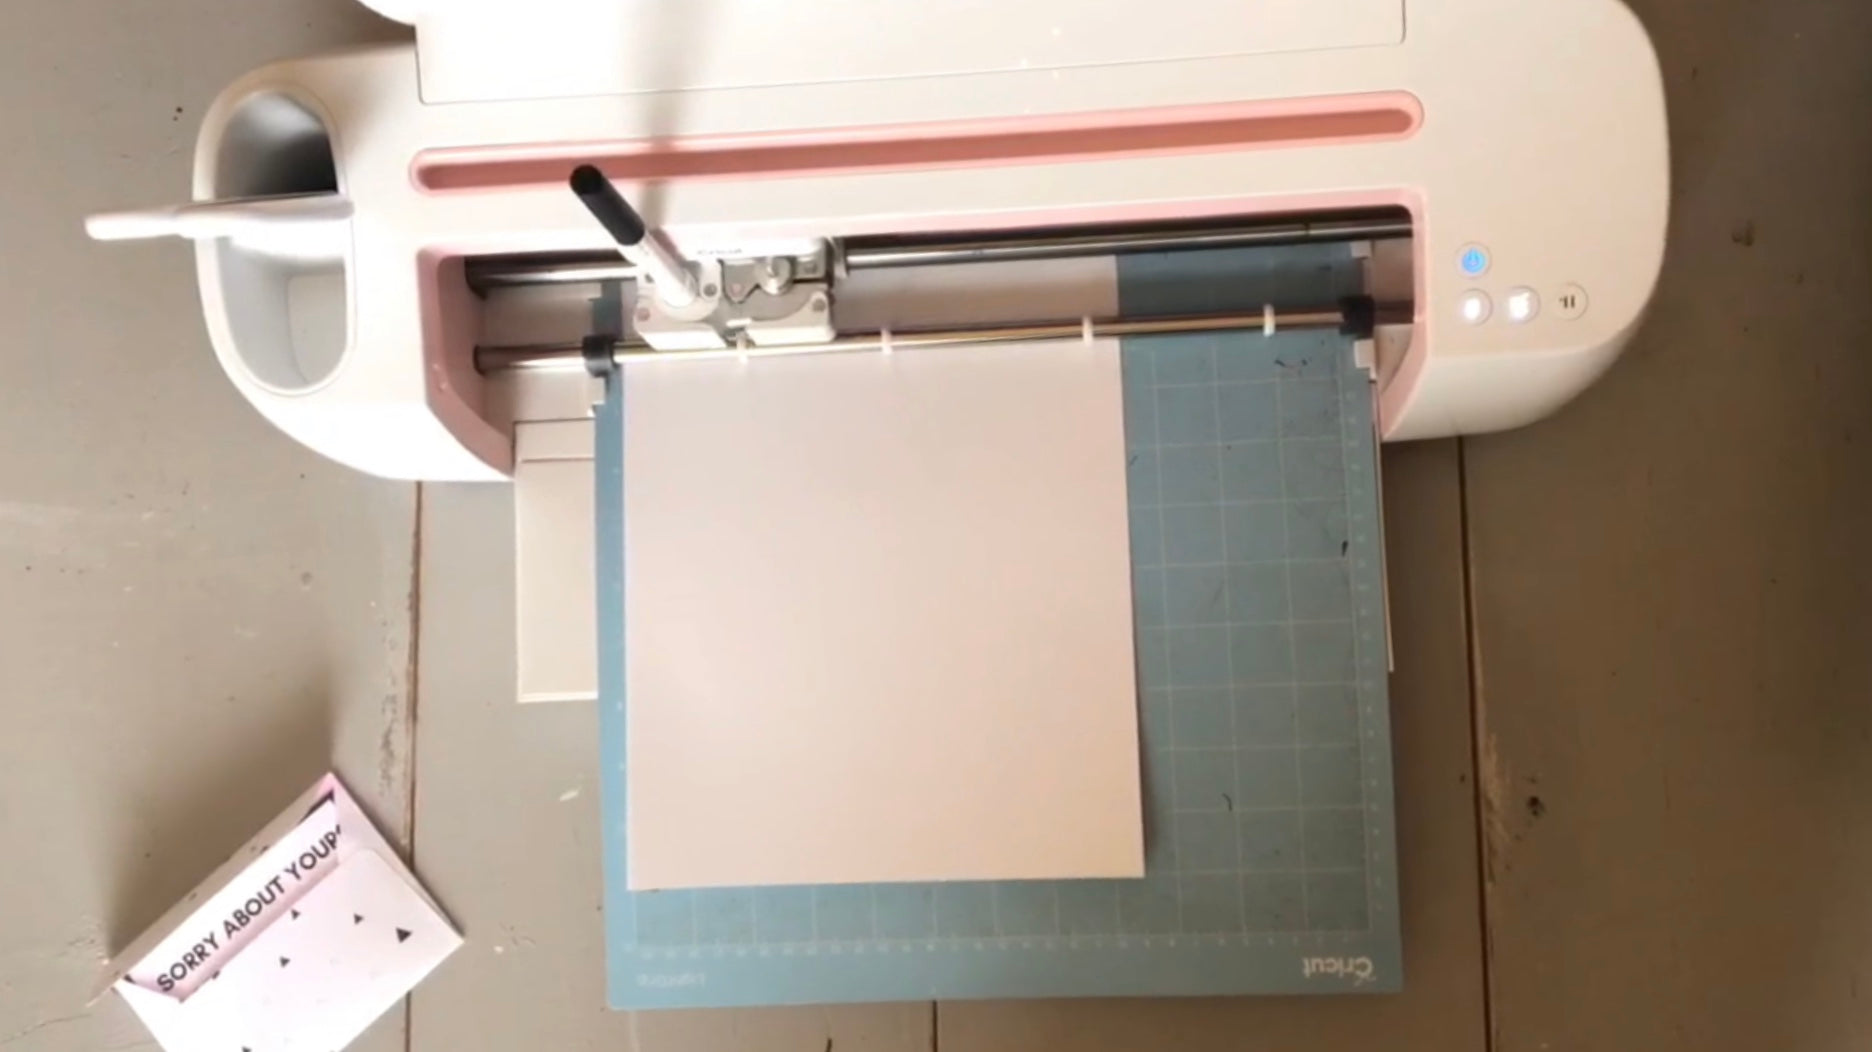
Next, I am going to cut and score my envelope. I put the paper on a LightGrip mat. I would highly recommend using the LightGrip mat for paper. For the card, I am first going to score the envelope so I will need to make sure my scoring wheel is inserted.

Once it’s done scoring, then it will prompt us to switch to the fine-point blade. Switch out your blade and then cut your envelope. Design Space will prompt you and tell you all of these instructions as you go too.

Once we are finished cutting the envelope, then we are going to cut our card. Remove the envelope paper from the mat and then put the card paper on…and then repeat the same steps as you just did with your envelope: we will cut and score this one as well.
I decided at the last minute that I wanted to make a little sticker to hold the envelope shut. I quick designed one in Design Space and then cut that next. I used the drawing feature to put the text on and then put around it. If you want to learn how to use the drawing feature in Design Space, check out our blog here on it.
Once that is all finished, then we are going to glue together our envelope. First, you’ll need to crease the lines that the Scoring Wheel created for you. It would have been great to have a Scoring Stylus for this, but since I didn’t I just used my finger. Then we are going to glue the edges. You’ll want to fold the two sides in and then put glue on top of them so that the bottom glues to the sides. To do this, I am using a glue product called the Glue Sponge. We sell this product if you’re interested in checking it out. It’s perfect for making cards because you can just dab your finger in the glue and place it where you need it. Any glue would work, but I love using the Glue Sponge for projects like these.
Then once you’re finished gluing together your envelope, we will fold our card along the crease and then glue our printed piece to the top of the card.

The last thing to do would be to write a nice note to your dad in the card and then seal the card with your sticker that you made. I’m so excited to give this card to my dad…and maybe even a little more excited to see my sister’s faces when he reads the card.
Hope you all have a great Father’s Day!
-Courteney
World Cardmaking Day // Vinyl Card
FEATURED SALES


