DIY Repurposed Window Using Cricut Vinyl
 There's nothing I love more than finding old pieces and re-purposing them for my home. I also have an equal love for my Cricut, so I'm going to incorporate both of these for today's project. I found a listing on the Facebook Marketplace for old windows. The seller was selling them for $5 a piece, so of course I had to go and buy some. I ended up leaving with a few and knew I wanted to use them as decor somehow in my home. I used two for decor in my home. Today, I'm going to show you how to make the first one and you'll have to stay tuned for the second! And the best part? It's super inexpensive and SUPER quick to make! You're going to laugh when you see how simple this is.
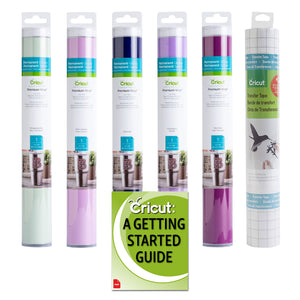
Materials:
- Old window
- Cricut Premium Vinyl (I used white)
- Cricut Transfer Tape
- Cricut Weeder
- Cricut XL Scraper
- Cricut Maker or any machine that can cut vinyl
- Twine
- Wreath
- Staple Gun
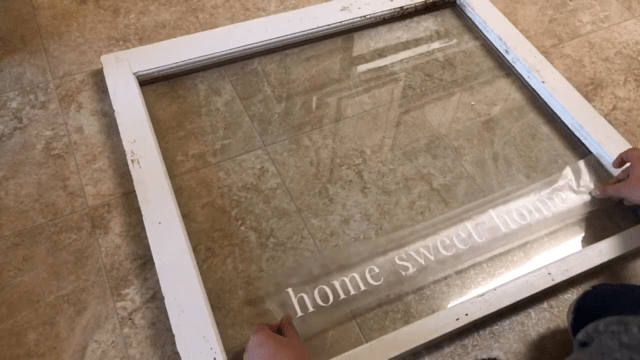
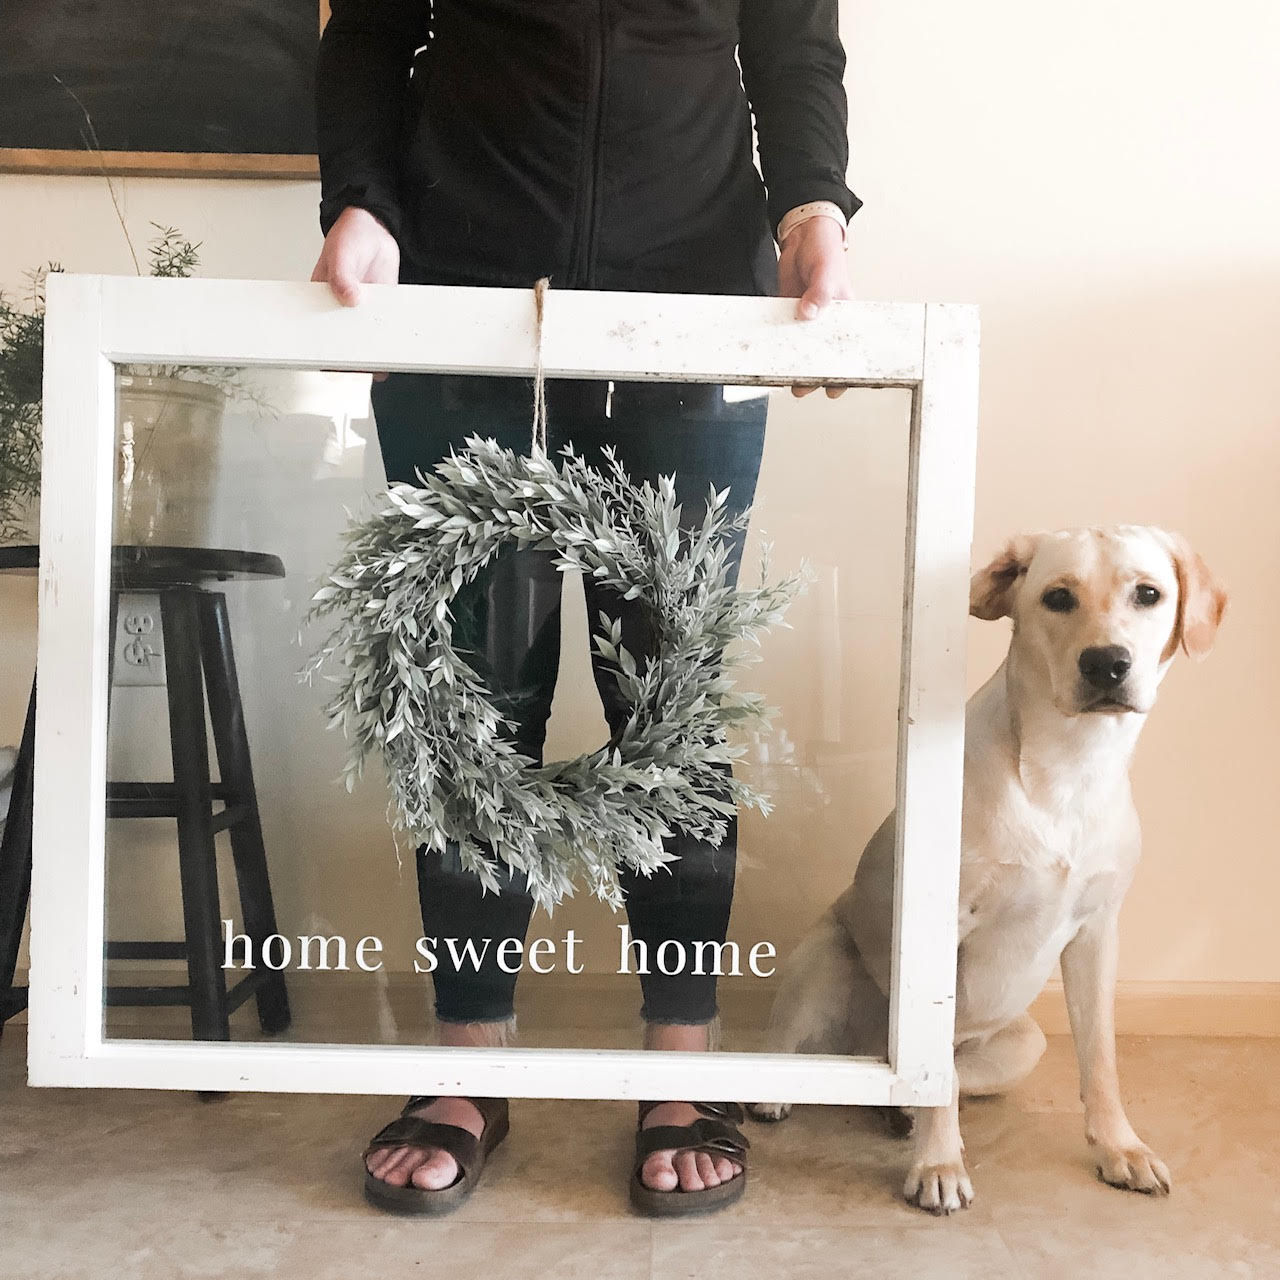
The first step is going to make to make your design in DesignSpace. For the first window, I want to hang a wreath from it and then put a simple saying on the bottom in vinyl. I want mine to say "Home Sweet Home". The font I used is Playfair Display - I downloaded it for free somewhere, so you should be able to find it online if you want to use it too.
After you've decided on your design, we are going to cut it out on some vinyl with our Cricut. I am using the Cricut Maker, but any Cricut will do! Apply your Premium Vinyl onto a LightGrip cutting mat or a StandardGrip cutting mat. I prefer the LightGrip when I am cutting vinyl, but the StandardGrip will work just as well. Apply your vinyl to your mat and get cutting.

Then remove your vinyl from the mat and begin weeding the project. You want to weed all the excess vinyl around your letters. Don't forget the inside of your letters! It will look like this:

Once you're finished wedding, then we are going to put the vinyl on transfer tape and then transfer it to the glass. As you are applying the transfer tape/vinyl on the glass, make sure to use a tape measure to ensure that everything is straight and lined-up. Once you're finished with that, push the tape/vinyl onto the glass and use an XL Scraper or regular scraper to help adhere it to the wood. You could also us a credit card if you don't have a scraper tool. Then slowly peel back the transfer tape...and wah-lah!
For my wreath window, I'm going to loop some twine through the wreath and then attach it the back of window using a staple gun. If you need some extra assistance, grab your dog and have them help you with the wreath! Just kidding, but really - my dog would not leave me alone! :)
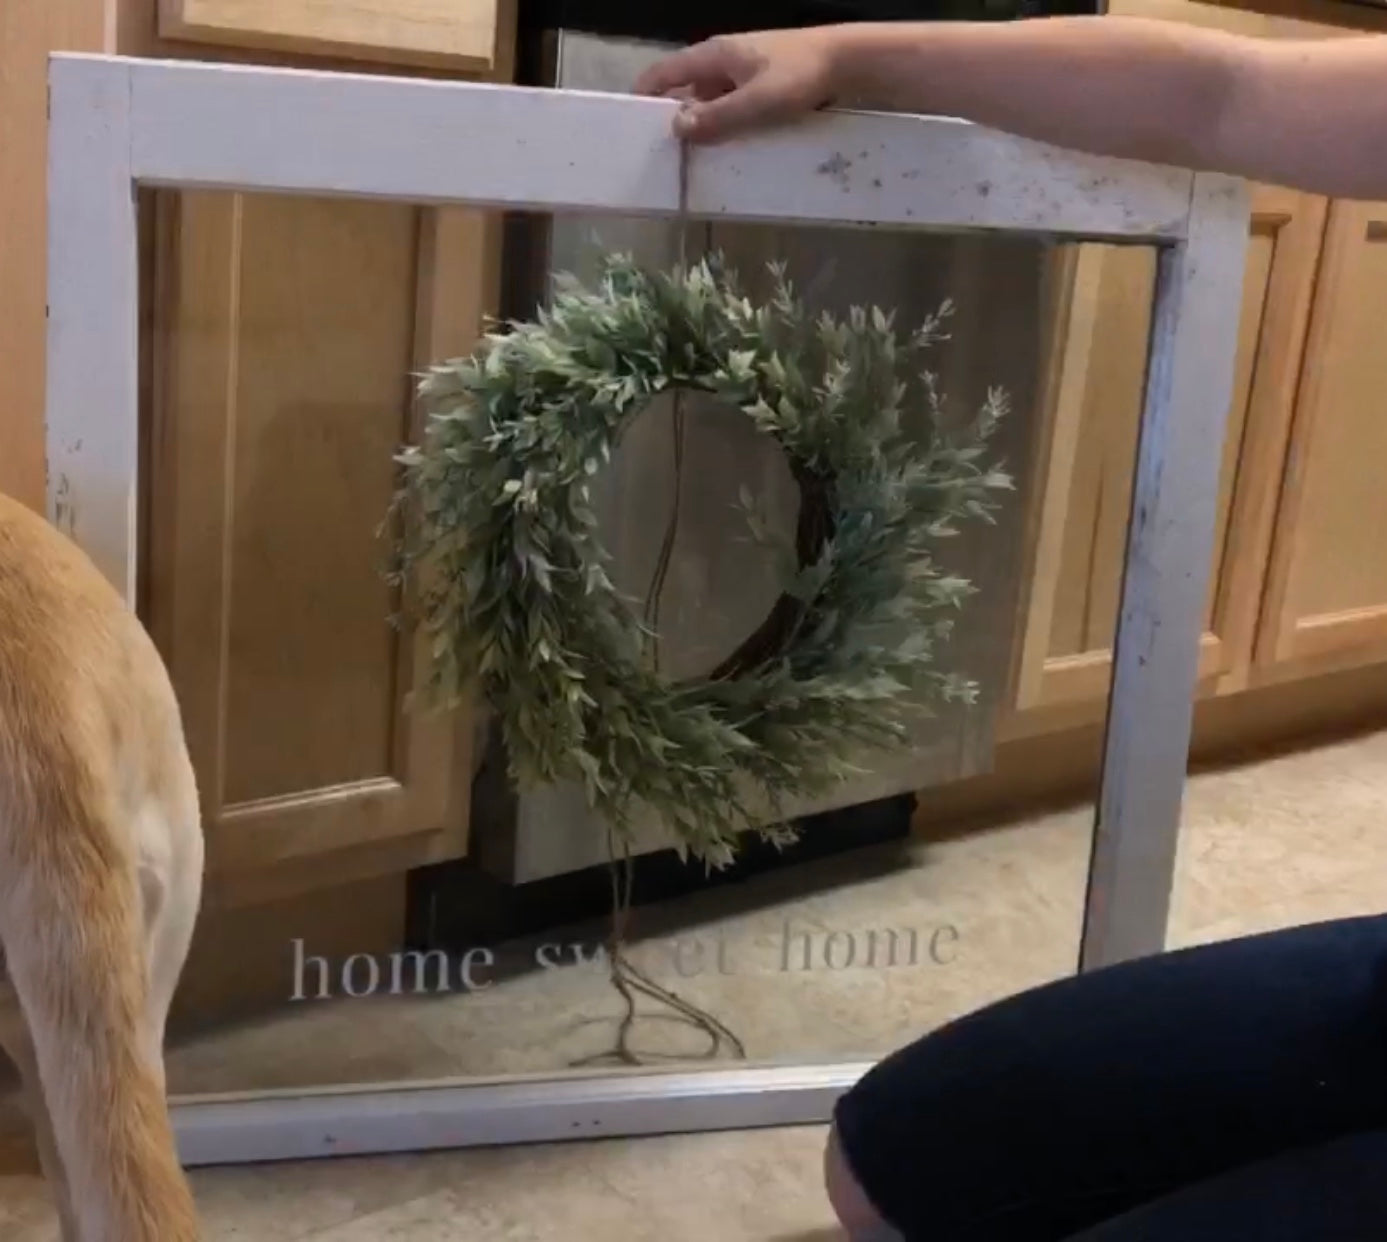

Lastly, to hang these on your walls, I would recommend using D-ring hooks. You can simply attach them to the back using a screw. And that's it! I told you it was simple. I love these pieces in my home!
Now I need to decide where to hang it. Maybe over the couch or my bed? Give us a tag on any of our social media platforms if you make one...and let us know if you have any questions!
-Courteney
Related Posts
FEATURED SALES