
DIY Leather Journal with Cricut Maker
 I am SO excited to share today’s Cricut DIY with you today! Leather is one of my favorite materials to create projects with on my Cricut. I recently came across a series of projects from a blogger called Vintage Revival in Cricut Access and my jaw DROPPED when I saw them. I knew I needed to add it to my “Projects I Need to Make” list! I put my own twist on this project, so I am going to show you how I did it. I do want to add before we get started, this is definitely more of an intermediate-level project. It’s pretty simple overall, but it does have a lot of steps and requires a lot of different Cricut blades and tools. But I know you can definitely do it!
Materials:
- Cricut Maker
- Cricut Knife Blade
- Cricut Scoring Wheel
- Cricut Corrugated Paper
- Cardstock paper
- Twine/String
- Cricut Pen 0.4
- StandardGrip Mat
- StrongGrip Mat
-
LightGrip Mat
- Check out this bundle that we offer for all three mats!
- Masking Tape
- Cricut XL Scraper
Don’t feel like reading through? No worries, watch how I made it here:
https://youtu.be/GKFpMI9ZDQg
I tweaked a few things, but all of the bones are here so that we don’t have create anything ourselves (hallelujah!).
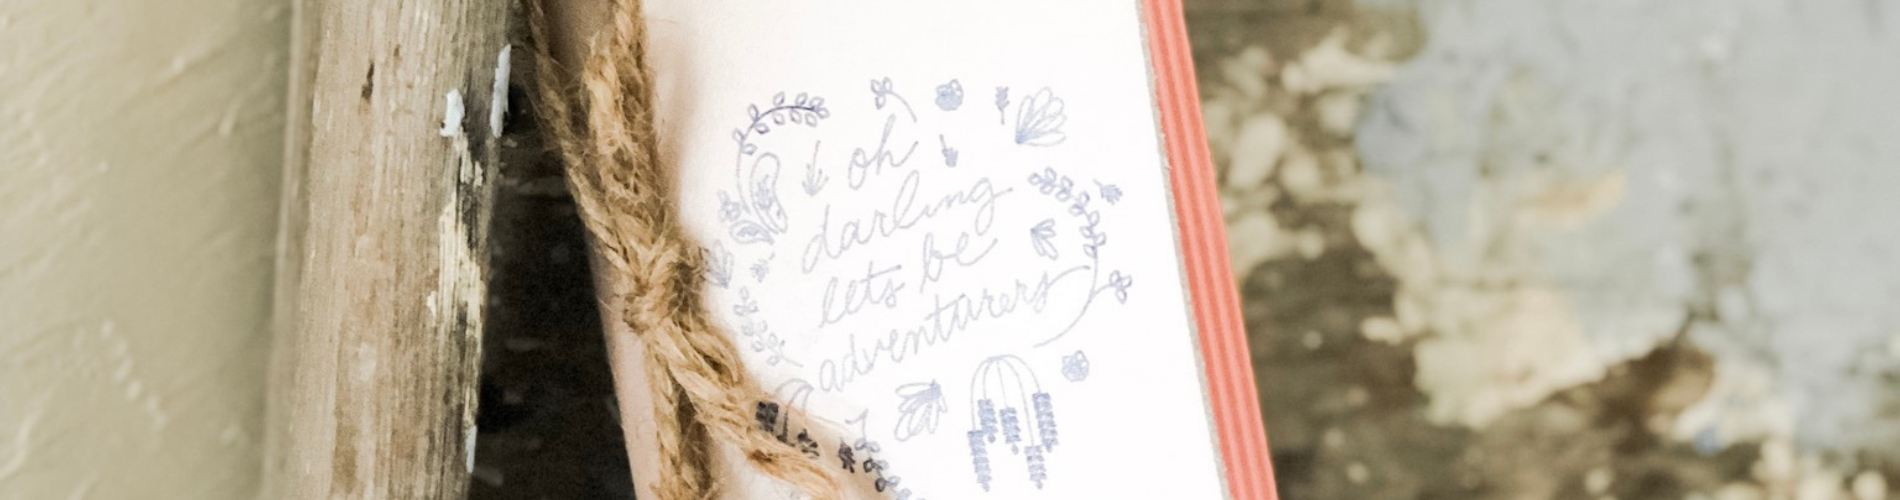
Once the design is finished, then we are going insert the Knife Blade and a Cricut 0.4 Pen so that we can cut the leather and then draw on it. This pen came with my machine if that gives you an idea of the size. You will also need to pull out your StrongGrip cutting mat for the leather. Place your leather on the mat and then secure it with some masking tape or painter’s tape on the edges for extra security. You will need to move the white wheels, which are called the star wheels, all the way to one side (see picture below). Then step back and watch the cutting magic! I love watching the Knife Blade cut through leather. My machine cut through the leather first and then drew on it once it was finished.
TIP! Do NOT touch the drawing on the leather. Let it dry for at least 24 hours before touching it or you risk it smearing!
 Once it’s done cutting the leather and drawing on it, we are going to cut and score our corrugated cardstock next. We will need the Fine-Point Blade and Scoring Wheel for this. I am using a corrugated piece of paper for the first and last pieces of paper in the journal and then regular Cricut card stock paper for the remainder of the paper. The corrugated cardstock will basically wrap around the inside pages. Since this is a thicker paper, you will need to use a StandardGrip mat. My machine scored the paper first and then had me switch to the fine-point blade to cut it. Just follow the instructions on your screen when this happens. I actually had to cut/score the corrugated cardstock twice since it is so thick. But check out that texture – I LOVE this stuff.
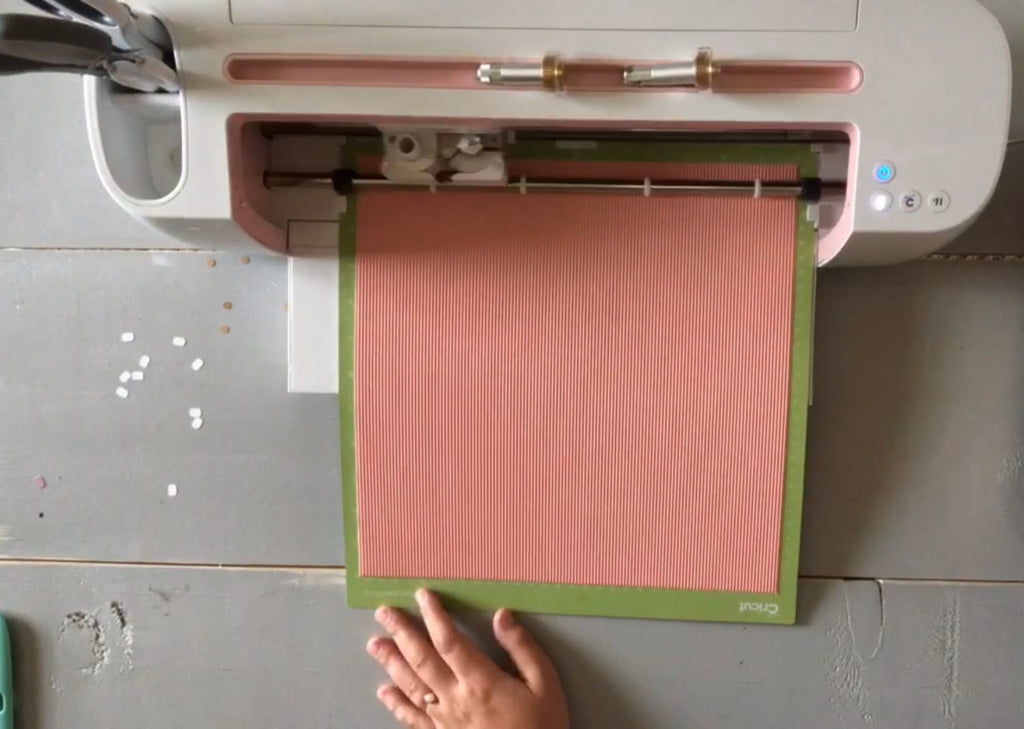 Once that’s finished, we will cut the regular cardstock. This paper actually came in the Corrugated Cardstock pack. I like how all of the colors coordinate. I will be using the LightGrip cutting mat to cut all of the paper. The XL Scraper tool is a great tool to really make sure the paper is adhered well to the mat. Once that is finished, we are done cutting, scoring and drawing. Now we will assemble!
 I started by aligning all of the pages in the order that I wanted them to be arranged in the journal. I just had the pages arranged by every other color. Purple, white, purple, white, etc.
 Then I grabbed my corrugated cardstock paper (the pink one) and folded along the score line. Next, I tucked the white and purple pages inside the corrugated paper and lined all of the holes up.
 Next, you will want to fold your leather in half. Mine was pretty stiff, so you may want to place some heavy books on it over night to help with the crease. I’ve also heard that using a rolling pin will help. and started inserting the pages. You’ll have to make sure that the holes in the leather and paper are all aligned correctly.
 The last thing I did was loop twine through the holes and finish it up with a little bow! You don’t want to tie it super tight otherwise you won’t be able to move your pages.
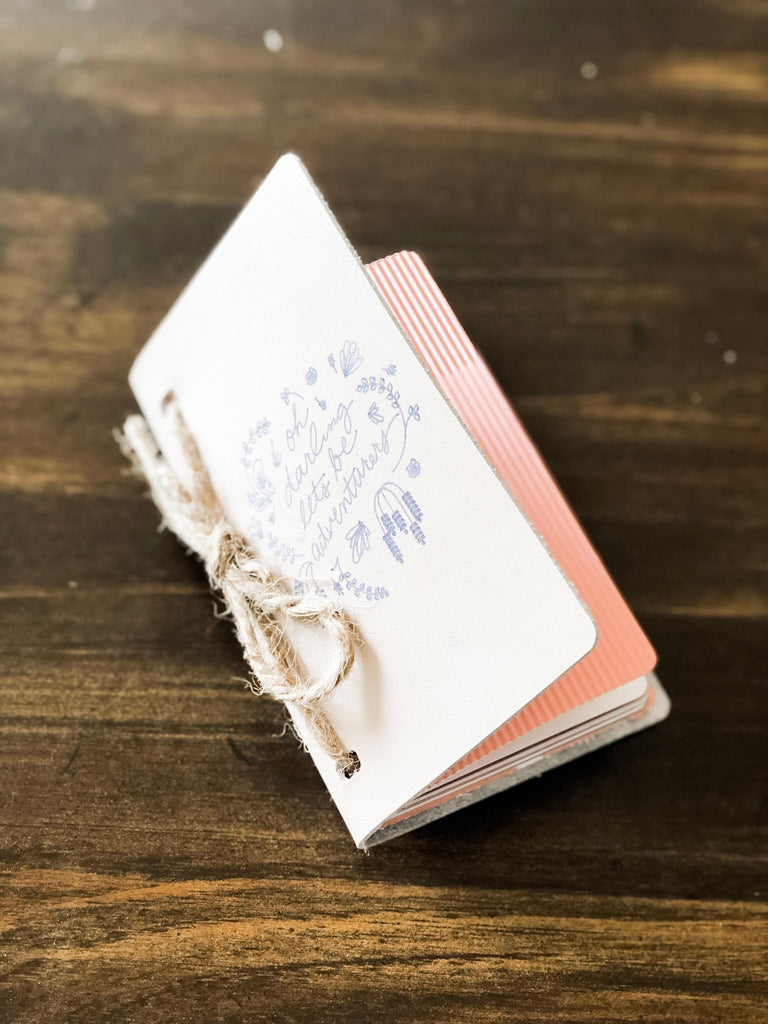
 I love this journal! It’s simple and it’s perfect to tuck in my purse. And the best part is that when I need more pages, I can just cut more paper out! Aren’t our Cricuts the best?!
-Courteney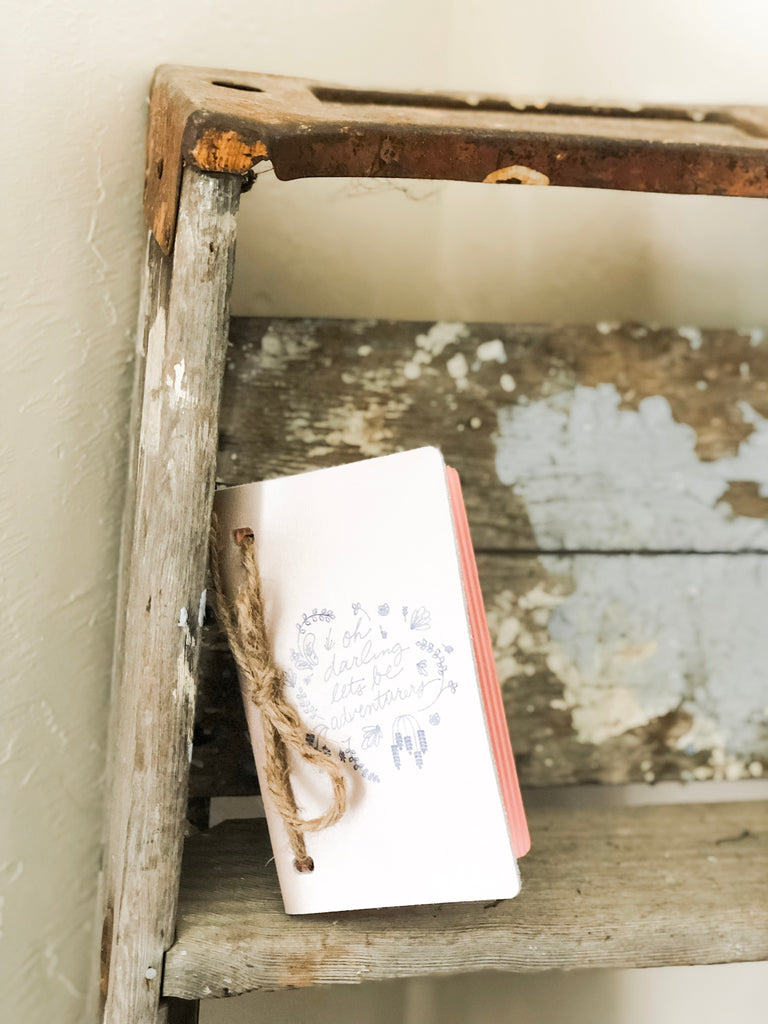
Adventure Fund Frame: Easy Cricut Gift Idea
FEATURED SALES


