Repurposed Window 2.0 with Vinyl
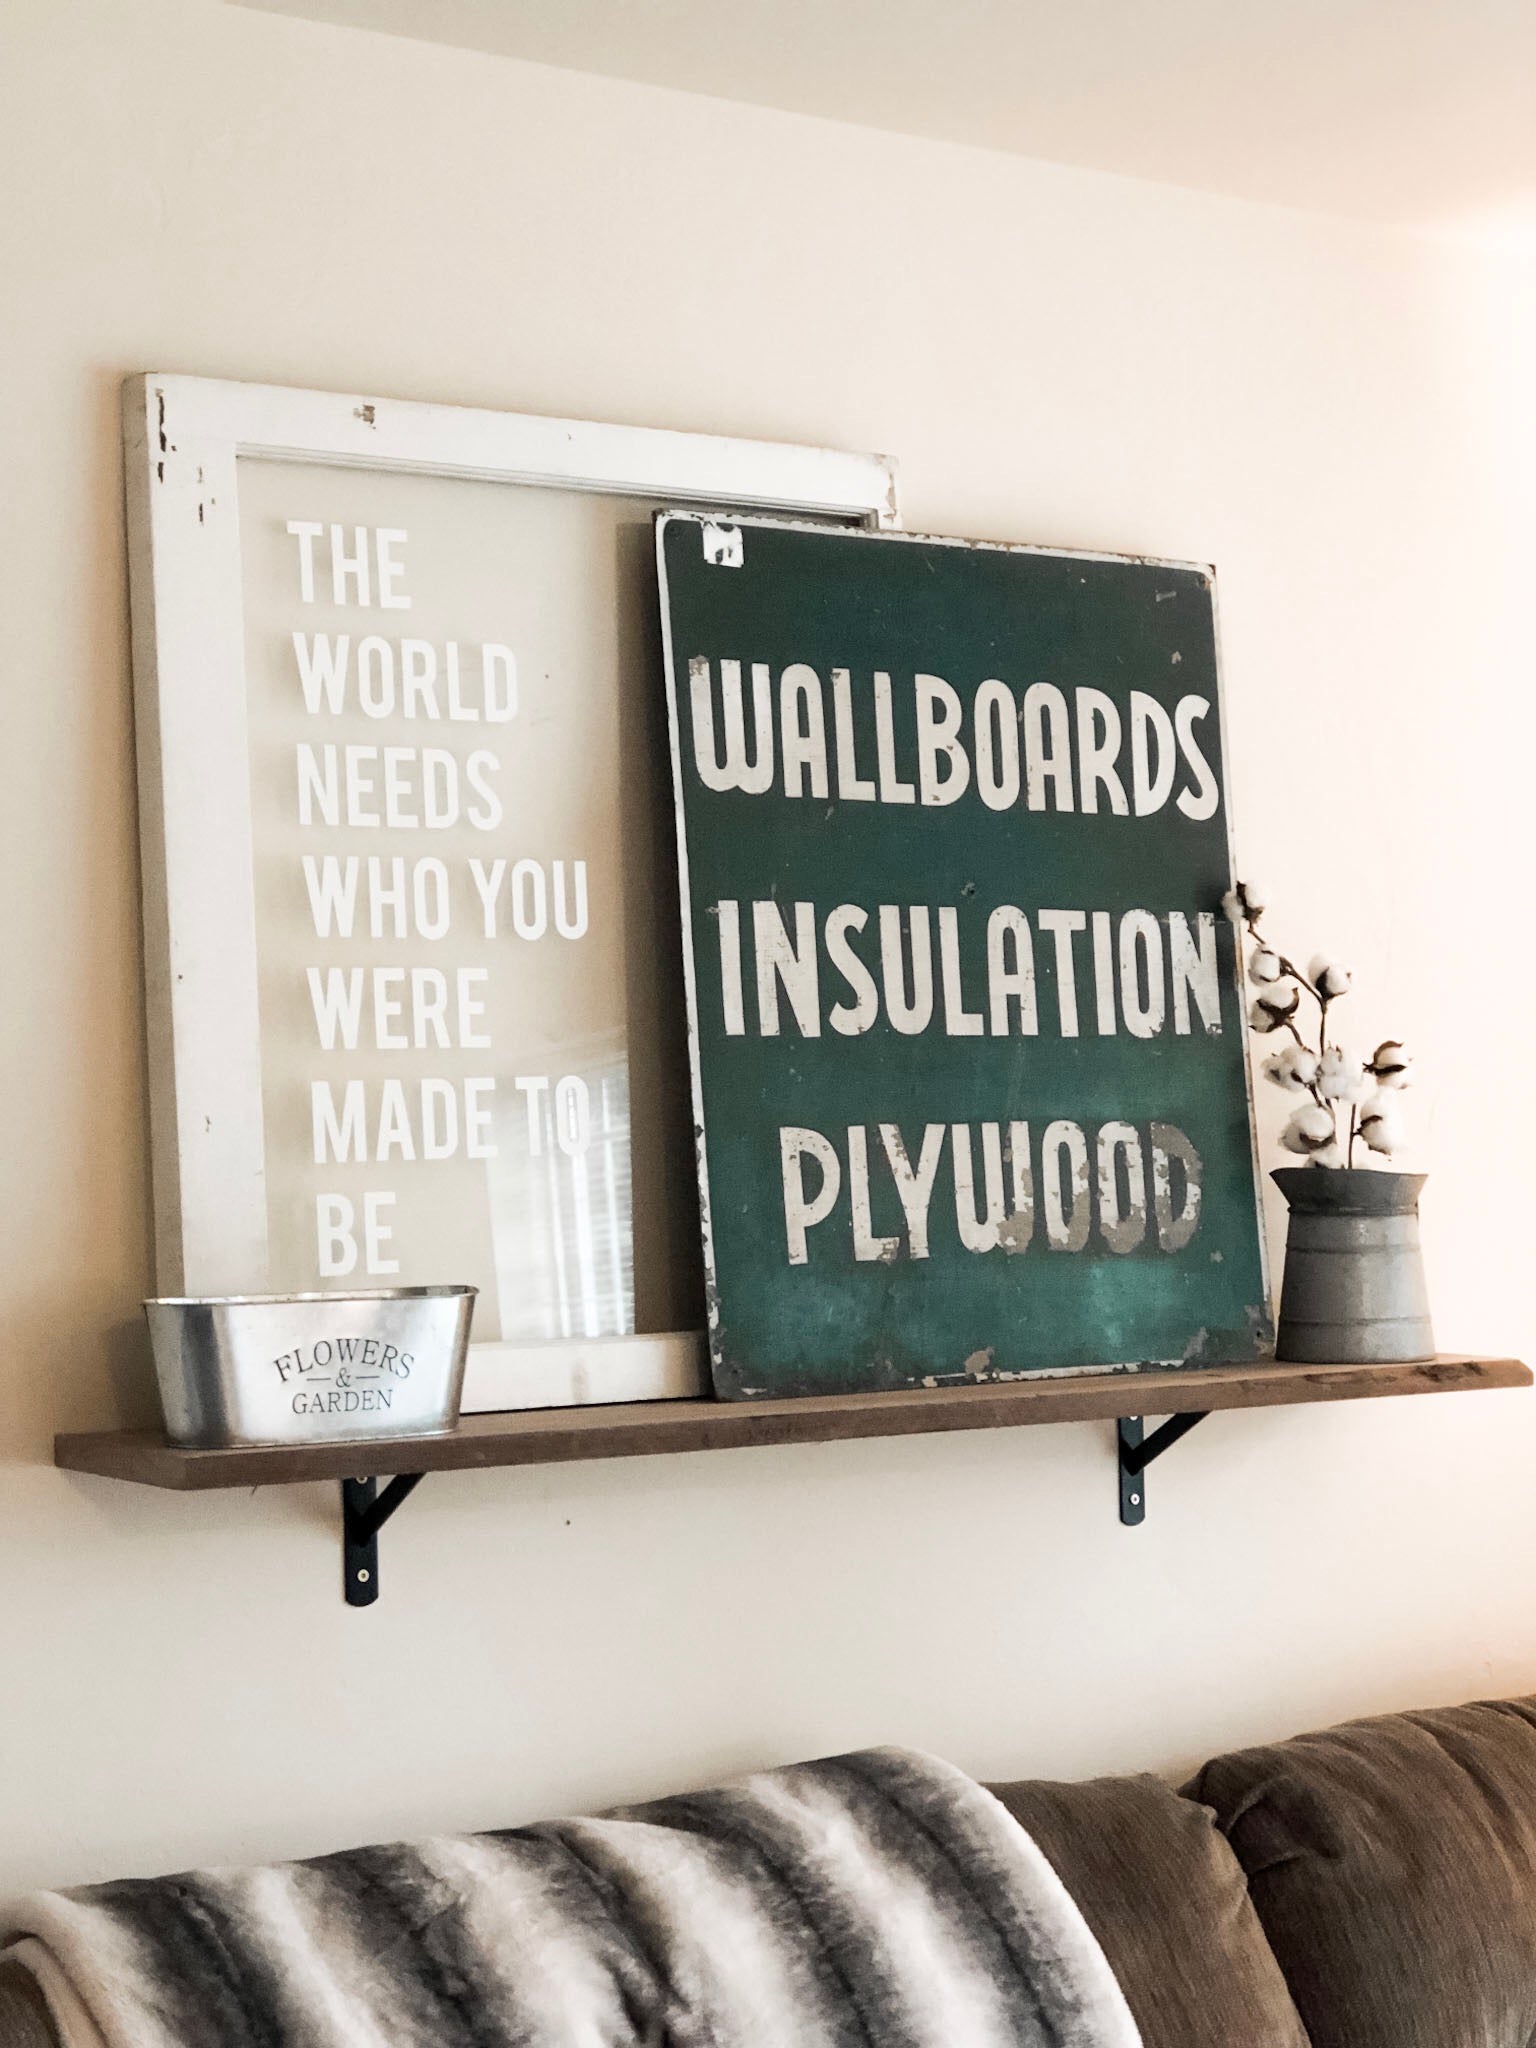
 About a month ago, I shared a blog post about some old windows that I had found on the Facebook Marketplace. My home is very farmhousey, so I knew they would fit in perfectly. However, I didn’t want to just put random windows around…so I decided to use my Cricut to jazz them up a little bit! For my first window, I added vinyl and a wreath – you can check it out here. We ended up hanging it in our guest bedroom above the bed. But for today’s project, I’m going to show you how I transformed by second window with vinyl! It follows the same technique as the first, but I thought I’d walk you through this one as well. And I made a video this time so you can watch the whole thing!
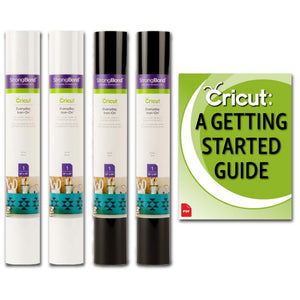
Materials:
- Old window
- Cricut Premium Vinyl (I used white)
- Cricut Transfer Tape
- Cricut Weeder
- Cricut XL Scraper
- LightGrip Cutting Mat
- Cricut Maker or any machine that can cut vinyl
Let’s get started! The first step is to cut your vinyl. Measure your window pane and then decide what size you want your design to be. My window is pretty big, so I made the vinyl as large as it could go (23.5 inches tall). Then apply your vinyl to the mat – I like to use a LightGrip cutting mat when I am cutting vinyl but a StandardGrip mat would work as well.

Once it’s done cutting the vinyl, carefully remove the vinyl from the mat and weed the design. You’ll want to remove the excess vinyl from around the letters and in the inside of the letters.

Before we apply the vinyl to the window, make sure that your window is cleaned REALLY good! You don’t want anything creepy or crawly hanging around your house.
Then apply the transfer tape to the vinyl. I like to start at the top or bottom of the design and then slowly apply the transfer tape to the vinyl as I work my way down the vinyl. This way, it prevents any air bubbles or wrinkling from happening. Use a scraper tool (the XL Scraper is my favorite) to burnish the tape really well onto the vinyl. You can also flip the vinyl and burnish from the back as well. When you feel like it has applied well, slowly peel back the transfer tape, removing the paper lining from the vinyl.

Then we are going to apply our transfer tape & vinyl to our window. Don’t press it into the weekend just yet – you’ll want to make sure everything is lined up correctly. Use a tape measure to make sure that your design is lined up and even. Or if you’re like me, eye-ball and hope for the best.  Then carefully apply the vinyl/transfer tape to the window. Use the scraper tool again to burnish it onto the window well. Then starting in one of the corners, slowly peel back the transfer tape, using a rocking motion. If you find that some of the vinyl is coming up or not sticking, just press the transfer tape back down and burnish again – or use your fingers or scraper tool to help push it down. You’ll have to be patient with this part of the process!

Once you’re done, you can apply D-rings to the back of the window if you want to hang it on your wall. In this case, I don’t need to apply any D-rings because I am just going to lean it up against my wall on a shelf.

But that’s it – super simple and inexpensive! This DIY cost me about $6-8 for the window and the vinyl. Not too shabby! Let me know if you have any questions + definitely let me know if you make a project like this too!
-Courteney

FEATURED SALES