A few weeks ago I saw a project on Pinterest of a craft organizer made of recycled cereal boxes and knew I had to give it a go!
Any crafter will agree that STORAGE & ORGANIZATION makes crafting a whole lot easier and you get more done when you can find what you are looking for when you are looking for it.
I immediately knew I was going to use this BEAUTIFUL paisley wrapping paper that has been sitting in my closet for over a year! It adds a pretty colorful touch to my ugly faux wood crafting area, dontcha’ think?
With this project not only do you get storage, but it’s practically FREE! I’m a mama on a budget and I love to recycle whenever I can!
Here are the directions for you to make your own organizer…
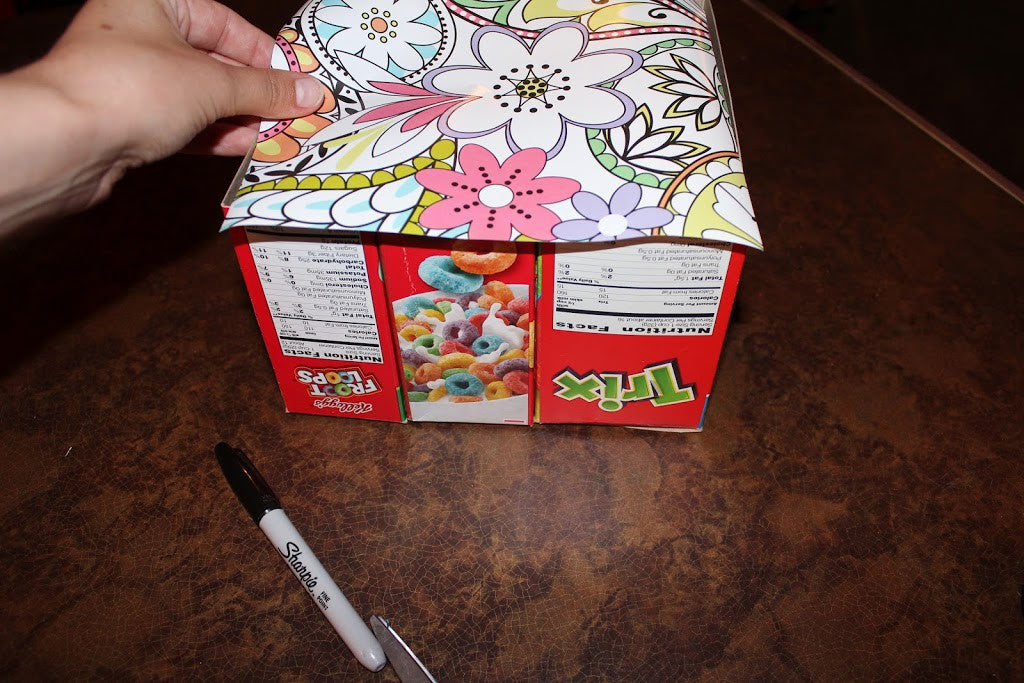
I started with two cereal boxes (Trix & Froot Loops). The funny part is- these are not from my daughter but my husband ,Kevin, who eats like a 5 year old! I then took my extra sharp Wescott Scissors and cut the boxes in half so they were generally the same height.
Next I took my PINK Wescott Paper Trimmer and trimmed each box to be 5in tall. I opened the flaps so the boxes layed flat for cutting, then hot glued the top flaps back together with my PINK CORDLESS I-Bond Glue Gun. Next I glued the boxes all together to create one box with 4 sections.
Here is the beautiful wrapping paper I have been raving about. Isn’t it fabulous!?
First I covered the sides with the divided sections. I knew my boxes were 5 inches high so the paper had to be 10 inches long to cover the outside and inside. I then measured the width (7 inches) and cut my paper
7in x 10in
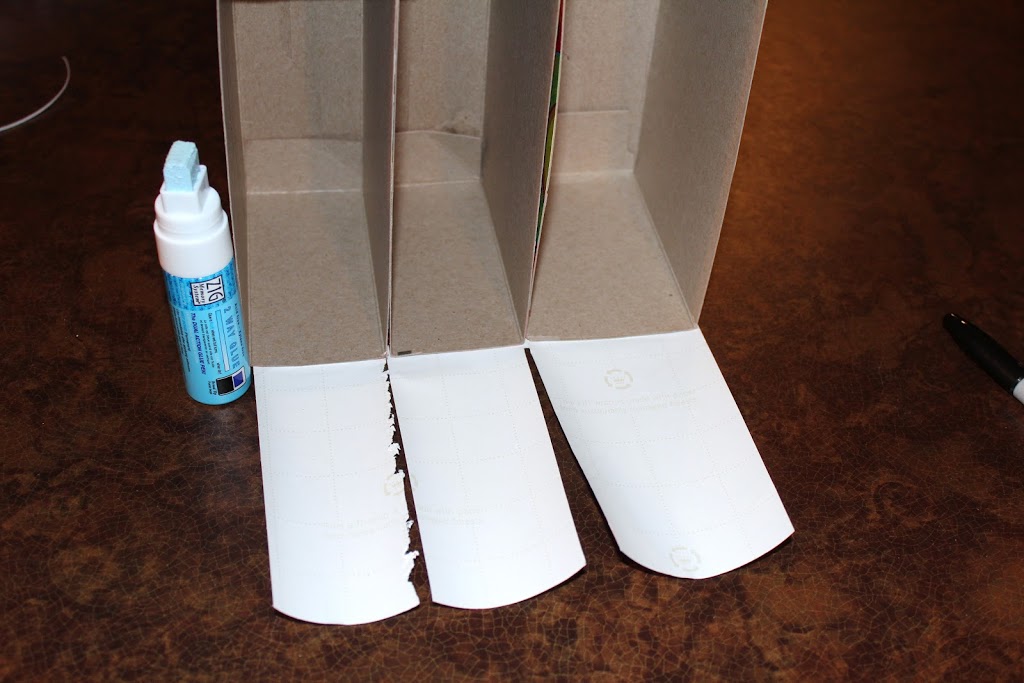
Then i measures the width of each section and made three sections by cutting 2 slits in the paper 5inches long to fold inside the box.
I used my Tombo Zig Pen to adhere all of my paper to the boxes. The nice part is that it does not have to be perfect! Most of the paper is glued to the inside of the box which will be filled with craft supplies later!
I did the two hardest parts to cover 1st so the rest would be easier. Make sure to take your time and measure. I am FAR from a math wiz and I managed measuring the dimensions for this project. I drew out and planned everything BEFORE I cut!
These two sections were longer because they were going to be accordion folded to cover the entire inside of the container up and down over each of the three sections. Glue only a little at a time. If you put glue on a whole long piece by the time you get to the end the glue will have dried or the paper tends to stick on things before it’s placed down.
Again remember, don’t be TOO picky about measurements, you’ll never see them later!
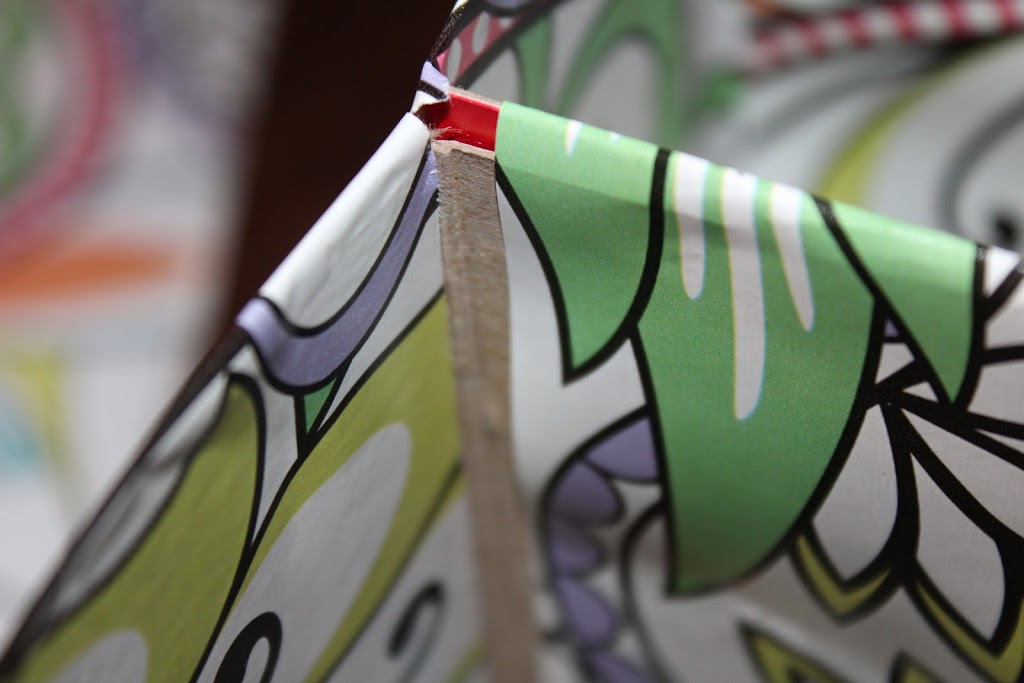
Yep, even I make mistakes.
To cover some small exposed sections of the box i just cut some small strips with my PINK Wescott Paper Trimmer and layered the strips to cover the area. This is a close up so you can see where I covered my mistake, but from far away you’d never know the difference!
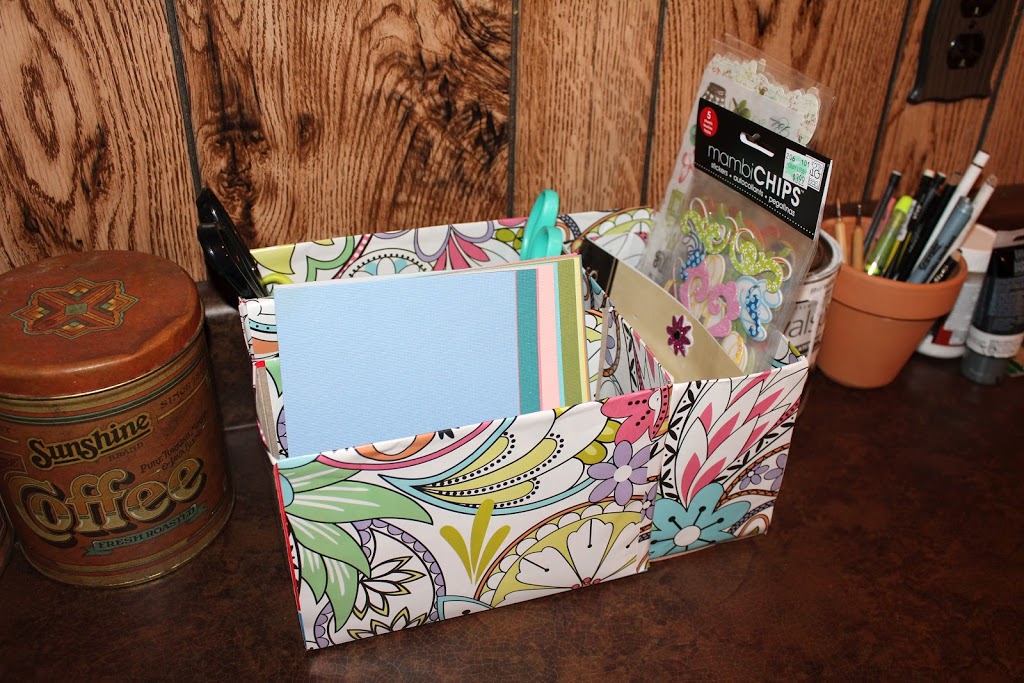
After all is planned, measured, cut & glued down- WA-LA! A perfectly imperfect RECYCLED cereal box organizer! Now I can fill it with some of my favorite crafting goodies from Craft-e-Corner!
Here is the completed project being put to use. It’s perfect for holding stickers, scratch paper, scissors, embellishments & more! Check out more recycled and
‘green’ crafts on our
Pinterest page!
I’d LOVE to hear your thoughts! Do you like it?


Leave a comment