Happy Thursday everyone! Can you believe that tomorrow is March already? This year, Easter happens to fall at the end of March so I figured it’s a great time to start Easter crafting. Here is what I came up with…
This card was so fun to make and very simple, anyone can do it! I combine beautiful pastel colors, a few textures and a little POP of sparkle (of course).
For the base of the card I used Craft Cardstock. I cut my card 5″x5″. Using the Summer Silhouette Adhesive Backed Cardstock I threw in a few really pretty spring/summer colors. I LOVE this paper! it is completely backed with adhesive so no matter if you are cutting basic shapes or intricate cuts with a machine its will stick perfectly and you don’t need to fuss with any adhesives!
Using my Cuttlebug Machine, I embossed the light blue adhesive paper with my Polka Dot Embossing Folder. I peeled the backing off of the paper (it’s like a giant sticker! SUPER AWESOME!) and added it to the bottom of my card.
Using my old school paper edger scissors, I cut a strip of the coral adhesive backed cardstock and added a boarder to the top of my polka dot piece. I love using these scissors and I don’t care how old they are, I use them all the time! Let’s hear it for old school scissors! WOOT WOOT!
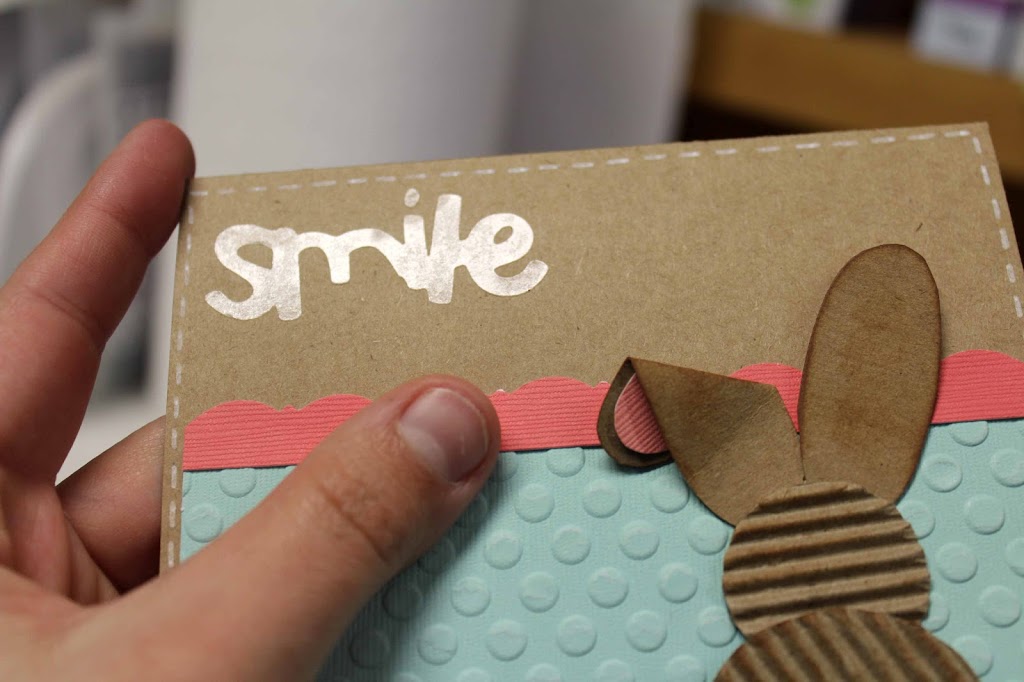
Then I added a white stitch edging around my entire card with a White Gel Pen!
For my bunny, I cut out these shapes using a recycled Starbucks coffee sleeve! I am a shameless Starbucks addict and try to keep all my sleeves! I love the texture and always support RECYCLING!

I added a little bit of the pink cardstock onto one of my oval bunny ‘ears’. I bent the ear over on an angle so it looks like the bunny’s ear is bent. It turned out great and I did this all by hand, no special tools needed!
Using my Megan Elizabeth Ink Edgerz I added a little bit of definition to the edges of my pieces to make my bunny stand out a bit more. Then I layed all of the pieces out where I liked them and finally hot glued them on. For the ears I only glued the bottom so they pop off of the page a bit.
For my bunny tail and the word ‘Smile’ I used the Silhouette Double Sided Adhesive Paper and glitter. I cut the word ‘Smile” out using my Cricut Expression Machine and the Walk In My Garden Cartridge. If you don’t have a machine, you can still make the bunny tail by using a small circle punch but the words you might not be able to manage.
Tip: If you lack nails like me, using an Xacto knife works great for removing the backing of the sticker paper.
Using a scrap piece of paper and my Ranger Sickles Fine Dry Glitter, I poured the glitter right on top of my adhesive pieces. Check out that sparkly bunny butt! Using a soft bristle paint brush, brush off the excess glitter.
The very last thing I did once the card was cleaned up and all my glitter was brushed off was sprayed it with hairspray to seal the glitter. You can use a sealant spray too, but if you don’t have it, aerosol hairspray works just as well!
Overall the card turned out great and was very easy to make. I love using the Silhouette Double Sided Adhesive Paper and the
Adhesive Backed Cardstock ROCKS as well! If you missed my Glitter Egg project using this paper as well, check it out here!
What do YOU do to celebrate Easter every year? Do you have any fun Easter traditions?
Happy Easter Crafting everyone,
Abbey


Leave a comment