How to Replace a Cricut Maker Rotary Blade
Just like any blade, the Cricut Rotary Blade will eventually get dull and need to be replaced. How do you know it’s time to replace your Cricut Rotary Blade?

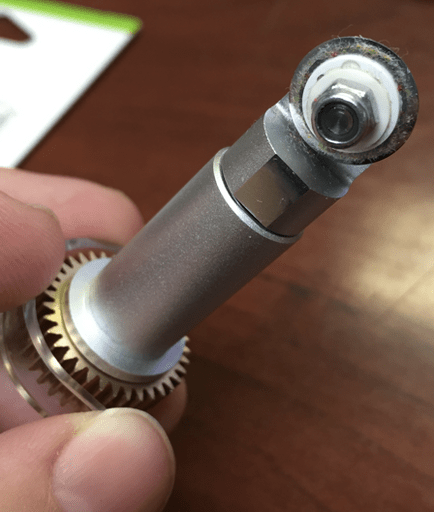
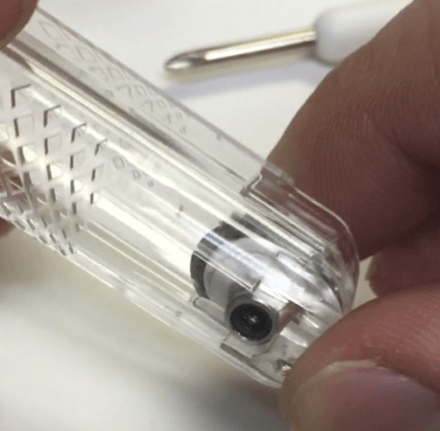
It’s time to change your blade when you can visually see knicks in the blade (maybe you dropped it, whoopies!), if you are not getting good cuts, or if you notice you have to hit the recut button more frequently than you used to. Also, if your blade is filthy like the one below, you know it’s time to change the blade:
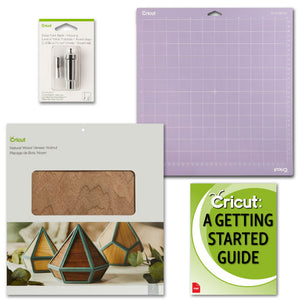
Thankfully it’s fast and easy to change your Cricut Maker’s Rotary Blade, all you’ll need a Cricut Rotary Replacement Kit and a few minutes time.
The Replacement Rotary Blade Kit comes with three pieces: a tiny screwdriver, a protective cap with a new blade inside and an empty protective cap for the old blade to go into:

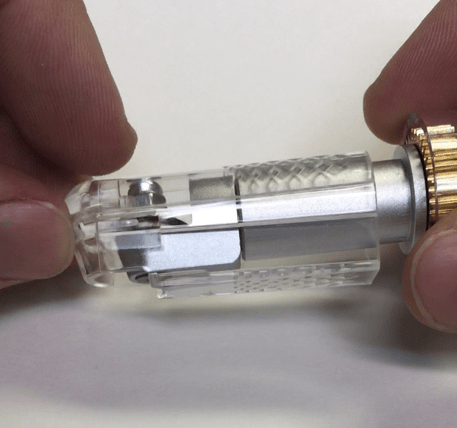
 Place the rotary blade and blade housing into the empty protective cap. Push the blade in until you hear it click or the blade is all the way at the bottom of the protective cap:
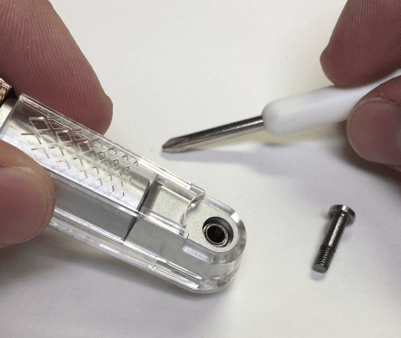
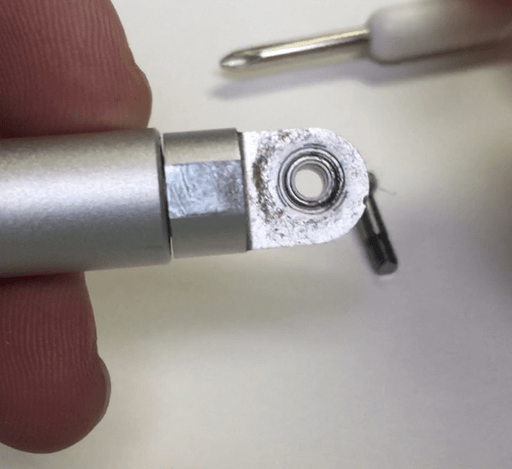
 Use the included small screwdriver to remove the screw from the bottom of the blade:

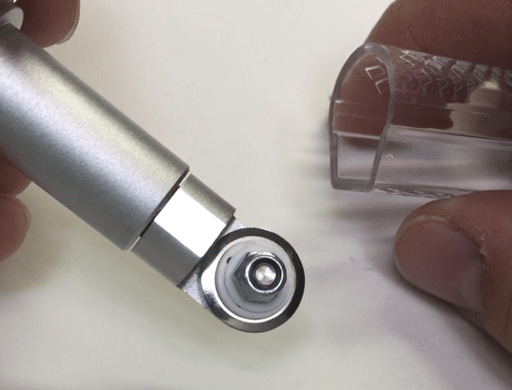
Remove the blade housing from the protective cap. The old blade will stay at the bottom inside the protective cap:
Check the blade housing and wipe down the area where the blade sits to clear any debris:
Slide the blade housing into the protective cap with the new blade and put the screw back in. Enjoy the shiny new
blade!:
Nothing cuts quite like a fresh blade! If your blade isn’t performing as expected, maybe it’s time to replace it!
All About the Blades: Cricut Maker Rotary Blade
All About the Blades: Fine Point, Deep Point and Other Blades to Use with Your Cricut Machine
FEATURED SALES