All About Brushes, Knives and Other Paint Tools
Explore the painter’s tools of the trade. Discover the anatomy of a paint brush and learn to choose the proper brush for your next painting project. See what each of five common brush types can do as you create a colorful ‘brush stroke’ painting.

Anatomy of a Brush

Handle
Handles may be short (about 5-6 in.) or long (about 9 in.) in length. Long handles are used for traditional oil and acrylic painting at an easel. Short handles are used for watercolor and other painting done at a table.
Size
Brush handles are labeled with a number to indicate size. Sizes begin at 000 and a larger number indicates a wider brush. Unfortunately, there are no standard brush dimensions. What this means for the artist is that the same size number brush may differ in actual size across different manufacturers. Many artists find that brushes in the 6 to 8 size range are medium-sized brushes suited to many paint techniques.
Ferrule and Crimp
The ferrule (with its crimp) is the metal piece that secures the brush hairs to the end of the handle. Ferrules differ by type of metal; more expensive brushes use a brass or copper alloy metal. Look for a double or triple crimp that will help keep the ferrule attached to the handle. Loose ferrules may be re-attached to a very dry handle using chair tight glue.
Hairs
Bristles are made from natural hair, natural bristle, and synthetic materials. Natural hair includes hair from the weasel or mink (known as sable), squirrel, and goat. Sable brushes are valued for their soft and springy bristles and ability to hold a point. Sable brushes are most often favored by oil and watercolor painters. In contrast, hog bristle brushes are thick and tough. They leave defined brush marks and are good for thick oil paints. Synthetic brushes feature bristles made from nylon or polyester. They are versatile brushes highly recommended for use with acrylics, but suitable for all kinds of paint.
Shape
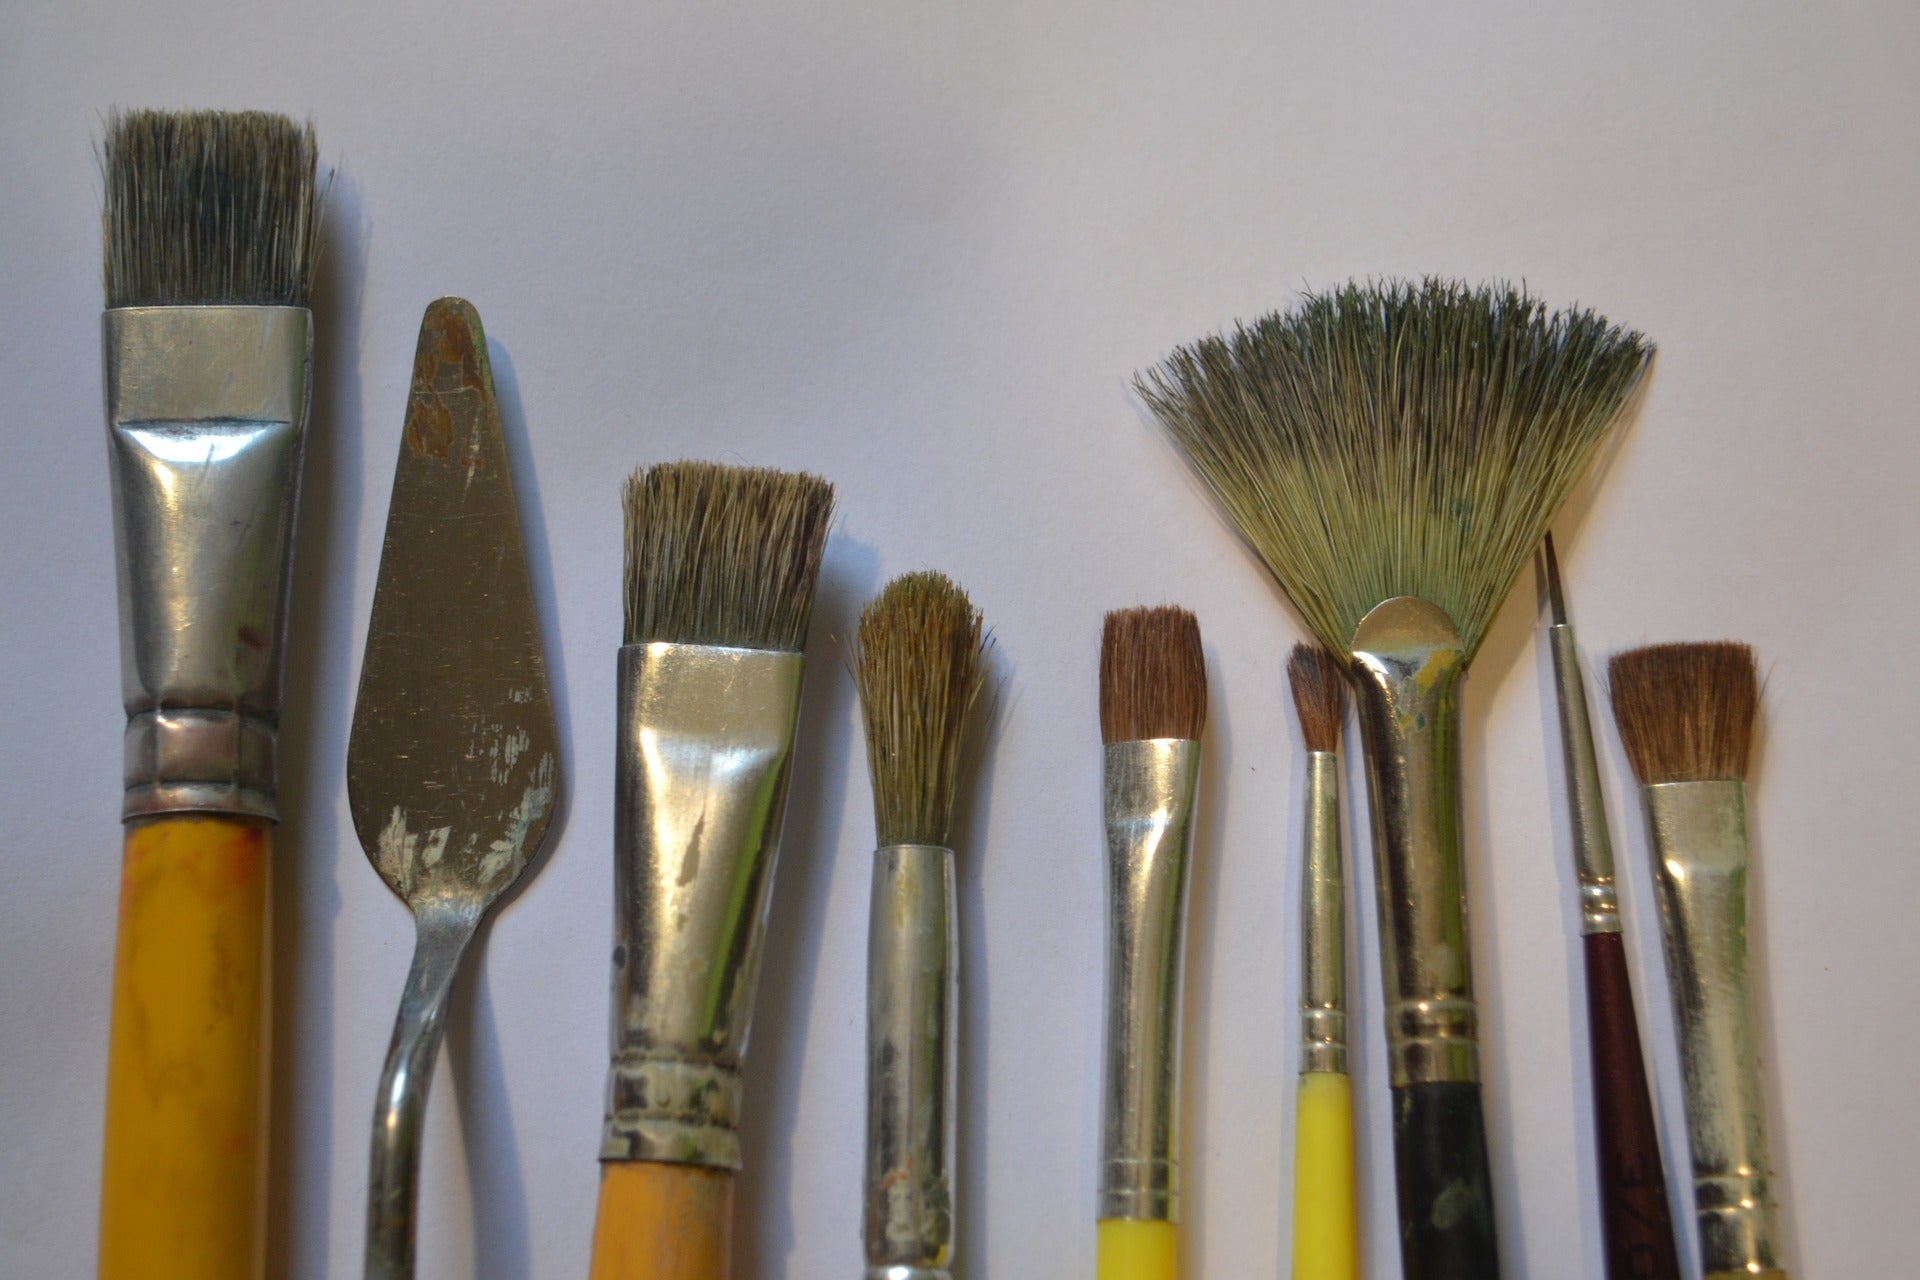
Brushes come in a variety of flat, round, and specialty shapes. A beginning brush collection will usually include these 5 traditional brush shapes: filbert, round, angle shader, flat, and (perhaps) fan.

Filbert
The filbert brush is a flat brush with an oval tip. Use the filbert brush for painting round and curved strokes.


Round
The round brush is a versatile brush with many uses. It has a round shape with a point at its tip. In different sizes it can be used for anything from drawing thin lines to painting large areas of color.


Angle Shader
The angle shader is a flat brush with a diagonal tip. It is good for painting curved strokes and can reach in tight corners with it tip.


Flat
The flat brush is a flat shape with a square tip and chisel edge. It can paint wide strokes when its flat side is used and thin lines when used on its edge.


Fan
The fan brush is a flat shape that is wider at its tip than its base. Its bristles spread out when painting to create strokes in several fan-like directions. It is used widely for nature painting.

Care
Acrylic painters should always clean a brush immediately after use. Do not allow brushes to stand in your water container for any length of time. Resting on its bristles will ruin the shape of the brush and lots of water exposure can loosen the ferrule.
Before washing, wipe excess paint from your brush with a rag or paper towel. Clean watercolor and acrylic paint from brushes using mild soap and water. Clean oil paint from brushes using mineral spirits followed by soap and water.
After washing, shake excess water from the brush and reshape the bristles with your fingers. Allow the brush to dry flat. Store dried brushes flat or upright on the handle.
Painting Knives
The painting knife has a bend in the handle designed for applying paint to canvas. The painting knife often has a triangular head and a sharp edge. It differs from a palette knife which has a straight handle and is intended for mixing paint. The painting knife is used to spread paint much like spreading peanut butter on a slice of bread. It is most commonly used with oil paints which have a similar creamy consistency to peanut butter. Paint applied with a painting knife has a very textured appearance. Painting knives can be cleaned by simply wiping well with a rag or paper towel.

Other Painting Tools – Catalyst
Artists are a creative bunch! Beside brushes and painting knives, artists use a variety of other tools to apply paint to canvas. These tools range from hands and feet to branches and leaves to common household materials. Among commercially available materials, Catalyst wedges and blades offer a nice alternative to painting knives to create unusual texture in your work. They have notched edges that create different patterns as they are dragged through the paint. The wedges fit directly in your hand and the blades are mounted on a handle. Because they are made from silicon, Catalyst tools are easy to clean.

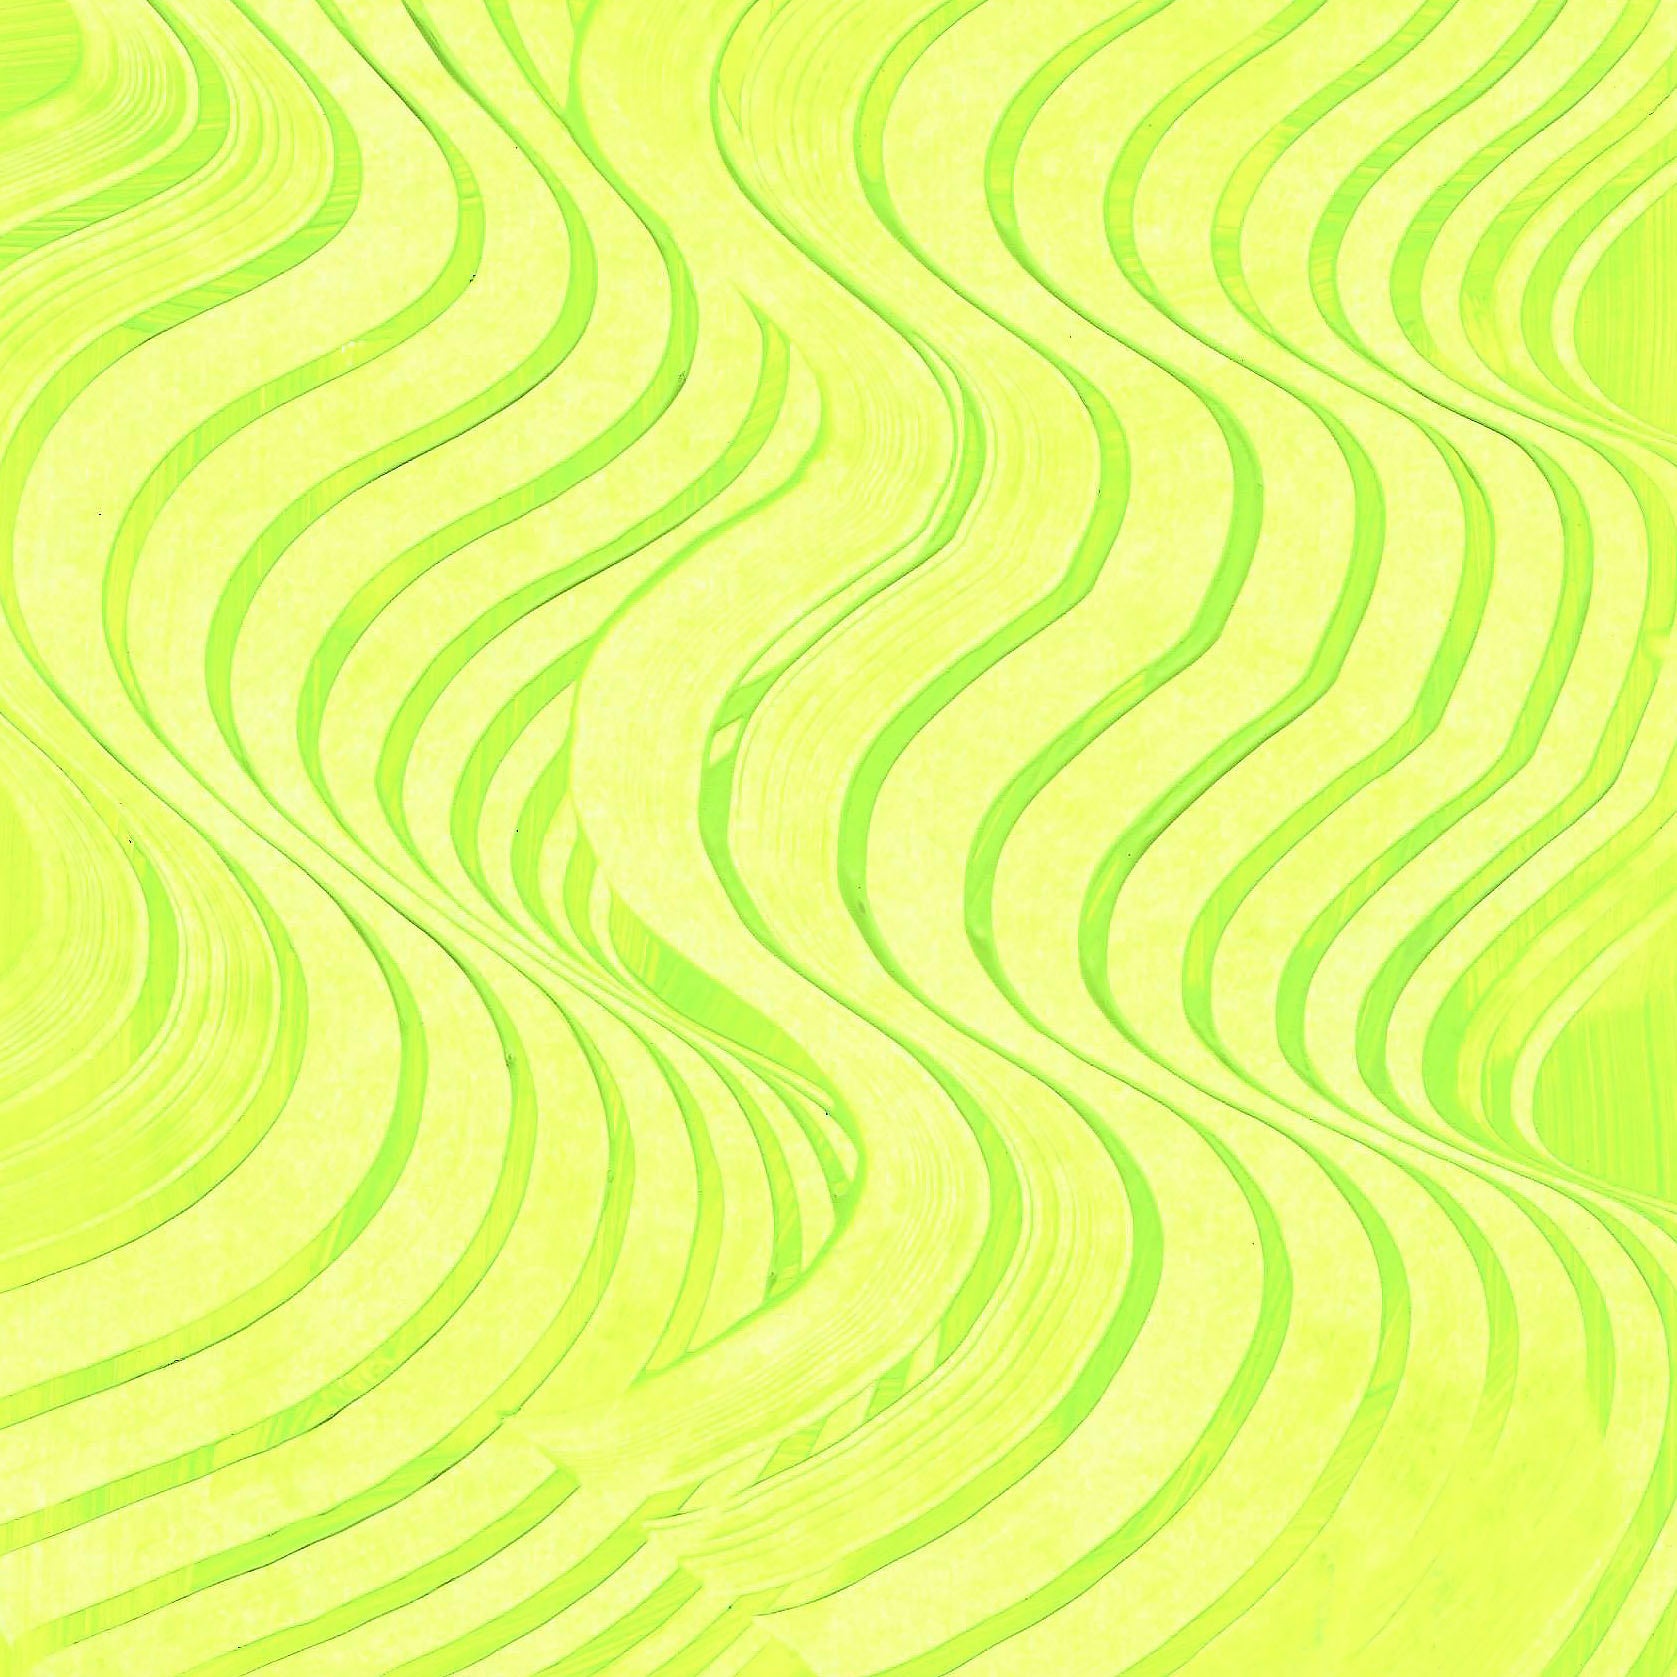


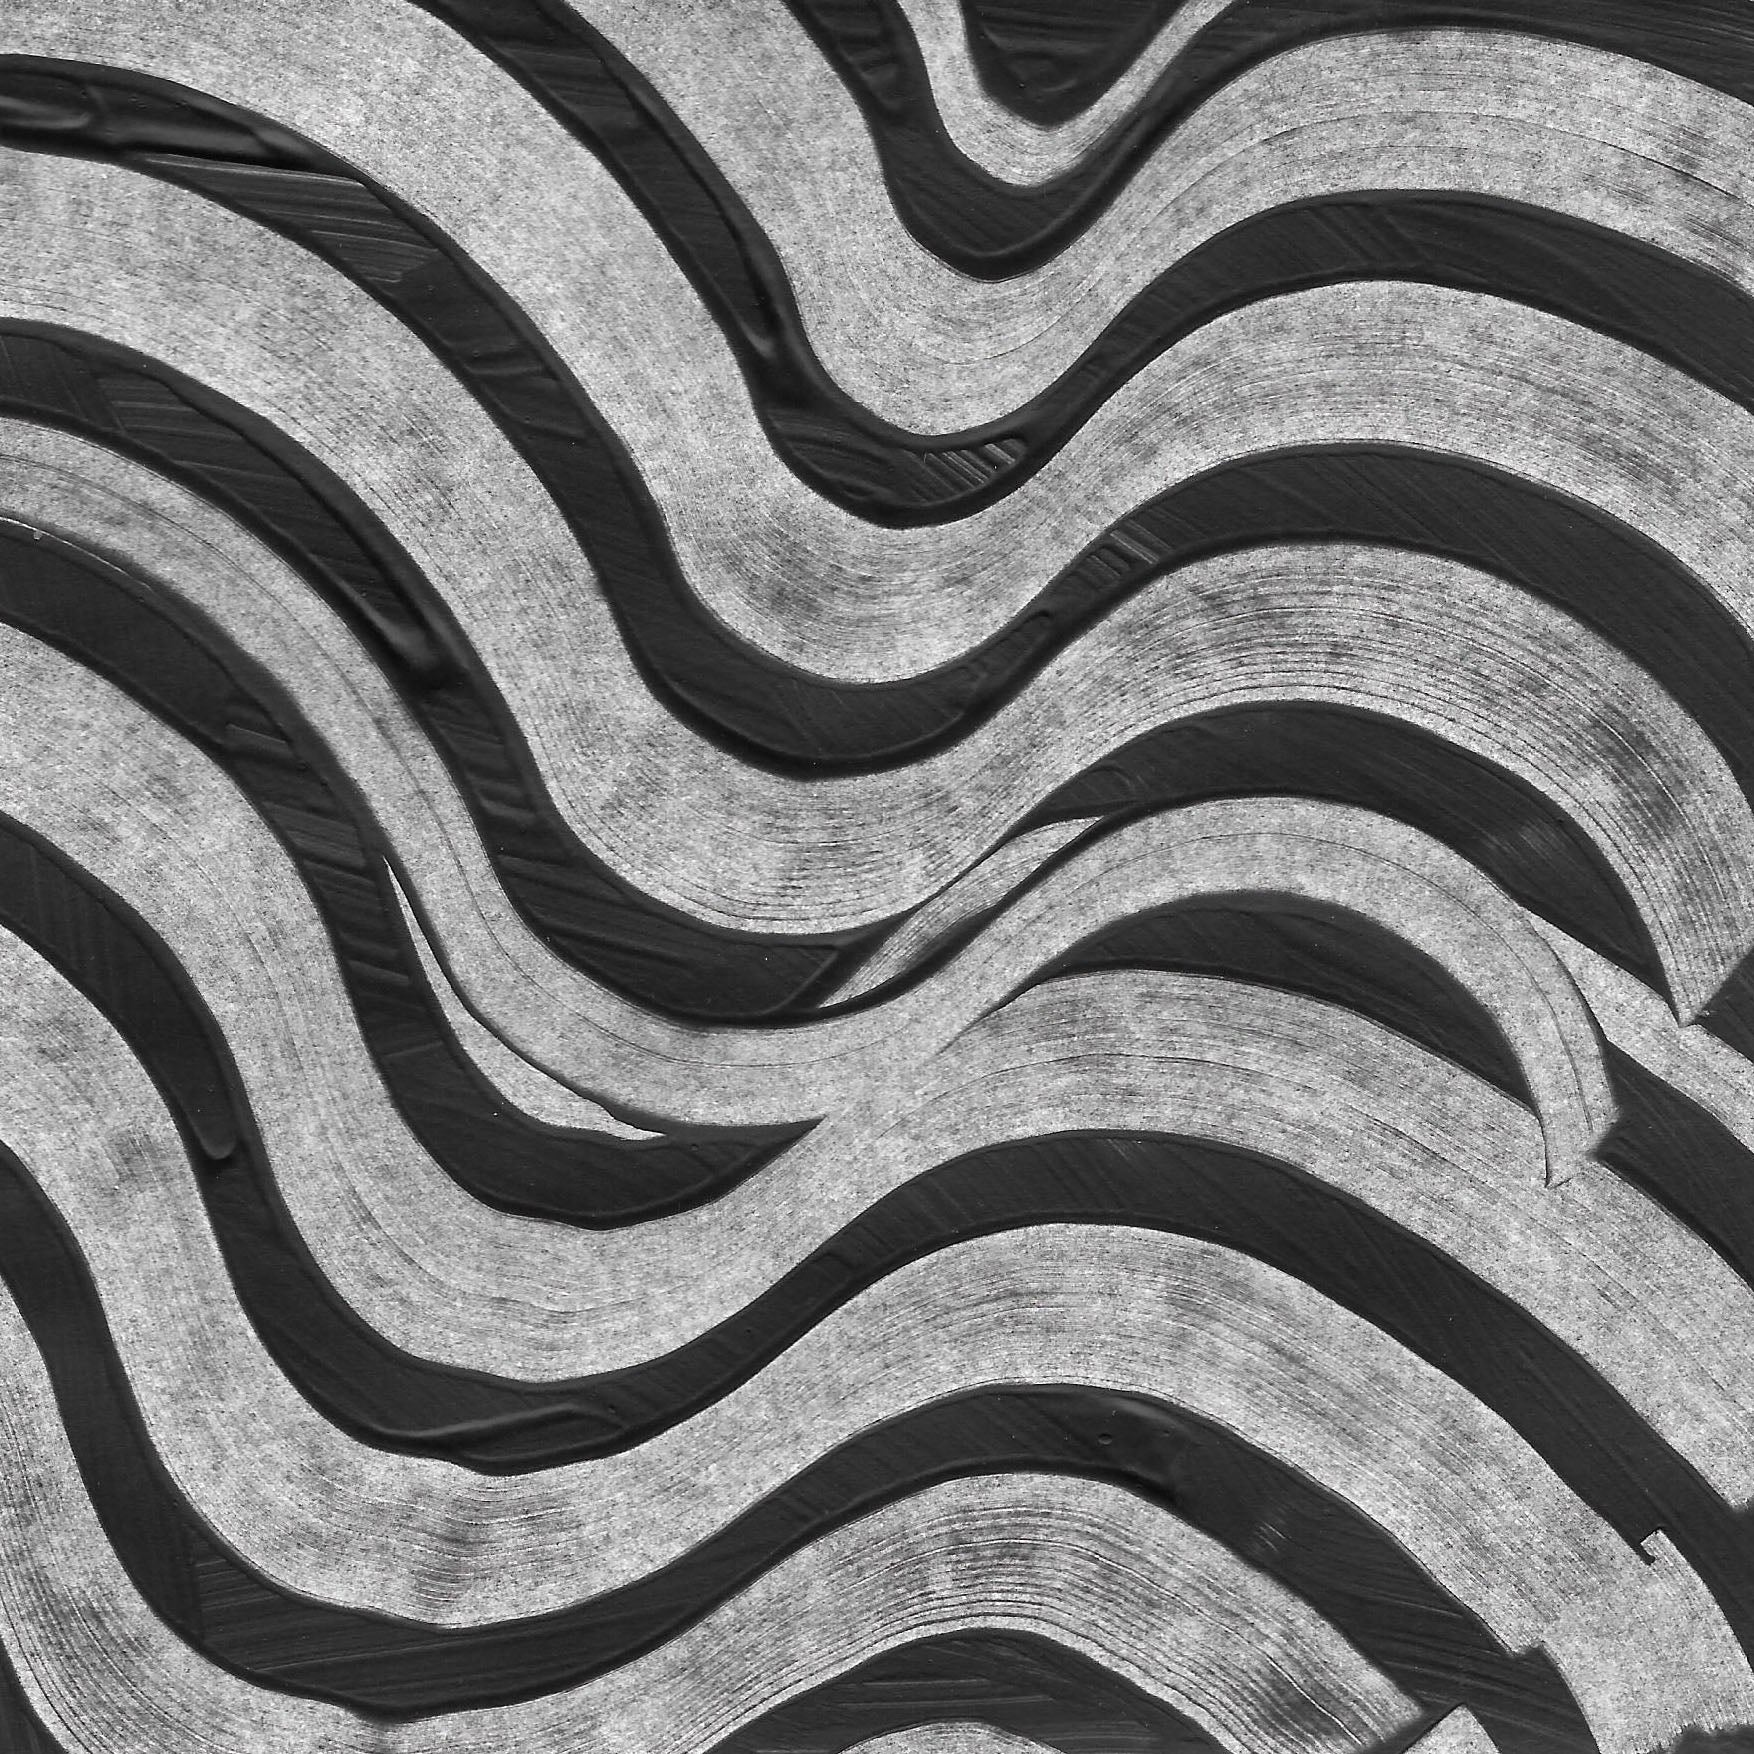


Brush Stroke Painting
This colorful watercolor painting offers a fun and easy way to explore the kinds of marks you can make using the 5 basic brush shapes.
Supplies
Watercolor paper (I’m using 140 lb. 12×12 in sheet)
Watercolor set and palette
Basic brush set
(filbert, round, angel shader, flat and fan)
Silhouette
White acrylic paint
Step by Step
Dampen the watercolor paper with water using a small spray bottle or a brush. The paper should be damp and not wet.
Select a main color palette of analogous colors. These are colors next to one another on the color wheel. It’s important to limit your initial palette to these adjacent colors because you’re going to allow them to mix on your paper. Analogous colors will mix to create vivid new colors which I wanted for this painting.
I am using colors mixed from magenta and blue plus a bit of blue-green. Some other possible color combinations include colors mixed from blue and yellow or colors mixed from yellow and red.


This project is about exploring the marks that you can make with each brush. You can choose to replicate marks like those I used or invent new ones all your own. At the end of mark making, you’ll want to have a sheet of paper that is completely or almost completely devoid of white space. While there is not one right way to do this painting, here are some general guidelines to help you as you work.
- Dip your brush in one or two colors from your palette as you paint. Allow the colors to mix as you draw.
- Rotate your paper often to repeat the same brush strokes in different locations and various orientations across the paper.
- Allow different brush strokes to overlap. If you make a stroke on top of a still-wet area of the paper, the resulting shapes will appear soft and diffuse. If you make an overlapping stroke in a drier area of the painting, the stroke will be crisp and there will be less or no color transfer from the underlying paint. Both effects are perfectly OK.
- After you’ve created many overlapping shapes, you’ll notice that new shapes will appear in the unpainted spaces between your painted shapes. Look for those spaces to occur and fill them with an accent color.

Draw some circles using a large round brush. Rotate your paper and draw additional circles in a few other places on your paper.

Create short rounded stokes using a filbert brush.

Create lines using the edge of the angle shader or flat brush.

Draw small designs using a small round brush. Here I’ve added leaf and small circular shapes.

Draw some swirls using a flat brush and some delicate lines with the fan brush.

Continue to rotate your paper and add overlapping painted strokes. Don’t think too much about the design; instead simply enjoy the moment and try out what your brushes can do.

Recognize the new shapes created in the empty places between your brush strokes and fill them with a contrasting color.

Keep painting until the entire sheet of paper is covered with your colorful brush strokes.

Print your silhouette and cut out the image. I selected an elephant for my design. Trace around the image using a pencil.

Using white acrylic paint, paint around the traced line. Apply the white paint opaquely near the line, but allow some of the background pattern to show through elsewhere in the painting.
After You Paint: Finishes for Oil, Acrylic, and Watercolor Paintings
FEATURED SALES