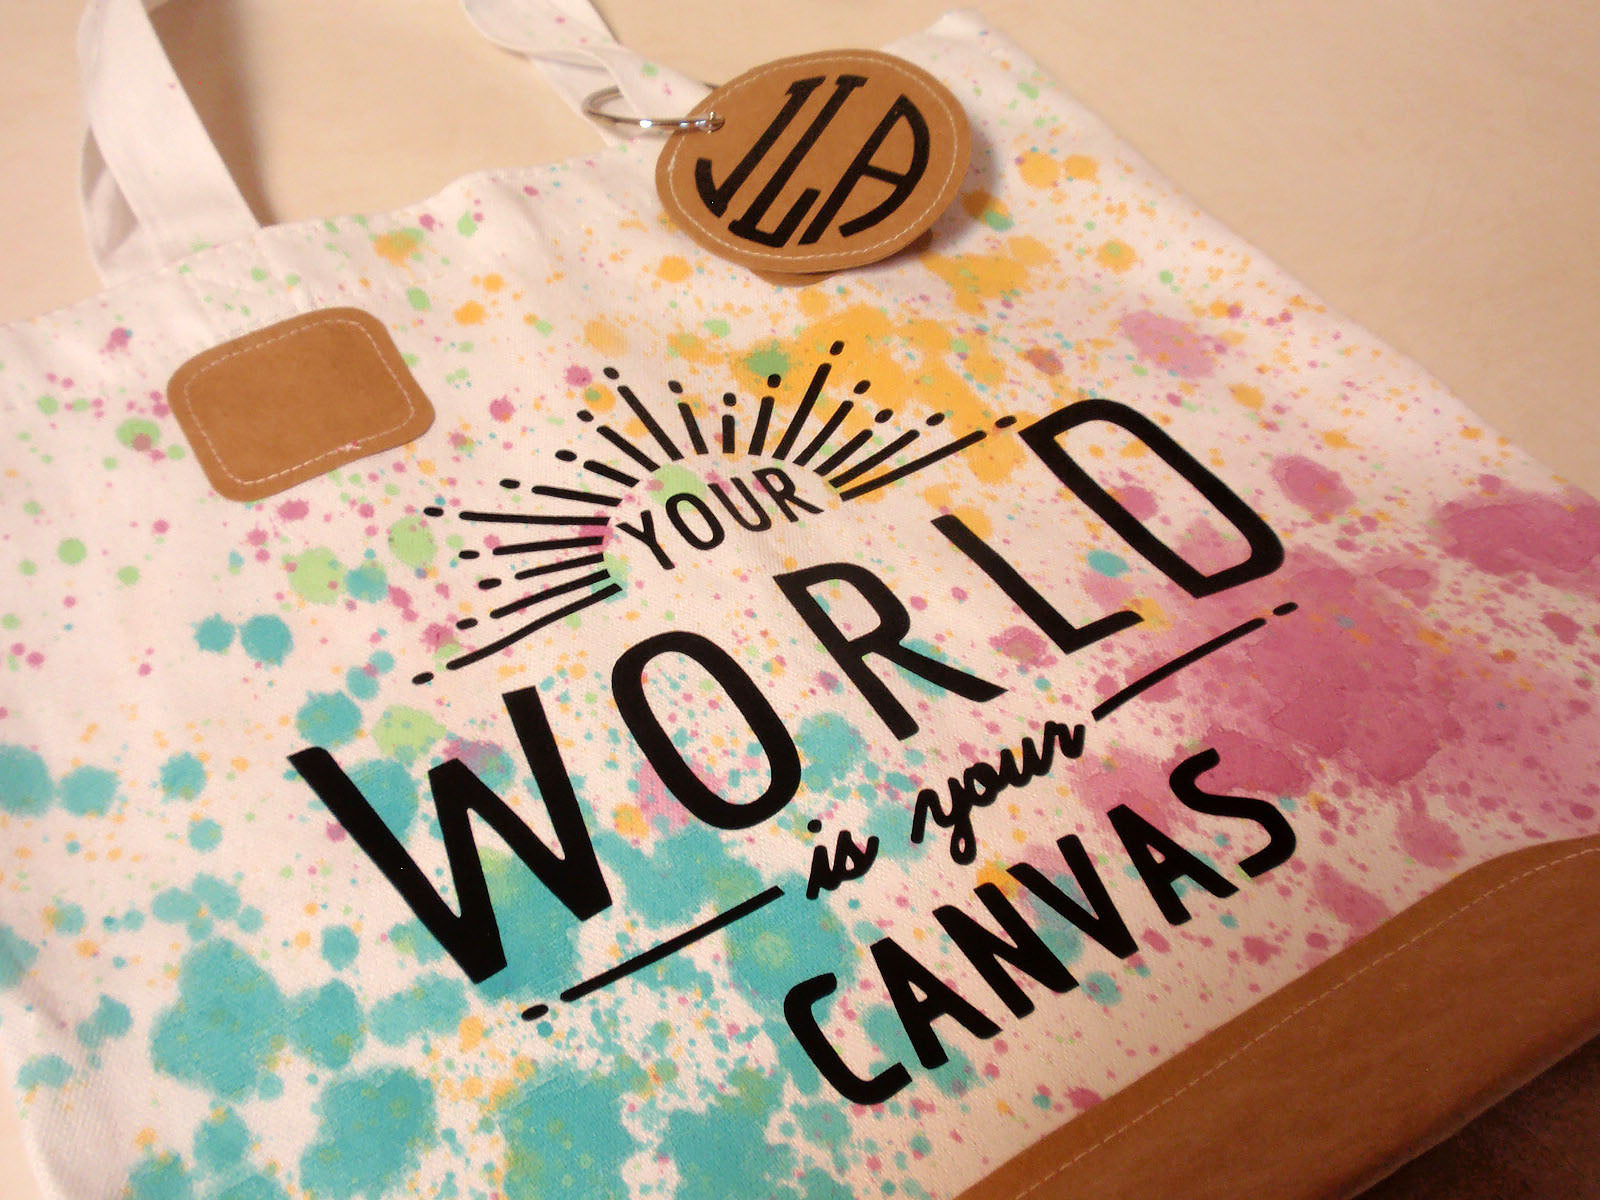
Graduation Tote Bag Gift With Cricut Iron-On
Use Cricuit iron-on vinyl to easily customize a blank tote bag. Faux leather paper accents and a fun spattered paint technique elevate a plain bag to a work of art worthy of gifting to your special graduate.

Materials:
- Blank canvas tote bag, white or natural
- Faux leather paper, natural
- Acrylic paint, 3-4 colors of choice
- Sewing machine and supplies (optional)
- Fabric glue or adhesive of choice
- Die cutting machine and supplies
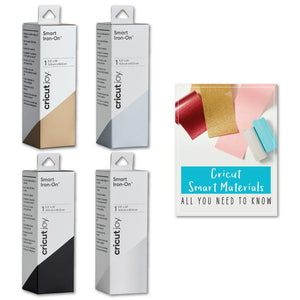
- Cricut Iron-on
Directions:
Make or purchase a blank canvas bag in white or off-white color. I’m using a ready-made white bag measuring 13.5 x 13.5 x 4 inches.

Insert a piece of cardboard, etc. inside the bag to prevent paint from transferring from one side of the bag to the other. Loosen some acrylic paint using water. Spatter and drip the paint on the bag.
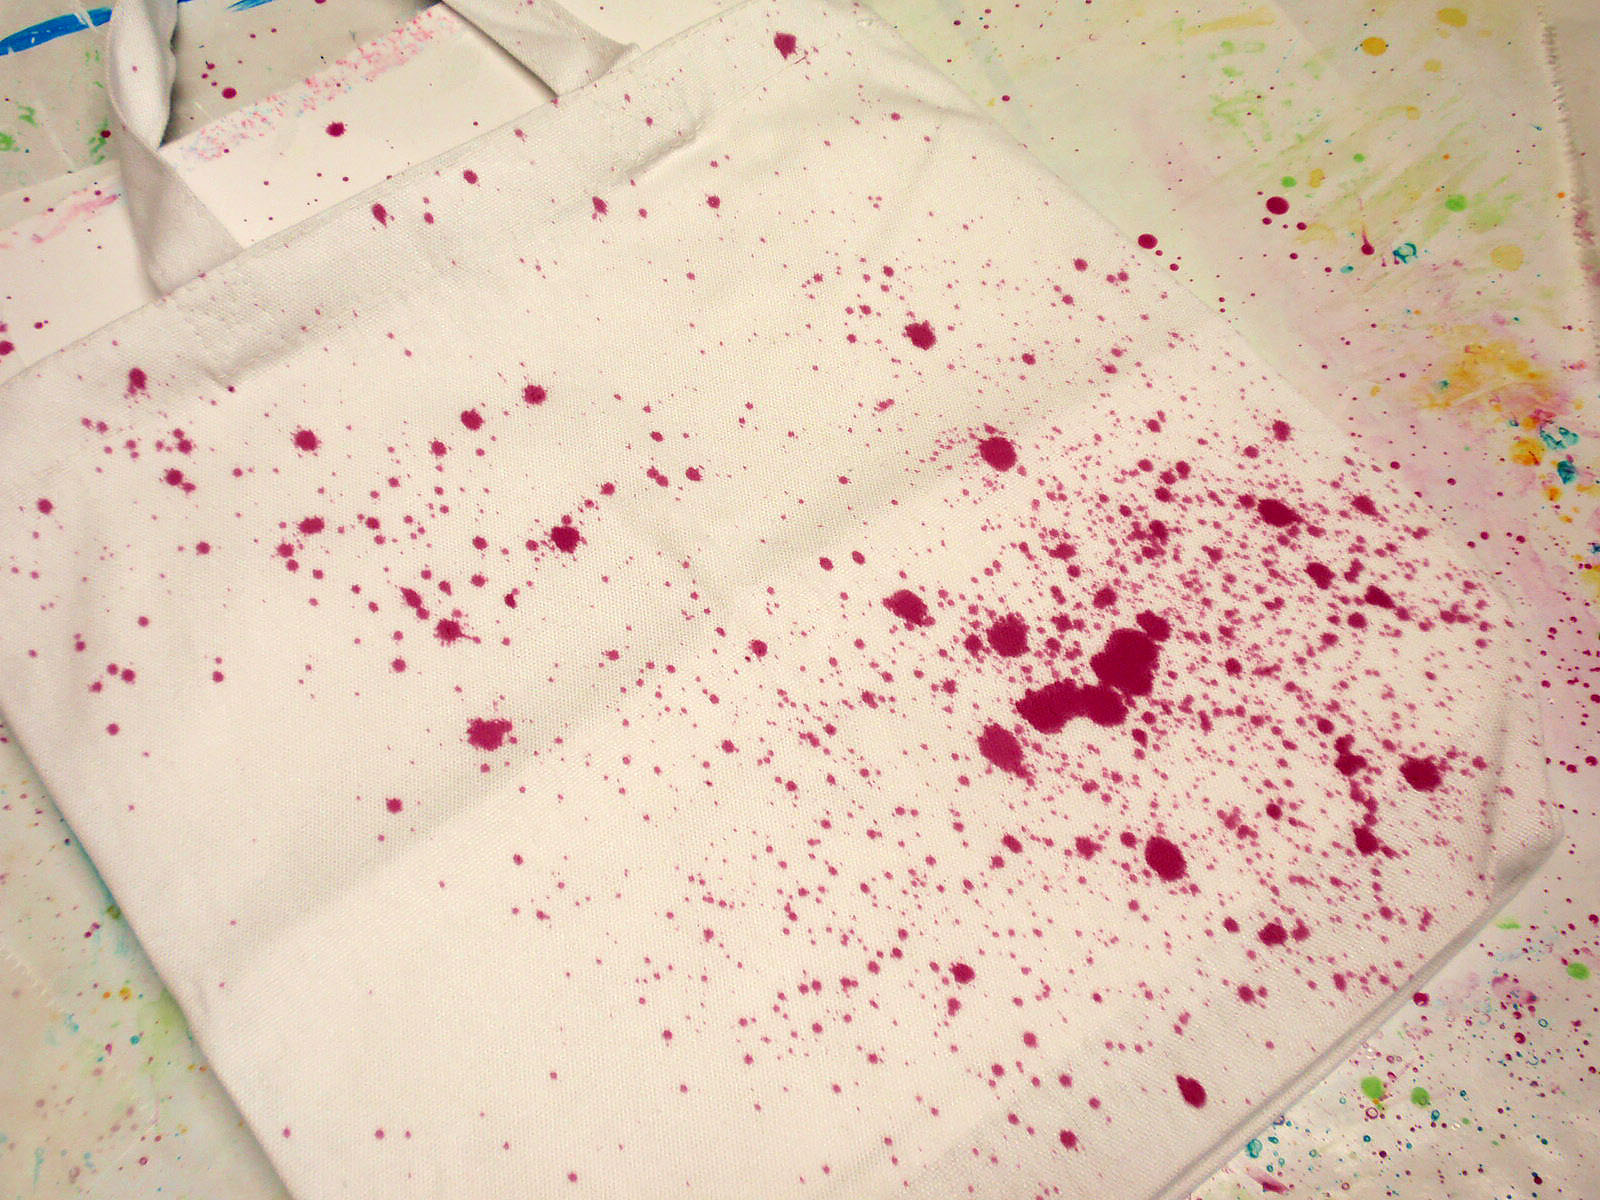
Repeat with 3 or 4 more paint colors until you are happy with the look. Allow the paint to dry.

Create a bit of additional style by adding some faux leather paper accents to the painted bag. The size of the pieces you require will depend on the exact size and type of bag you purchased. The sample bag is constructed with a box corner that has been tacked to the outside of the bag. Because of the corner, I decided to place a piece of leather paper only along the bottom of the bag, avoiding the corner construction.
I cut a piece of leather paper that measures 9 inches wide by 8 inches long. Eight inches includes the 4 inches that are the depth of the bag plus 2 inches that will come up over the bottom front on each side of the bag. I also cut four 2×2 inch rounded rectangles to accent the base of the straps.
Soak the leather paper in hot water for about 20 minutes. Crumple the paper to create texture. If desired, sew a line of decorative stitching around the edge of each piece.
Insert a piece of plastic wrap in the bag to prevent glue from getting on the inside of the bag (and gluing the bag together!) Fold the bottom leather paper piece in half and insert it in the fold at the bottom of the bag.

Fold one side up and over the bottom front of the bag. Glue in place along the top edge and side on the front of the bag only. Repeat on the other side of the bag. It is not necessary to glue the leather paper to the bottom of the bag.

Glue one 2×2 inch rectangle at the base of each strap. Allow the glue to dry.

Prepare your design in Cricut Design Space. Size the design appropriately for the size of your bag. I figured the design at about 7 inches square for the space on my bag. This design is a free design from Cricut.
Cut the design from black iron-on vinyl. Be sure to place the iron-on vinyl shiny-side-down on your cutting mat and turn the ‘Mirror’ feature ‘On’ so the design appears backwards for cutting. Weed the design, removing the extra vinyl from the transfer paper and leaving only the cut letters and image.

Iron the bag well before adhering the vinyl. Position the iron-on on the tote bag. Cover the design with parchment paper and iron the vinyl on the front of the bag using a hot dry iron. When you’re done, peel the clear transfer paper from the bag and discard.


Make the bag extra special with the addition of a personalized tag for your special graduate. Create a monogram using one of the monogram makers on-line, like this one from Mark and Graham.

Draw 2 circles about 3 inches in diameter in Cricut Design Space. Bring the monogram onto the canvas and size it to fit your circles. Cut the circles from faux leather paper. Cut the monogram from the same iron-on vinyl that you used on the bag.

Soak and crumple the leather paper as you did for the bag. Allow to dry. Adhere the iron-on to one of the circles. Sew or glue the circles together. Punch a hole in the top of the tag and hang it from one of the straps using a binder ring or a short length of ball chain.


Adventure Fund Frame: Easy Cricut Gift Idea
FEATURED SALES