
Use Basic Coloring Strokes for Small Garden-Themed Art
Practice the five basic coloring strokes while creating tiny garden windows. This easy coloring project gets its touch of sophistication from layering translucent deli papers and matting with a generous amount of white space. Pop the finished project into a standard 8 x 10 in frame for a neat finish.

Supplies:
Deli paper
2 sheets 8 x 10 in. watercolor paper
Scrap watercolor paper 4 x 4 in.
Transparency sheet
Colored pencils in your favorite colors
Craft knife
Ruler
Cutting mat
Tape
Glue
White paint pen (optional)
Permanent markers (optional)
Patterns
Directions
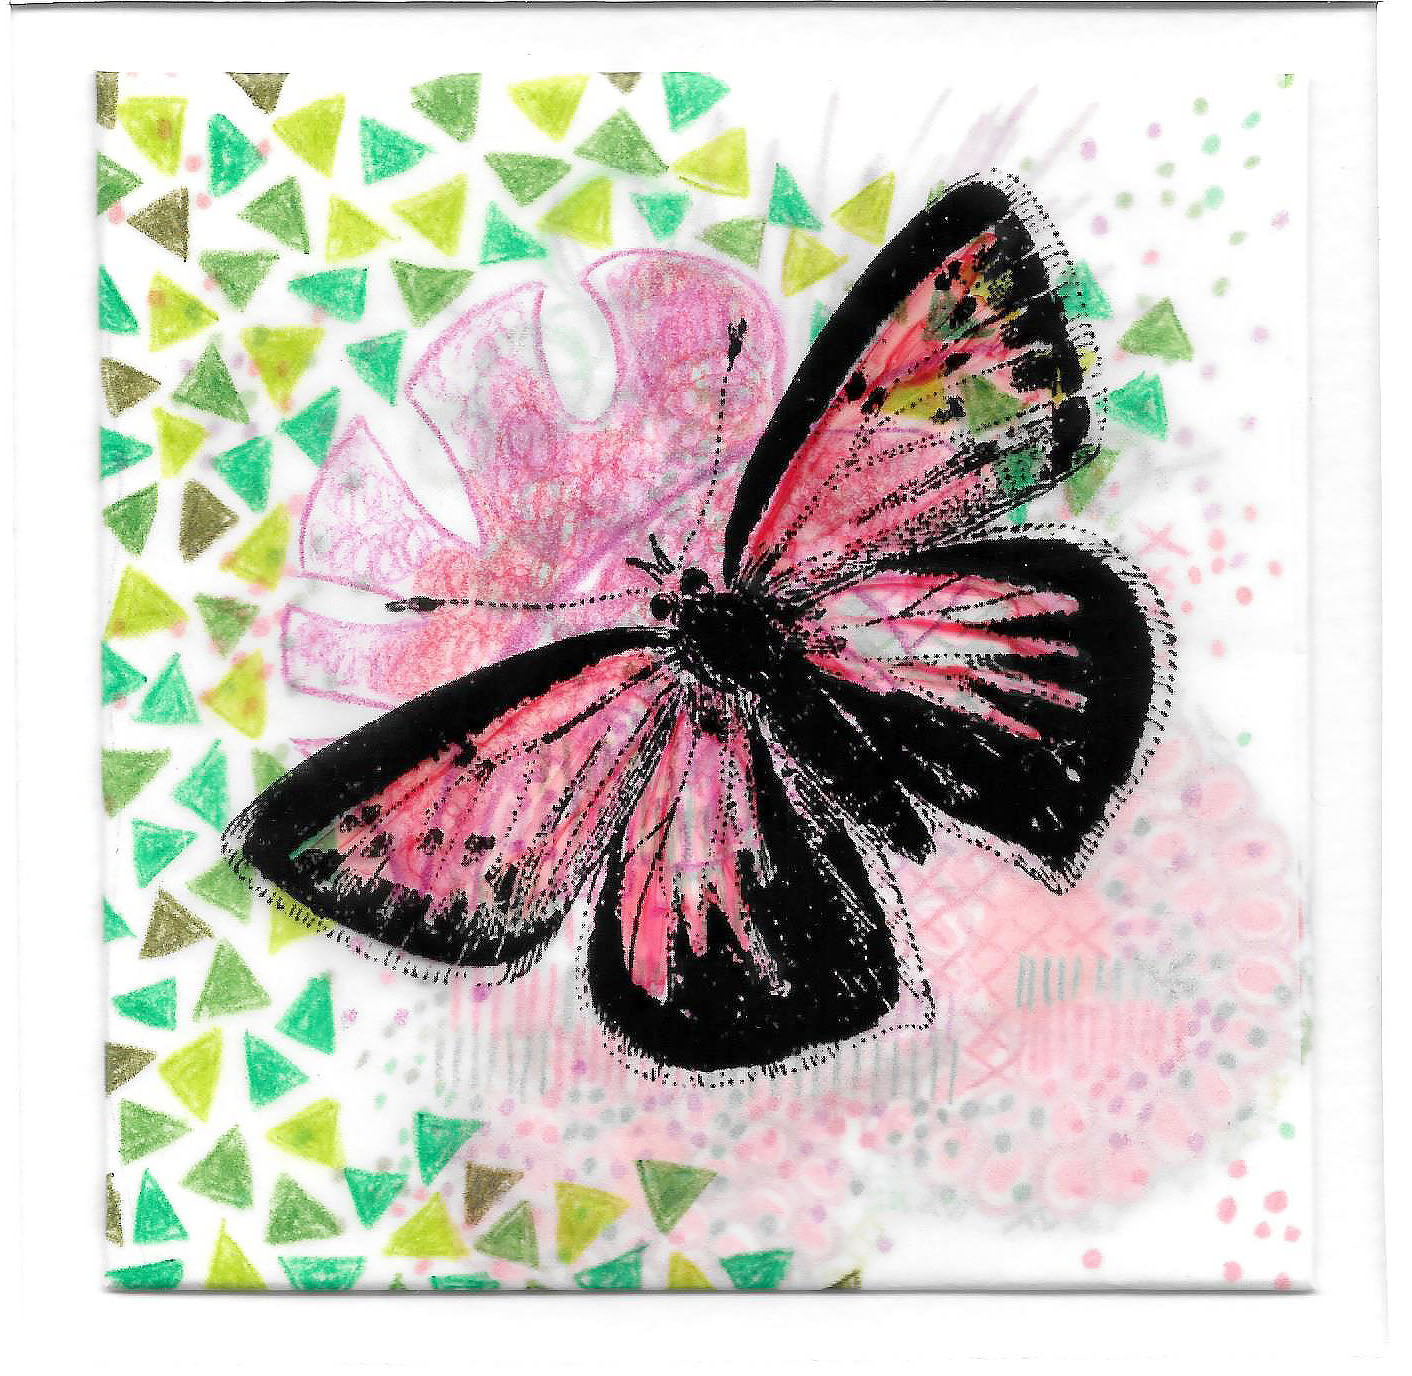
Print the insect patterns on a transparency. Add color to the insects using any permanent alcohol-based marker (Spectrum Noir, Copic, Sharpie, etc.) if desired.

If you want to make any part(s) of the insect less transparent, turn the transparency over and color in the part using a white permanent paint pen. For example, if you want to color the insect with a light color such as yellow, backing the insect with white paint pen will increase the brightness of the color and help it ‘pop.’ Because you are working from the back, you can paint over the black lines if needed to make the white backing as opaque as you’d like.

Cut some sheets of deli paper or other translucent paper to approximately 6 in. square.
Using colored pencils in your favorite colors, create some patterned backgrounds on the deli paper using any combination of colored pencil drawing techniques. Leave some white or open spaces as you color. You’ll be layering the deli papers on top of one another and opaque coloring will prevent underlying layers from showing through.
Scumbling
Make small or large circular scribble without lifting the pencil from the paper. When used in a series of small overlapping scribbles in different colors, color blending results. Large open scribbles effect a line design or pattern on your work.

Hatching
Hatching is drawing a set of parallel lines on the page. Space the lines close or far.

Cross-hatching
Cross hatching is drawing a series of perpendicular lines. They can be discreet sets of lines like the randomly oriented ‘tic tac toe boards’ in the photo or more uniformly oriented diagonal lines.

Stippling
Stippling is simply making dots on the paper. Space some dots near and others far in a random pattern.

Back and Forth Stroke
This is the familiar coloring you remember from grade school. Simply draw back and forth without lifting the pencil from the paper.

Cut two sheets of heavy watercolor paper to 8 in. by 10 in.
On one sheet of paper, measure and mark a line 1 ¾” from the top and side edges of the paper. Complete marking a 4 ½ in square.

Place the paper on top of a cutting mat. Cut out the square using a ruler and craft knife.

Cut a scrap of watercolor paper to 4 in. square. Layer your completed deli pieces on top of the paper.

Fold the edges of the deli paper to the back of the watercolor and tape to secure.

Position the square with deli pieces on top of the uncut 8 x 10 in. watercolor paper, approximately 2 in. from the top and side edges. Glue the square in place – but before the glue dries – lay the 8 x 10 in. sheet with the cutout on top of the bottom sheet and reposition the deli square to the center of the cutout opening if needed.

Position the transparency with the insect in the center of the cutout. Tape the transparency to the back of the watercolor paper.

Adhere the cutout sheet on top of the bottom sheet using glue or double stick tape.


Woodland Animals Coloring Project (and Free Pattern!)
FEATURED SALES


