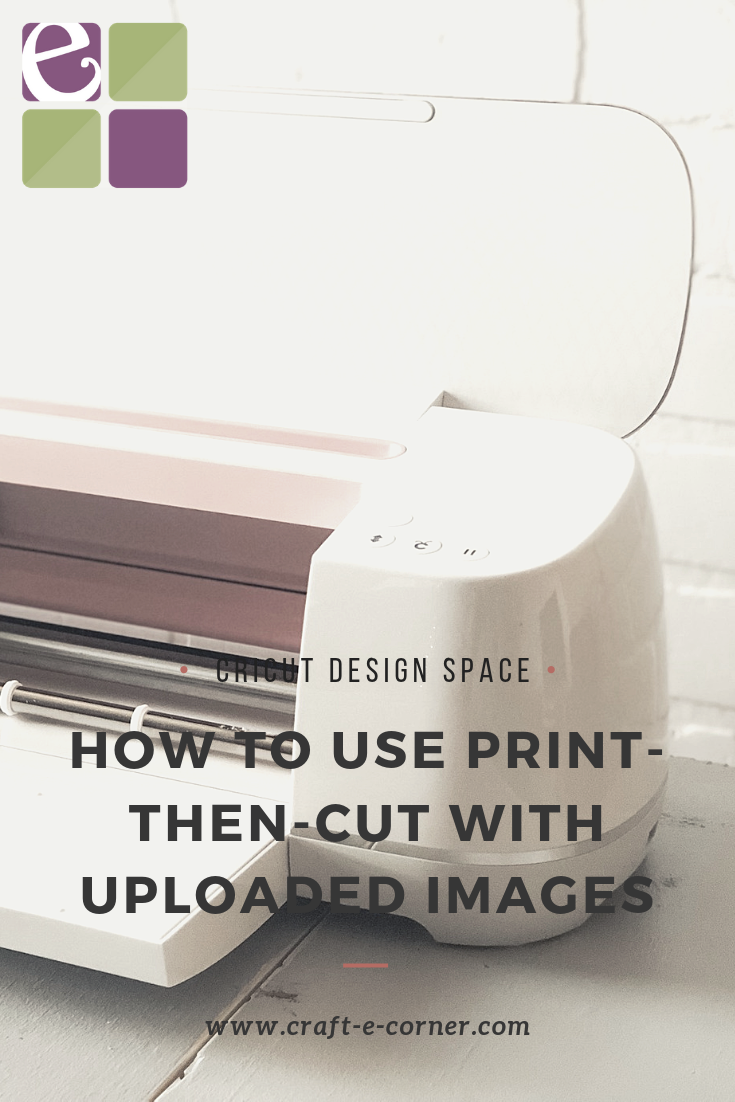
How to Use Print then Cut in Cricut Design Space
 Print-then-cut is one of my favorite features of the Cricut. Just think: labels, stickers, cards, tags, and so much more. If you’ve never used it before, I hope that this post today encourages you to try it out. We have been getting a lot of questions lately in our Facebook group lately about how to use it, so I’m going to walk you through the steps.
Before we starting making our project, take two minutes to calibrate your machine for Print-then-Cut. To do this, log into Design Space and click on the three lines in the top left-hand corner. Click on “Calibration” and then “Print then Cut”. Then follow the directions – it’s super simple but don’t skip this step if you haven’t done it before! Or if it’s been awhile, just re-calibrate to be safe.
There are two ways to start the Print-then-Cut process. Today we are just going to be focusing on how to use Print-then-Cut specifically when we are uploading an image.
Alright, let’s get started! The first step is going to be to upload your file into Design Space. Start a new project in Design Space and then on the left-hand side of the screen, click on “Upload”. 
Then click on “Upload Image”, “Browse” and then search for your image on your computer. Once you found it, click on it and hit upload. My image today is a gift tag for Mother’s Day. It says, “Best Mom Ever”.
Then you’ll come to this next screen (see below) to choose what kind of image type it is. For Print-then-Cut, I always choose complex. Once it’s highlighted green, you’ll know you’ve selected it! Then click on the green button “Continue” in the corner.

Next, we have the option to clean up our image if we need too. If there are parts of your image you want to crop out or erase, you can toggle through the three tools on the top left-hand side of the screen: Select & Erase, Erase, and Crop. I don’t need to clean up my image at all, so I will be leaving it as is. But once you’re done here, click continue again in the bottom right-hand corner.
This next screen will give us the option to upload our image as Print then Cut (on the left) or a Cut Image (on the right). It’s really important here that you choose “Print then Cut” and then save.
Now we are back to the screen that we originally came to to upload our file! Your uploaded images are all saved here, starting with your newest ones first. Click on your image and then click on “Insert Images” in the bottom right hand corner.

Now that your project is on the canvas, all we have to do is resize and then send it to print and cut for us! To resize, click on your image and drag your image with the arrows in the bottom right hand side of your image. Or if you know exactly the size you want, you can enter the dimensions under “Size” in the top row. I resized mine to be exactly 2in x 2in. Once you’ve got the size you want, click on “Make It” in the top right hand corner.
Next, we will come to a preview screen of our project on a mat. If you want to increase the amount of project copies, do so in the top left-hand corner of the screen. I am going to increase mine to four copies so that I get four projects out of this. Then once again, hit continue in the bottom right-hand corner. Next up is to send it to your printer! This screen will walk you through step-by-step in case you ever forget these steps I’ve written out. Under (1) click on “Send to Printer”. Connect to your printer and choose how many copies you want. You can choose to turn off the bleed option if you want, but it will default to being on. Bleed extends ink slightly beyond the border of the image to eliminate a white margin once the image is cut. Totally up to you – try out both and see what you like best! Then click print.
Once it’s printed, apply your paper/sticker/material to your mat. I would recommend using a LightGrip mat for light paper and the Standard Grip mat for thicker paper. Once it’s applied, then you’ll load it into your Cricut and hit cut! Make sure you have the correct settings on.
Before it starts cutting, your Cricut is going to scan the page so it knows exactly what to cut. It’ll take maybe 20-30 seconds to scan before it starts cutting. Then once it’s finished cutting, be really careful as you peel it off the mat. I like to lightly bend the mat instead of bending the material – flip it upside down and pull the mat towards you.
And then that’s it! You’ve successfully used print-then-cut with an uploaded image. Let me know if you have any questions – I would love to help you out!
-Courteney
New Design Space Feature: Copy/Paste Between Projects
FEATURED SALES